Kerjasama
SENI
KECANTIKAN & KESEJAHTERAAN
KRAFTANGAN
BUDAYA & SEJARAH
HIBURAN
ALAM SEKITAR
MAKANAN & MINUMAN
KEJURUTERAAN TERBALIK
SAINS
SUKAN
TEKNOLOGI
BOLEH PAKAI
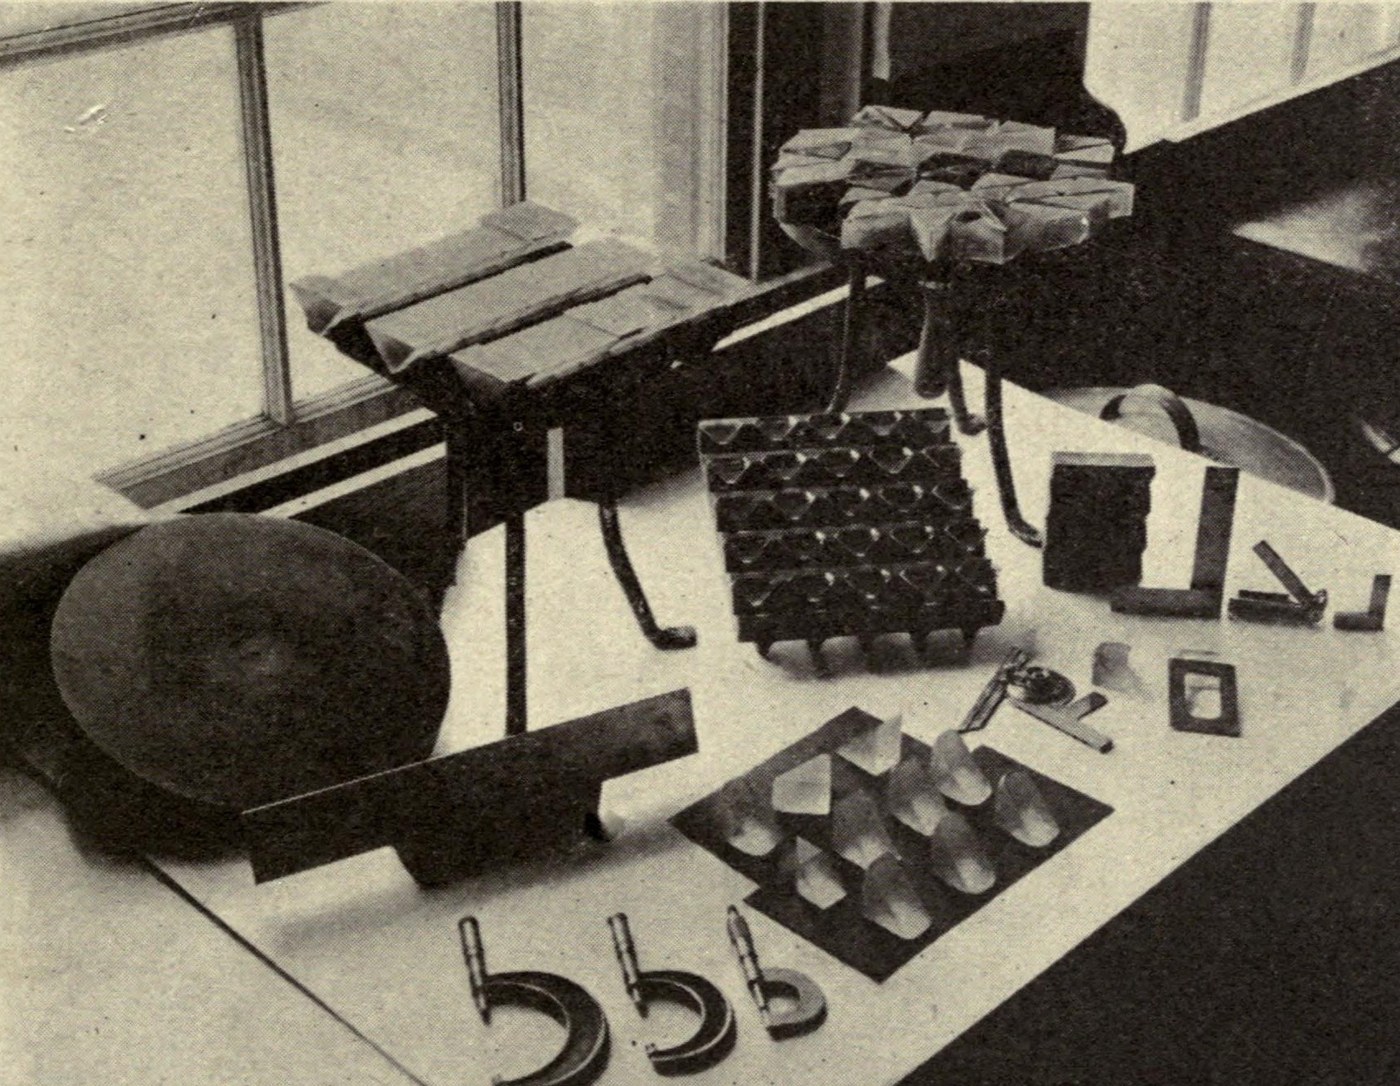


Equilateral Glass Prism: Sawn, Ground and Pitch-Polished
A prism splits white light into its colours, so its faces must be optically flat and its angles true. This is how the US arsenals ground prisms in 1918, as F. E. Wright recorded for the Ordnance Department in 1921: saw a blank from optical glass, rough-grind it on iron disks, set a batch of prisms in plaster, fine-grind, and polish on pitch with rouge. Wright's worked example is a right-angle prism; an equilateral prism has three 60° angles, made the same way.
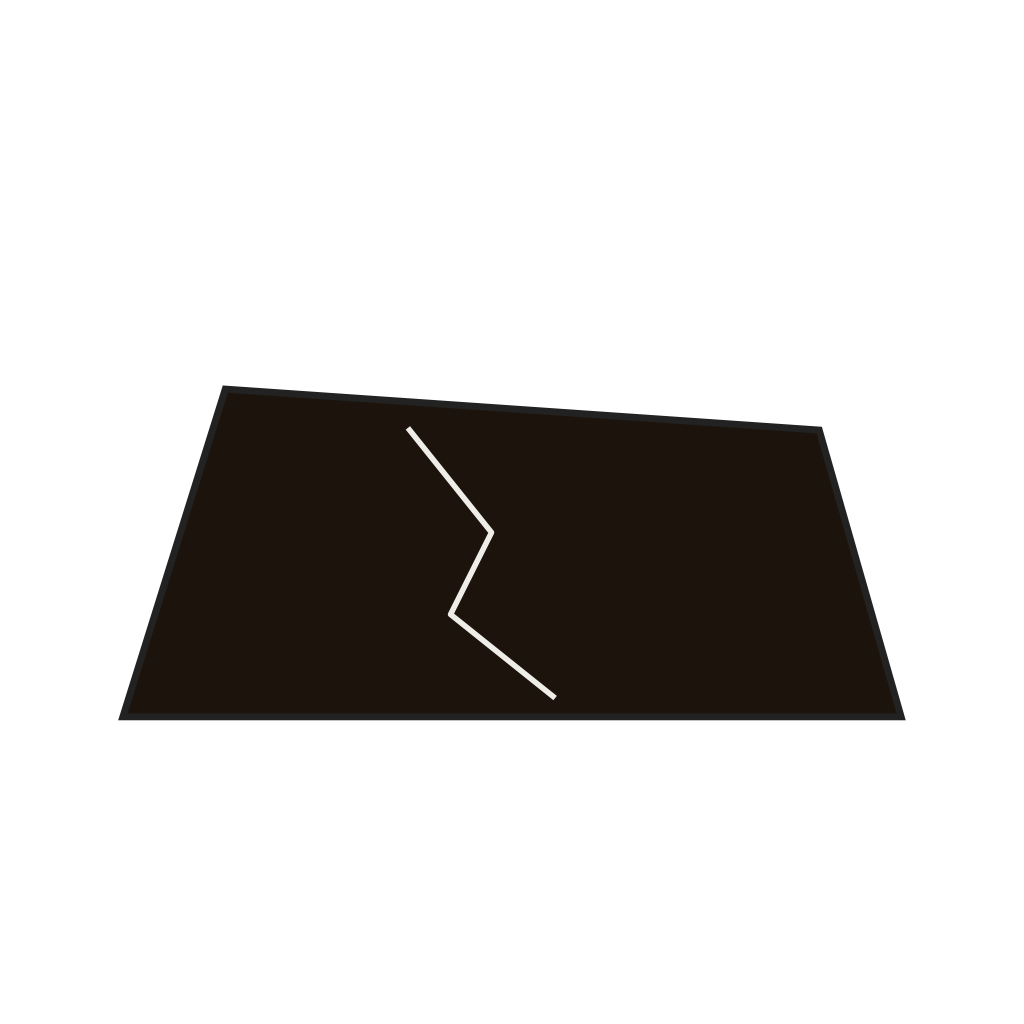
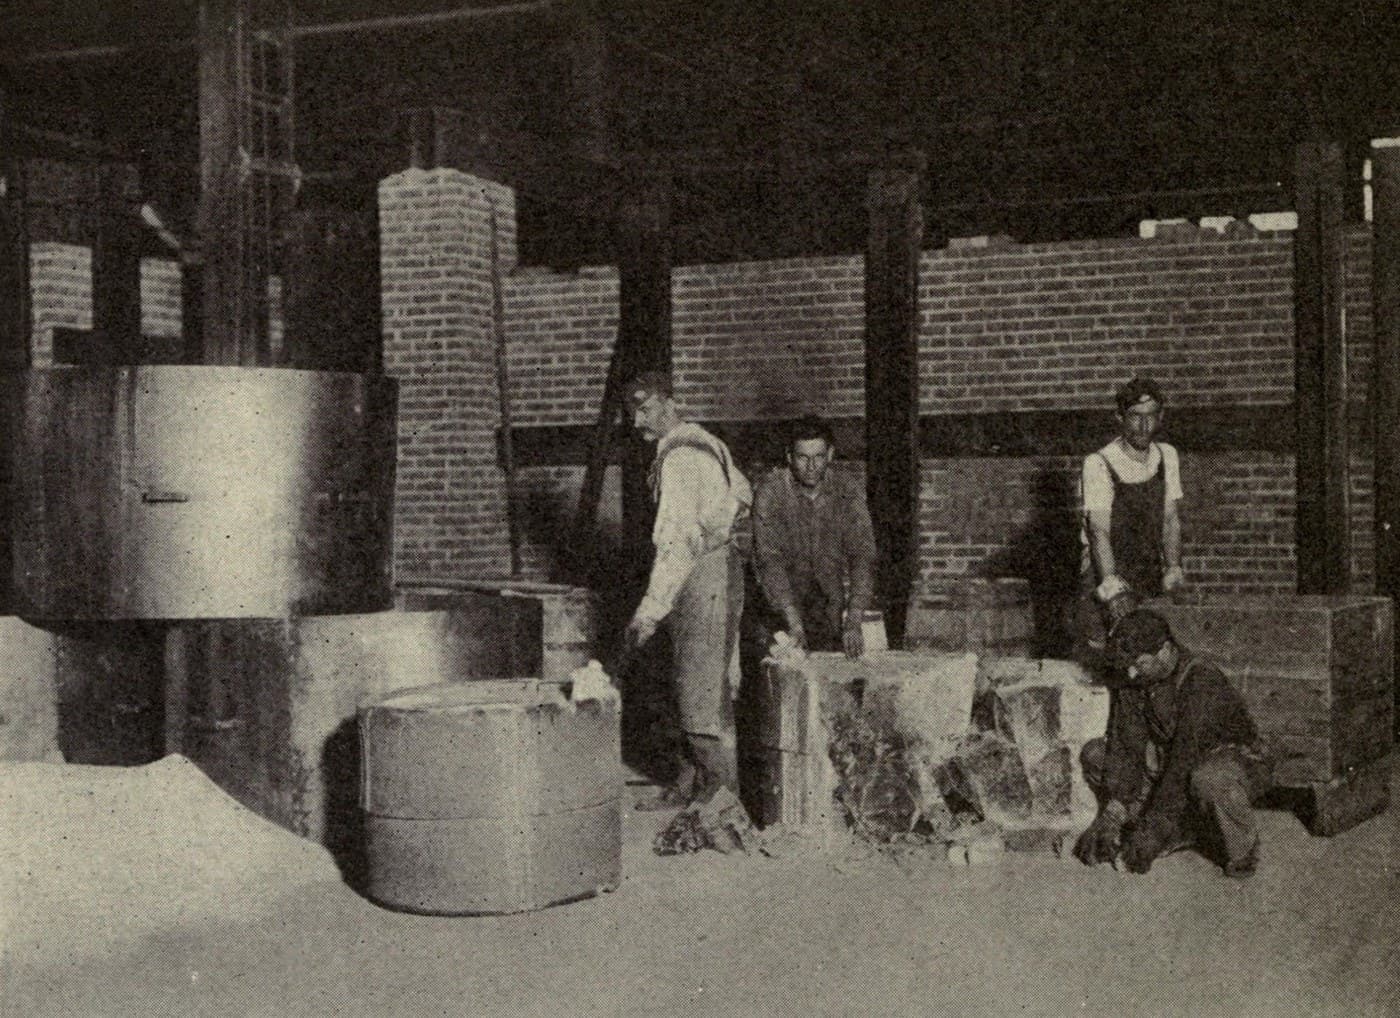
The picture: blocking prisms for rough grinding at Frankford Arsenal (Wright 1921, Fig. 77, public domain).
Lanjutan
2-3 days
Arahan
1
1
Saw out the blank
Saw out the blank
Saw a triangular blank from a block of optical glass with a diamond saw, using kerosene as lubricant. Leave several millimetres extra on each face for grinding.
Bahan untuk langkah ini:
 Kaca Optik1 as required
Alatan diperlukan:
 Gergaji Berlian
 Minyak Tanah
 Angkup Digital 6 Inci
 Cermin mata keselamatan
2
2
Rough-grind the faces
Rough-grind the faces
Grind one triangular end flat on a rotating iron disk with 90 or 150 mesh grit. Then rough out the three side faces at right angles to it, checking the 60° angles with an angle gauge.
Alatan diperlukan:
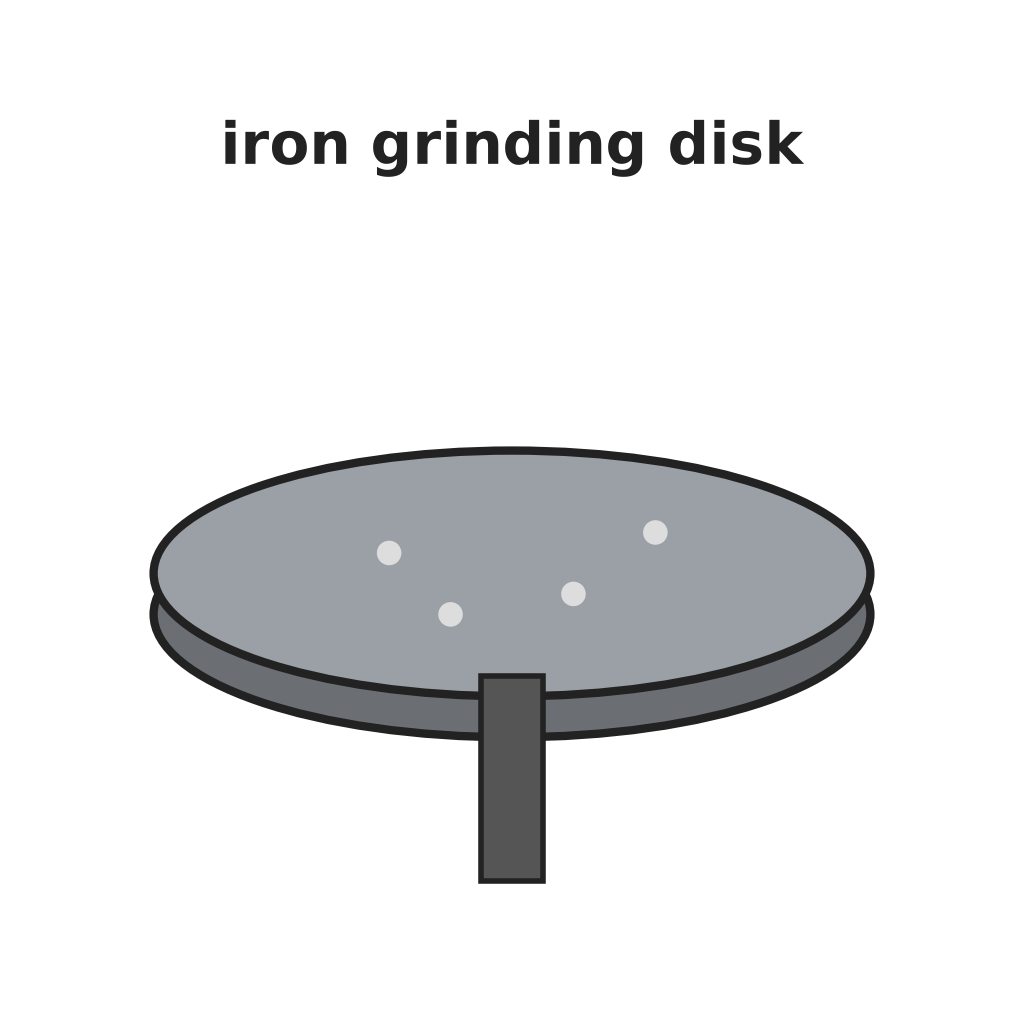 Cakera Pengisar Besi
 Set butir pelelas silikon karbida
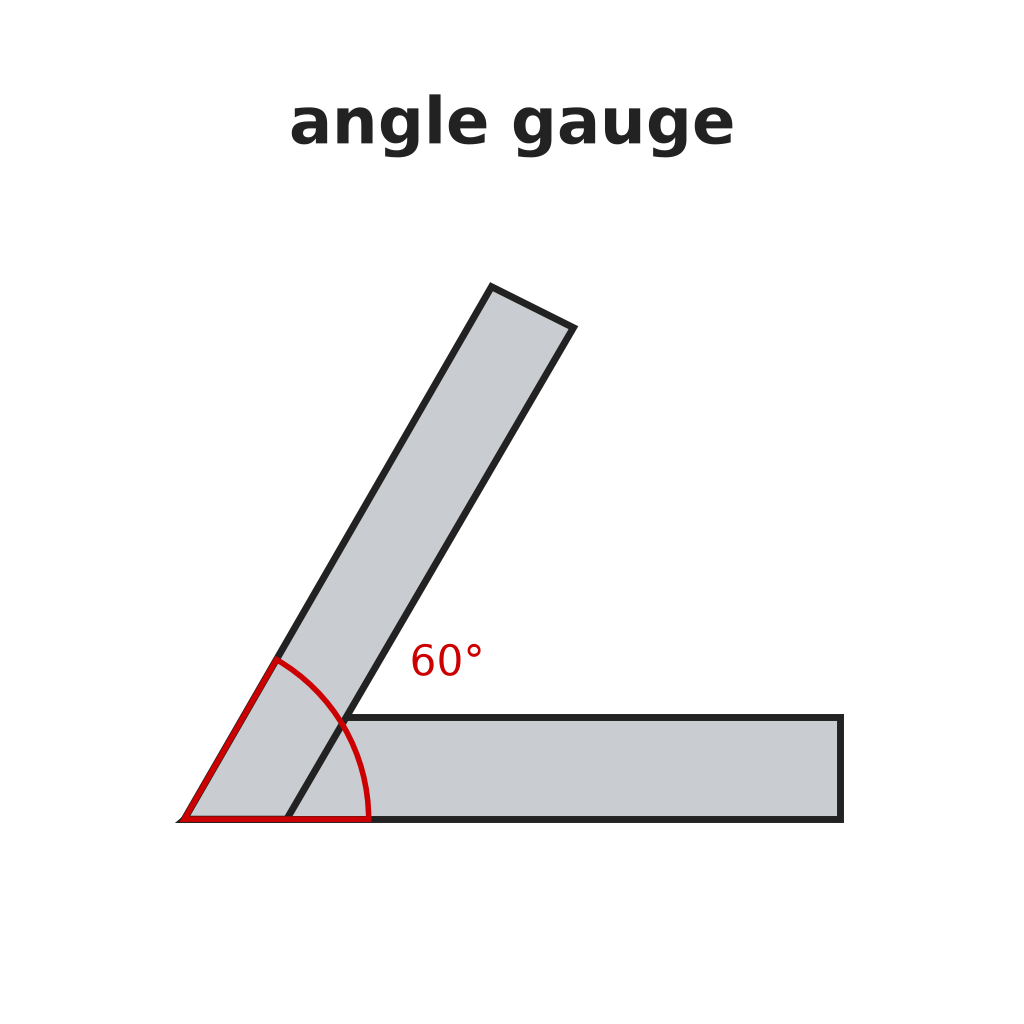 Tolok Sudut
3
3
Grind the ends in a batch
Grind the ends in a batch
Wax 20 or more prisms by their ground ends onto a heated iron disk and grind the other ends together: 90, 150, then 220 mesh, then smoothing grit. Change grit only when the surface is free of scratches. Regrind to the set thickness.
Alatan diperlukan:
Cakera Pengisar BesiSet butir pelelas silikon karbida Lilin parafin
 Lilin Lebah
 Plat PemanasAngkup Digital 6 Inci
4
4
Block the prisms in plaster
Block the prisms in plaster
Set the prisms face down in melted paraffin on a flat iron disk and coat their backs with beeswax. Clamp a ring round them, fill with plaster of Paris and a little Portland cement (10 : 1), and let it harden about 16 hours. Cut the plaster back 1/8 in from the prisms and give it two coats of shellac.
Alatan diperlukan:
Plat PemanasLilin parafinLilin Lebah Plaster Paris
 Simen portland
 Pelet Lilin Lebah
5
5
Fine-grind
Fine-grind
Grind the block on a slightly convex plate with wet flour emery (the part that settles out of water between 10 and 60 minutes). After five minutes check with a magnifier: the faces should have an even velvet finish, slightly hollow by less than 0.001 in.
Alatan diperlukan:
Cakera Pengisar BesiSet butir pelelas silikon karbida Kanta Pembesar Tukang Emas
6
6
Polish on pitch
Polish on pitch
Pour strained pitch with a little rosin 1/4 in deep on an iron tool and cut crossed grooves 1/8 in wide, 1 in apart. Press it true with a rouge-wetted flat. Polish the block with creamy rouge and water on the machine, usually 4–8 hours, running nearly dry at the end.
Alatan diperlukan:
 Pic tar kayu
 Damar pain
 Merah penggilap tukang emas
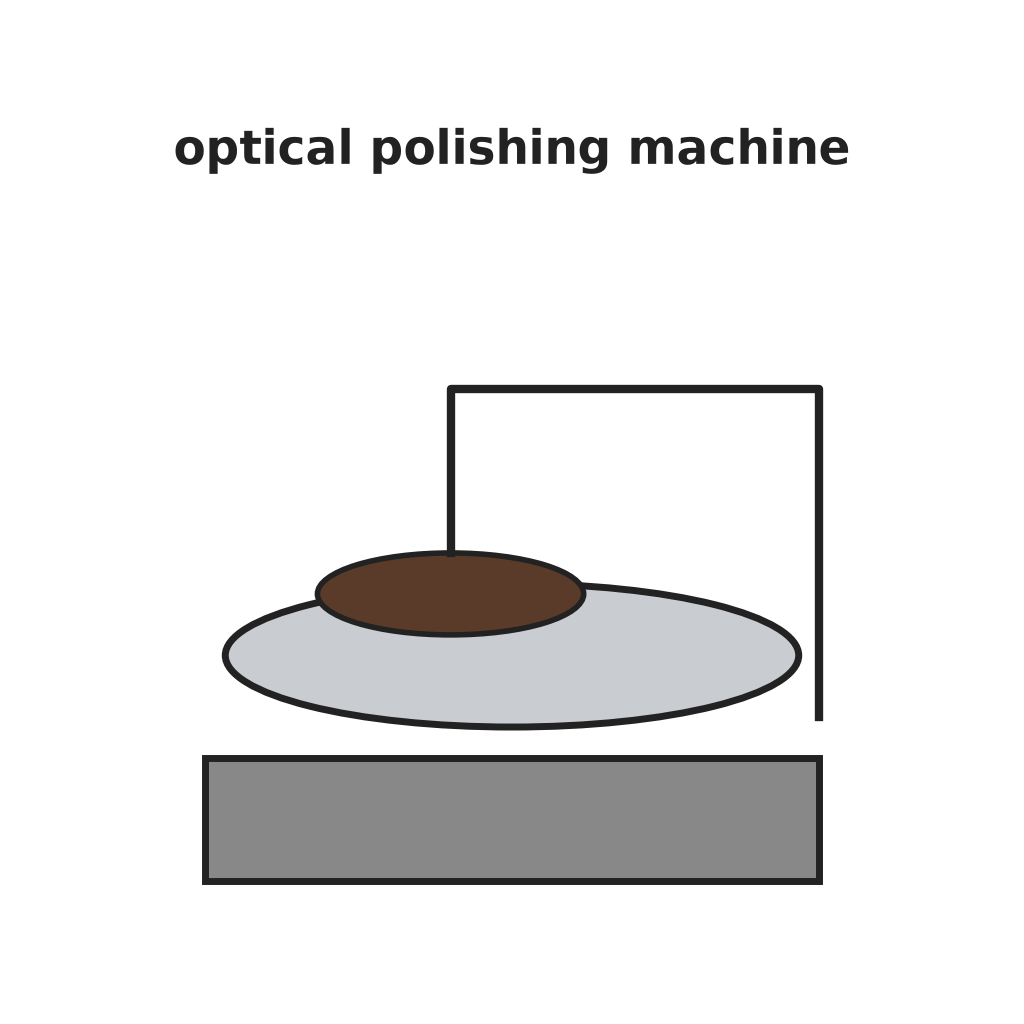 Mesin Penggilap Optik
7
7
Test for flatness
Test for flatness
Lay an optical flat on each face and look at the Newton colours in sodium light (salt in a Bunsen flame). Straight bands to the edge, or one colour over the whole face, mean it is flat.
Alatan diperlukan:
 Satah optik (rujukan)
 Penunu Bunsen
 GaramKanta Pembesar Tukang Emas
8
8
Free, clean, check the angle, repeat
Free, clean, check the angle, repeat
Break the plaster away, clean the prisms with benzene and check each angle with the angle gauge. Correct by hand on a flat tool with smoothing grit. Repeat blocking and polishing for every face, smallest face first.
Alatan diperlukan:
 Tukul
 BenzenaTolok SudutCakera Pengisar BesiSet butir pelelas silikon karbida
Bahan
1- 1 as requiredPemegang Tempat
Alatan Diperlukan
23- Pemegang Tempat
- Pemegang Tempat
- Pemegang Tempat
- Pemegang Tempat
- Pemegang Tempat
- Pemegang Tempat
- Pemegang Tempat
- Pemegang Tempat
- Pemegang Tempat
- Pemegang Tempat
- Pemegang Tempat
- Pemegang Tempat
- Pemegang Tempat
- Pemegang Tempat
- Pemegang Tempat
- Pemegang Tempat
- Pemegang Tempat
- Pemegang Tempat
- Pemegang Tempat
- Pemegang Tempat
- Pemegang Tempat
- Pemegang Tempat
- Pemegang Tempat
Blueprint ini membuat

Blueprint berkaitan
Blueprint ini berkongsi pengetahuan — teknik, bahan atau prinsip
CC0 Domain Awam
Blueprint ini dikeluarkan di bawah CC0. Anda bebas menyalin, mengubah, mengedar, dan menggunakan karya ini untuk sebarang tujuan, tanpa meminta kebenaran.
Sokong Pembuat dengan membeli produk melalui Blueprint mereka di mana mereka memperoleh Komisen Pembuat ditetapkan oleh Penjual, atau cipta iterasi baru Blueprint ini dan sertakan ia sebagai sambungan dalam Blueprint anda sendiri untuk berkongsi hasil.