
Kerjasama
SENI
KECANTIKAN & KESEJAHTERAAN
KRAFTANGAN
BUDAYA & SEJARAH
HIBURAN
ALAM SEKITAR
MAKANAN & MINUMAN
KEJURUTERAAN TERBALIK
SAINS
SUKAN
TEKNOLOGI
BOLEH PAKAI
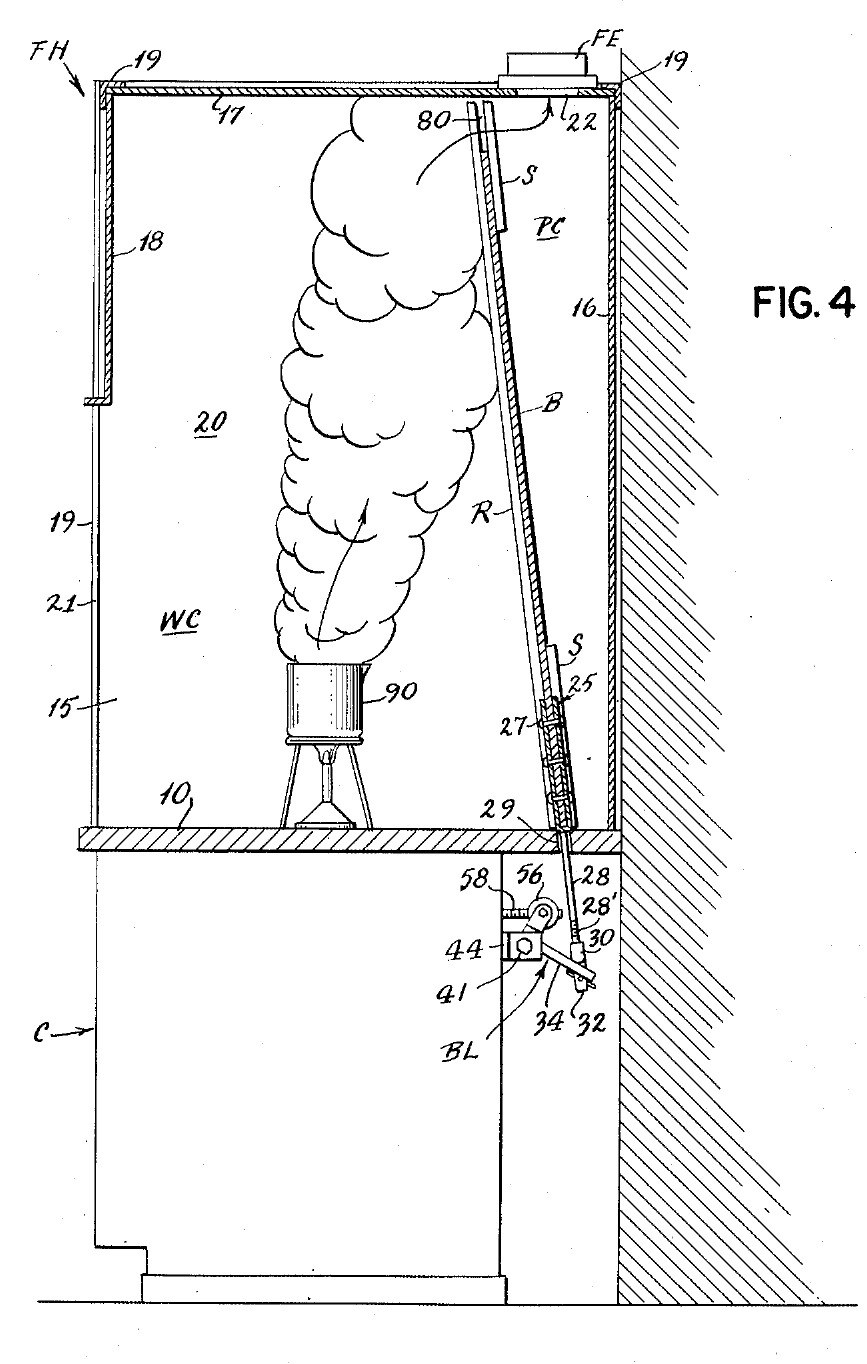
Fume Hood (Ducted): Sloping Stone Baffle Set from Outside by a Crank (Liptay, US 2,779,265, 1957)
Penny

Dicipta oleh

Penny

3. November 2026DK
7
0
0
0
0

Fume Hood (Ducted): Sloping Stone Baffle Set from Outside by a Crank (Liptay, US 2,779,265, 1957)

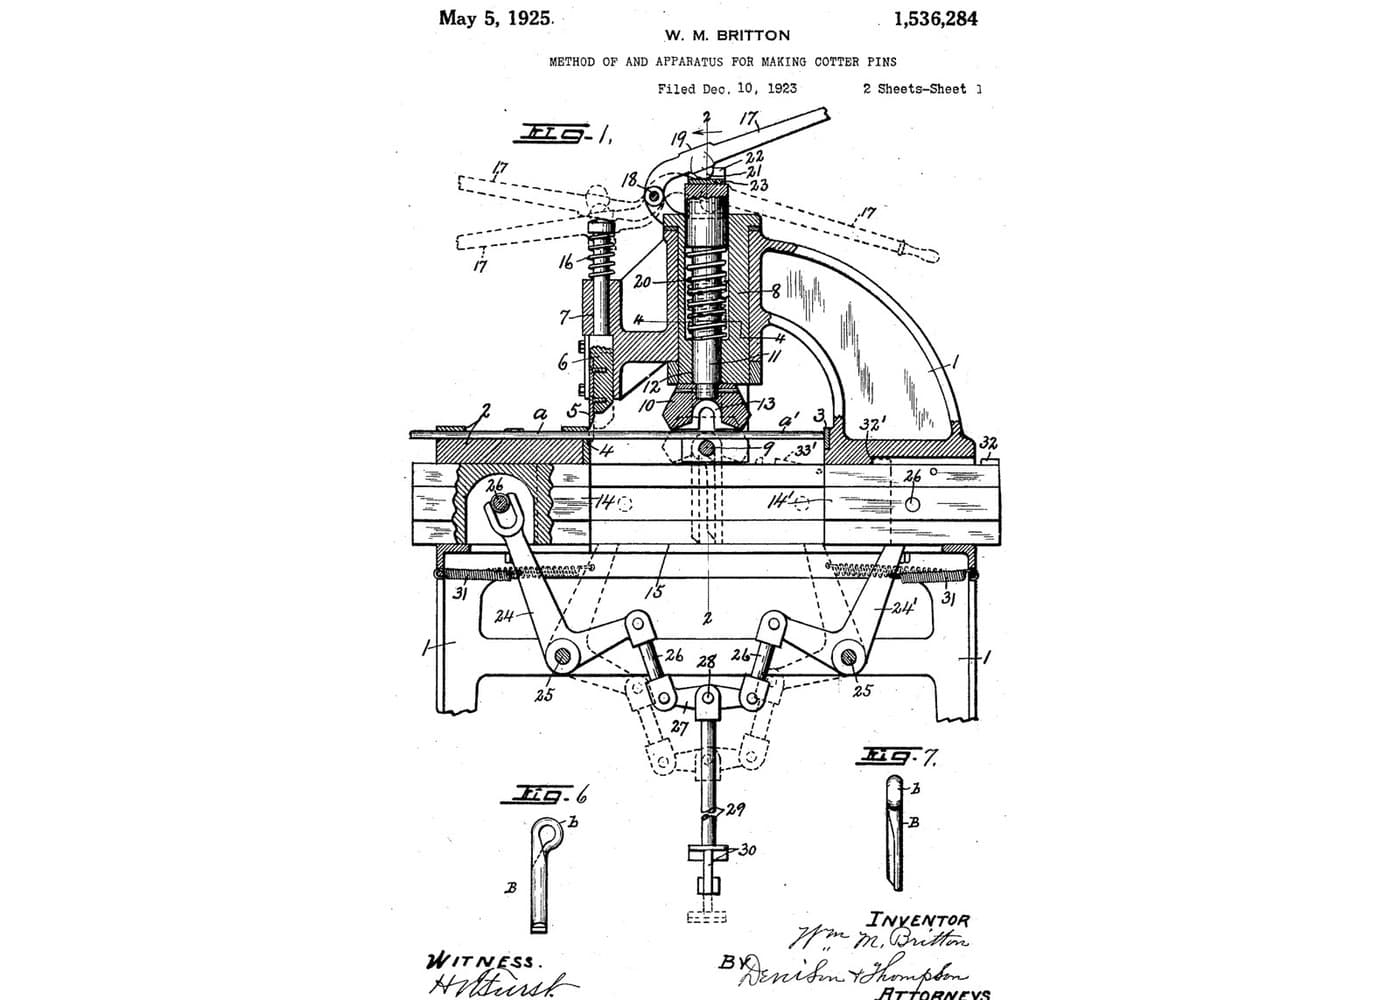
A bench fume hood on a stone counter, drawn off through a duct with a fan. Inside, a sloping stone baffle leaves a gap at the top and one at the bottom. A crank under the counter slides the baffle: one gap grows as the other shrinks, so the air sweeps light fumes out at the top or heavy fumes out at the bottom, with no one reaching inside. Result: a ducted hood whose air flow can be set for light or heavy fumes during work. Source: J. M. Liptay, US 2,779,265 (1957). Unknown: sizes, air flow, the fan and most materials. Picture: the patent drawing.
Lanjutan
Unknown

Arahan

1

Build the cabinet and stone counter

Build a sheet metal cabinet. Fix spaced sheet metal channels to its front panel and rear wall, and lay a stone slab on them as the counter. Bore a hole through the slab near the back, at the middle, for the baffle's lifting rod. Not given: sizes, the metal.

Bahan untuk langkah ini:

Logam tidak diketahuiLogam tidak diketahui1 cabinet and channels
Papak Batu RataPapak Batu Rata1 counter

Alatan diperlukan:

Gunting kepingan logamGunting kepingan logam
Gerudi TiangGerudi Tiang
Dimensi tidak diketahuiDimensi tidak diketahui
2

Build the hood

On the counter, make a frame of corner angle irons. Fix to it two sides, a rear wall, a roof and a front panel. Leave the front open below the front panel: this is the large opening where you work and where air comes in. Cut the fume outlet in the roof, towards the back. Not given: the panel material, sizes.

Bahan untuk langkah ini:

Besi sudut keluli lembutBesi sudut keluli lembut1 corner frame
Bahan tidak diketahuiBahan tidak diketahui1 sides, rear wall, roof, front panel

Alatan diperlukan:

Gergaji BesiGergaji Besi
Dimensi tidak diketahuiDimensi tidak diketahui
3

Fit the exhaust pipe and fan

Fix an exhaust pipe over the roof outlet, with a fan in it, to draw the fumes out. Not given: the pipe, the fan, the air flow.

Bahan untuk langkah ini:

Saluran udaraSaluran udara1 exhaust pipe
Peniup anginPeniup angin1 fan

Alatan diperlukan:

Sepana boleh larasSepana boleh laras
4

Fit the sloping baffle

Make a solid stone baffle almost as wide as the hood. Set it sloping up and forward from the rear wall, so it splits the inside into the work space in front and a duct behind that widens upward to the outlet. Guide it on sloping rails in front and strips behind, fixed to the sides, so it can slide. Leave a gap between its top and the roof, and one between its bottom and the counter. Not given: the rails' metal, sizes.

Bahan untuk langkah ini:

Papak Batu RataPapak Batu Rata1 baffle
Logam tidak diketahuiLogam tidak diketahui1 rails and strips

Alatan diperlukan:

Dimensi tidak diketahuiDimensi tidak diketahui
5

Make the lifting rod

Cut a notch in the middle of the baffle's lower edge. Make a V-shaped yoke whose legs straddle the baffle front and back, rivet the legs to it, and give the yoke a rod that hangs down through the hole in the counter. Thread the rod's lower end. Not given: the metal.

Bahan untuk langkah ini:

Logam tidak diketahuiLogam tidak diketahui1 yoke, rod, rivets

Alatan diperlukan:

Set rivetSet rivet
Set pemotong ulirSet pemotong ulir
6

Fit the bell crank

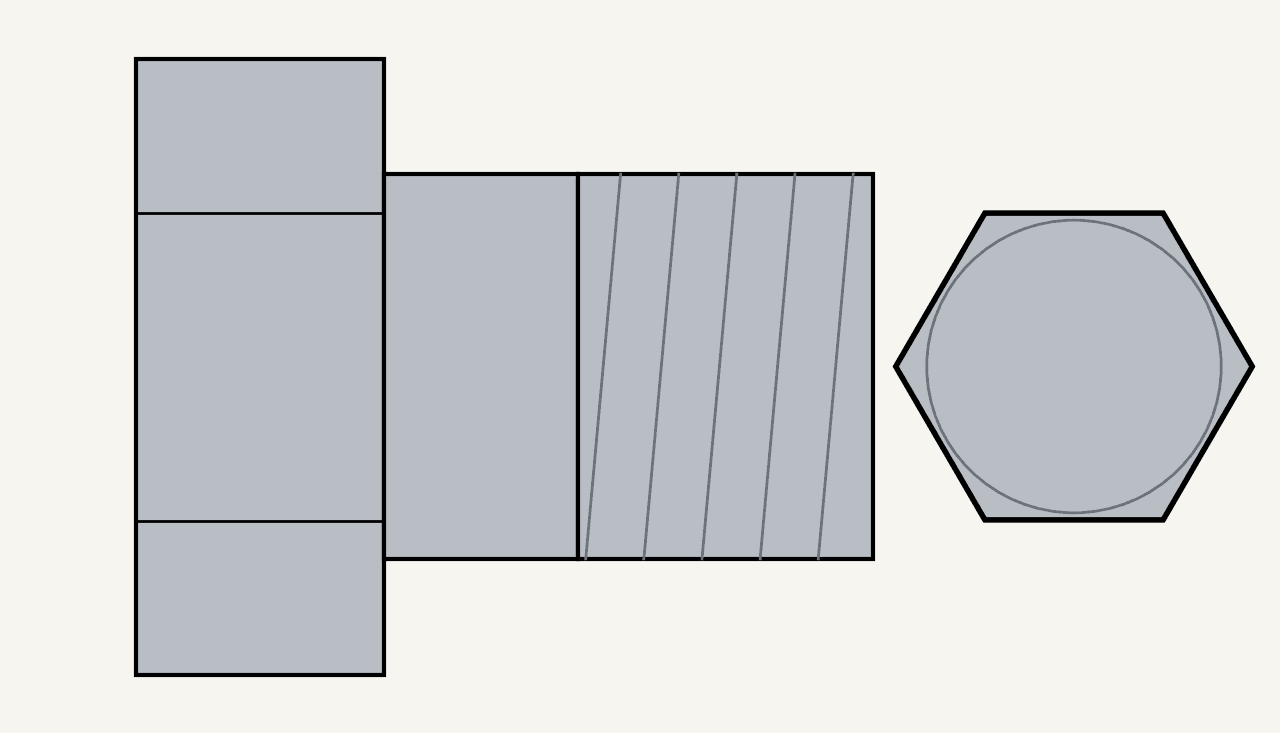
Under the counter, pivot a bell crank lever on a bolt through the lugs of a bracket fixed to the cabinet's rear channel. Screw a coupling onto the rod's threaded end. The coupling's two curved lips rock on the lever's long arm, and its tongue hangs through a slot in the arm, held by a cotter pin. On the short arm, a yoke turns on two bolts set fast in the threaded cross-holes of a round nut. Ours: hex bolts and nuts.

Bahan untuk langkah ini:

Tuas sudut tegakTuas sudut tegak1 bell crank
Logam tidak diketahuiLogam tidak diketahui1 bracket, coupling, round nut

Pelbagai bolt heksagonPelbagai bolt heksagon3 keping
Nat HeksagonNat Heksagon1 keping
Pin belahPin belah1 keping

Alatan diperlukan:

Set pemotong ulirSet pemotong ulir
Sepana boleh larasSepana boleh laras
7

Fit the crank and set the baffle

Screw a metal operating rod through the round nut and run it forward to the cabinet front. Screw its front socket onto the shaft of a hand crank and pin it with a cotter pin. Weld an angle iron to the inside of the front panel to stiffen it. Clamp a bushing through the panel with a nut, and set a ball bearing between two rings on the shaft, between the bushing and the crank. Turning the crank tips the bell crank, which raises the rod and baffle or lets them slide down by their own weight: as one gap grows the other shrinks. Air comes in at the front; the upper stream carries light fumes to the top gap, the lower stream heavy fumes to the bottom gap. Open the top fully for light fumes, the bottom fully for heavy ones, or set any point between, without reaching inside. A sliding safety sash may be fitted over the front opening, to watch dangerous reactions safely.

Bahan untuk langkah ini:

Logam tidak diketahuiLogam tidak diketahui1 operating rod, crank, bushing
Pin belahPin belah1 keping
Nat HeksagonNat Heksagon1 keping
Besi sudut keluli lembutBesi sudut keluli lembut1 stiffener
Galas bebola tujahGalas bebola tujah1 keping

Alatan diperlukan:
Mesin kimpalan arkaMesin kimpalan arka
Set pemotong ulirSet pemotong ulir
Sepana boleh larasSepana boleh laras

Bahan

11

Alatan Diperlukan

8

Blueprint berkaitan

Blueprint ini berkongsi pengetahuan โ€” teknik, bahan atau prinsip

CC0 Domain Awam

Blueprint ini dikeluarkan di bawah CC0. Anda bebas menyalin, mengubah, mengedar, dan menggunakan karya ini untuk sebarang tujuan, tanpa meminta kebenaran.

Sokong Pembuat dengan membeli produk melalui Blueprint mereka di mana mereka memperoleh Komisen Pembuat ditetapkan oleh Penjual, atau cipta iterasi baru Blueprint ini dan sertakan ia sebagai sambungan dalam Blueprint anda sendiri untuk berkongsi hasil.

Perbincangan

(0)

Log masuk untuk menyertai perbincangan

Memuatkan komen...