SENI
KECANTIKAN & KESEJAHTERAAN
KRAFTANGAN
BUDAYA & SEJARAH
HIBURAN
ALAM SEKITAR
MAKANAN & MINUMAN
KEJURUTERAAN TERBALIK
SAINS
SUKAN
TEKNOLOGI
BOLEH PAKAI
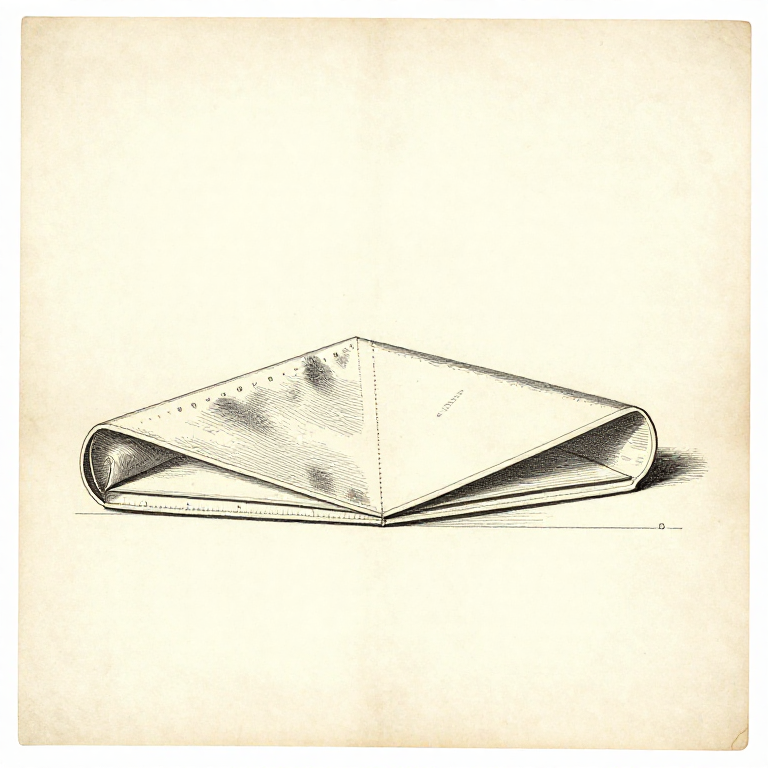


Hems and Raw Edges: Everything Frays Unless You Stop It
A cut edge of woven cloth is a row of loose thread ends, and washing and wear will pull them out one at a time until the seam itself is undermined. Every raw edge has to be dealt with somehow.
A HEM turns the edge under twice so no cut end is exposed, which is the standard answer for the bottom of anything. Inside a garment, the seam allowances need finishing too, and there are several ways depending on the fabric.
The one thing a hem must be is EVEN. An uneven hem is the single most visible fault in hand-sewn work, and it is a measuring problem rather than a sewing one.
Pemula
3 hours
Arahan
1
1
Turn it twice, and set the gauge once
Turn it twice, and set the gauge once
Fold the raw edge under by a small amount, press, then fold again by the hem depth and press. The cut edge is now enclosed inside the second fold and cannot fray at all.
Set a seam gauge to the hem depth and use it to check every few centimetres as you fold, rather than measuring each spot with a tape. That is the marking-gauge principle from the woodworking rungs: one setting used repeatedly beats many separate measurements.
Press each fold as you make it. A pressed fold stays where it is put and can then be pinned and sewn without fighting it, while an unpressed one springs open continuously and makes the whole job harder.
Bahan untuk langkah ini:
 Kain linen1 keping
Alatan diperlukan:
 Pembaris kelim
 Besi
Besi Jarum peniti jahit
2
2
Sew it so it does not show
Sew it so it does not show
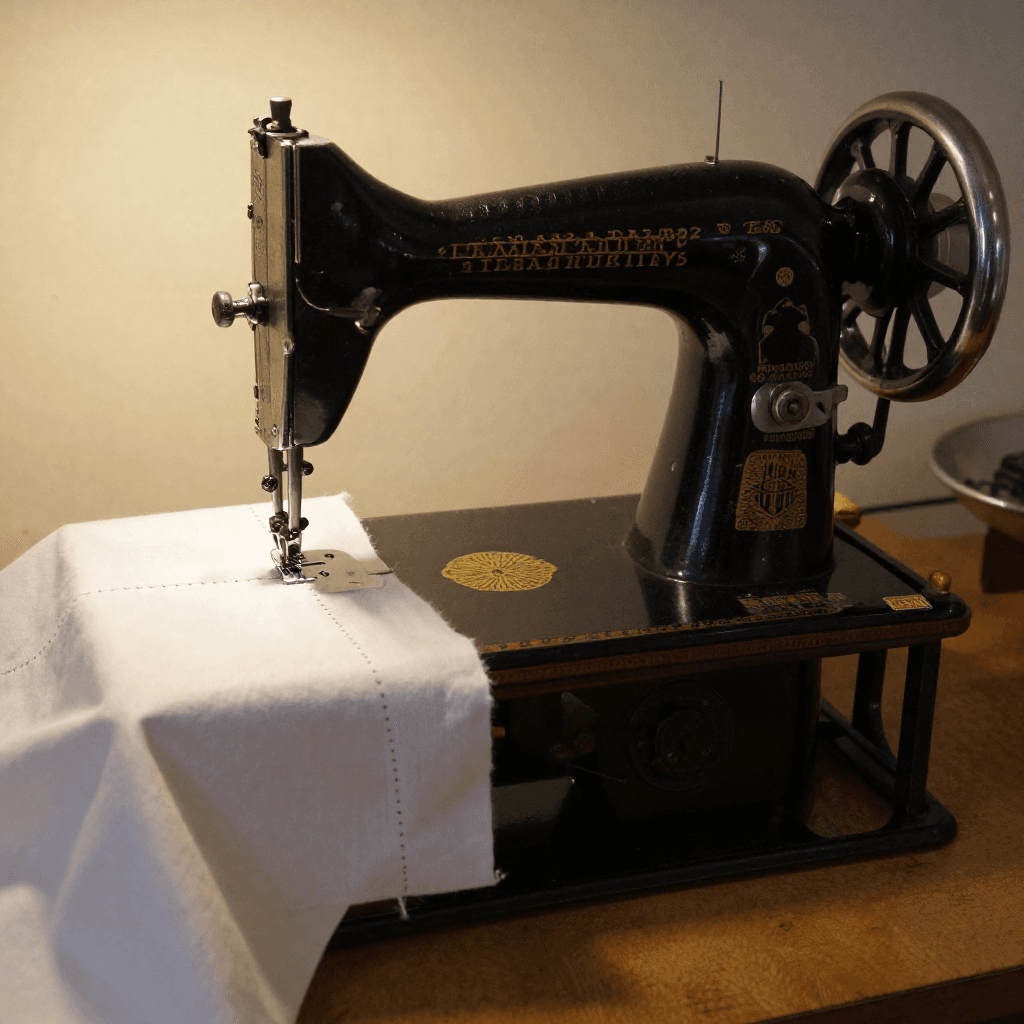
Slip stitch the folded edge down, catching only two or three threads of the outer fabric at each stitch and running the needle inside the fold between them.
Done properly nothing shows on the right side. That is the standard finish on good work, and the published four-stitches rung has the technique in detail.
Do not pull the stitches tight. A hem sewn under tension puckers, and on a curved hem — a skirt, a sleeve — the pucker gathers the excess in visible ripples. Loose and even is the target, and a curved hem needs its fullness eased in as you go rather than pulled flat.
Bahan untuk langkah ini:
Kain linen1 keping Benang jahit1 keping
Alatan diperlukan:
 Jarum jahit tangan
 Didal (logam)
 Kanta Pembesar Tukang Emas
3
3
Finishing the seam allowances inside
Finishing the seam allowances inside
PINKING — cutting the edge in a zigzag — stops fraying travelling far and takes seconds; it suits tightly woven fabric and nothing else. OVERCASTING by hand, a whip stitch along the raw edge, works on anything and is what was used before machines.
A FLAT-FELLED seam encloses both allowances inside a fold and stitches them down, so there is no raw edge at all. It is the strongest and neatest option, it is what the side seams of jeans and work shirts use, and it takes about three times as long.
A FRENCH SEAM encloses the raw edges by sewing the seam twice — once with wrong sides together, trimming, then again with right sides together so the first seam is inside. It suits fine and sheer fabrics where any finish would show through.
Bahan untuk langkah ini:
Kain linen2 kepingBenang jahit1 kepingAlatan diperlukan:
 Gunting kainJarum jahit tanganBesi
4
4
Which finish for which cloth
Which finish for which cloth
Loose open weaves fray fastest and need the most secure finish — overcast or flat-fell. Tight weaves fray slowly and tolerate pinking. Knits do not fray at all and need no edge finish, only a stitch that stretches with them.
Test before deciding: cut a scrap, rub the edge hard between finger and thumb for a few seconds, and see how much comes away. That takes ten seconds and answers the question for that specific cloth, which no general rule can.
Think about washing too. A garment washed weekly needs a finish that survives agitation for years; a wall hanging needs almost none. Matching the effort to the actual service is the judgement this rung is really about.
Bahan untuk langkah ini:
Kain linen1 keping Kain Kapas1 keping
Alatan diperlukan:
Gunting kainKanta Pembesar Tukang EmasBahan
3- 5 kepingPemegang Tempat
- 2 kepingPemegang Tempat
- 1 kepingPemegang Tempat
Alatan Diperlukan
7- Pemegang Tempat
- Pemegang Tempat
- Pemegang Tempat
- Pemegang Tempat
- Pemegang Tempat
- Pemegang Tempat
- Pemegang Tempat
Blueprint ini membuat
Blueprint berkaitan
Blueprint ini berkongsi pengetahuan — teknik, bahan atau prinsip
CC0 Domain Awam
Blueprint ini dikeluarkan di bawah CC0. Anda bebas menyalin, mengubah, mengedar, dan menggunakan karya ini untuk sebarang tujuan, tanpa meminta kebenaran.
Sokong Pembuat dengan membeli produk melalui Blueprint mereka di mana mereka memperoleh Komisen Pembuat ditetapkan oleh Penjual, atau cipta iterasi baru Blueprint ini dan sertakan ia sebagai sambungan dalam Blueprint anda sendiri untuk berkongsi hasil.