Raising the Nap and Shearing Woolen Cloth — Teasel Napping and Cropping Shears
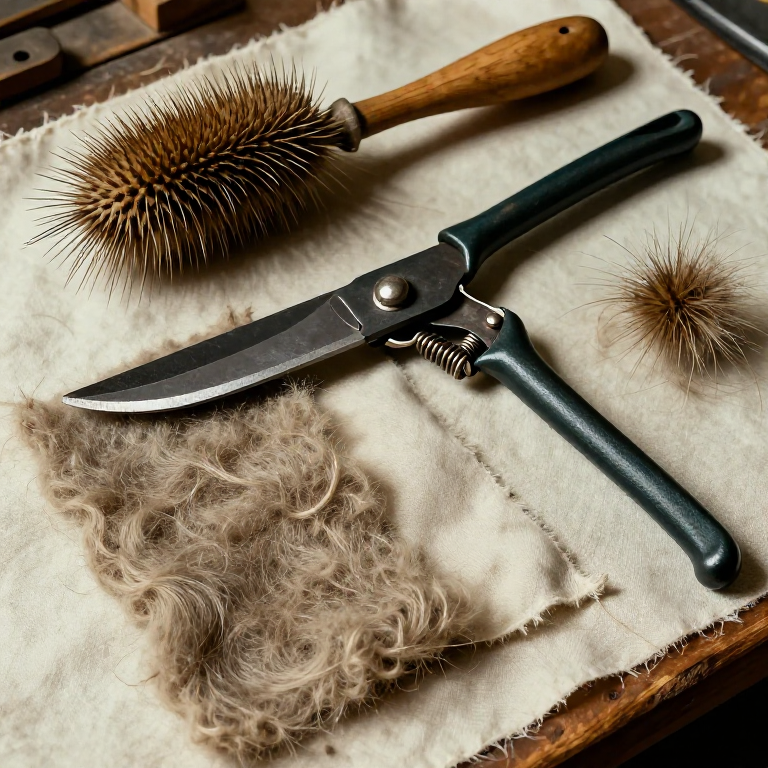
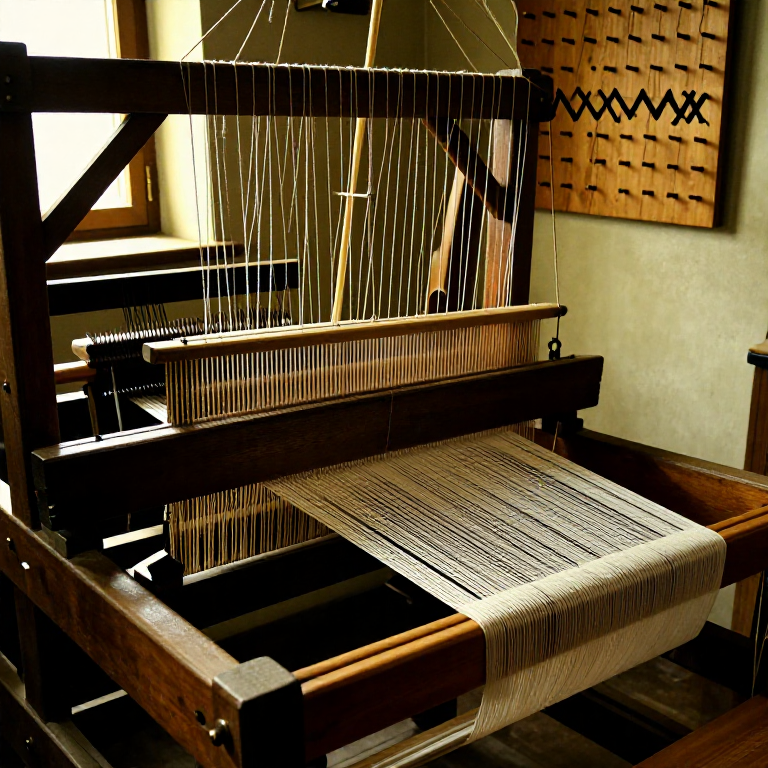
Napping and shearing are the twin finishing operations that transform rough fulled cloth into the smooth, luxurious broadcloth that made medieval England's fortune. First, the dried teasel heads of Dipsacus fullonum — mounted in rows on a wooden frame called a napping handle — are drawn repeatedly across the surface of the cloth, catching and raising individual fibres into a soft, fuzzy nap. Then a craftsman called a cropper lays the cloth over a padded table and shears the raised fibres to a uniform height with enormous spring-loaded cropping shears, sometimes weighing 15 kg. The cycle of napping and shearing is repeated several times — each pass producing a finer, denser surface. No mechanical substitute has ever matched the teasel: its hooks are stiff enough to raise fibres but elastic enough to release before tearing the cloth, and to this day teasels are used to finish the finest billiard cloth and military uniform fabric. This blueprint follows the cloth from its first napping through final shearing to a finished face.
Arahan
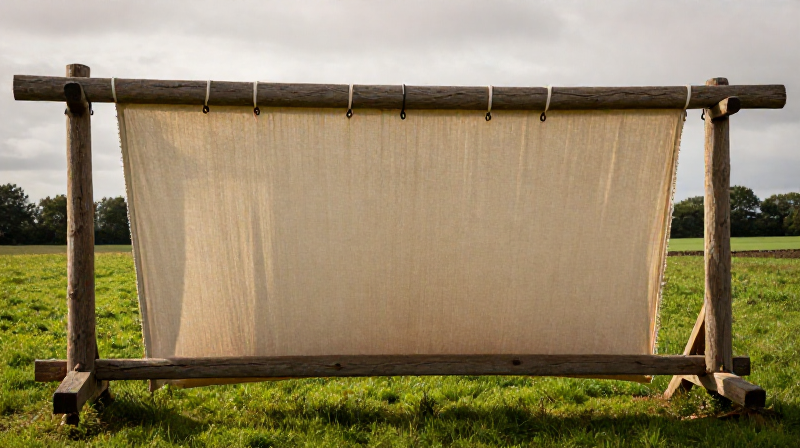
Prepare the tentered cloth
Prepare the tentered cloth
Bahan untuk langkah ini:
 Tentered Wool Cloth1 keping
Dampen the cloth lightly
Dampen the cloth lightly
Bahan untuk langkah ini:
 Clean Water2 liter
Mount the teasel heads
Mount the teasel heads
Bahan untuk langkah ini:
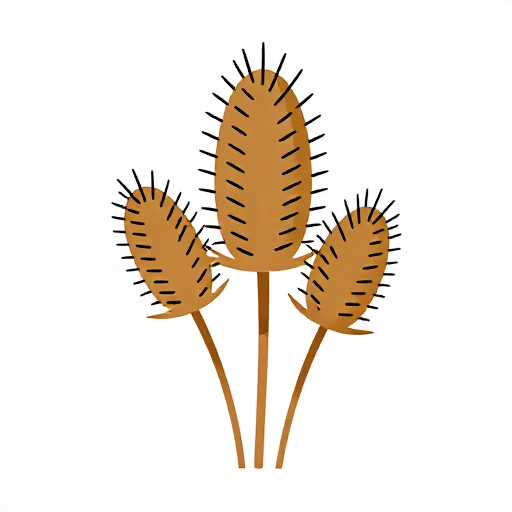 Dried Teasel Heads10 keping
Alatan diperlukan:
 Napping Handle
Stretch the cloth on the napping board
Stretch the cloth on the napping board
Alatan diperlukan:
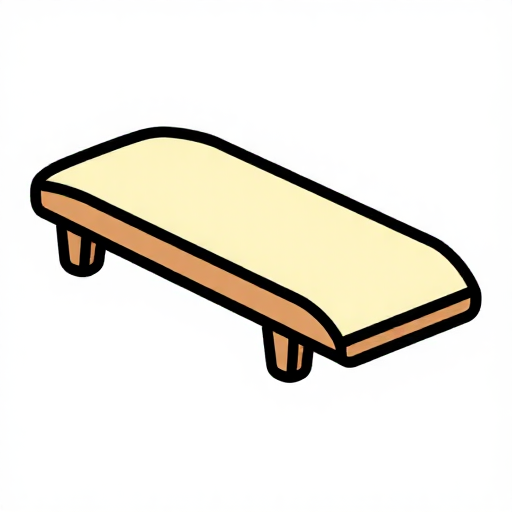 Napping Board
Make the first napping pass
Make the first napping pass
Work the entire surface
Work the entire surface
Replace worn teasel heads
Replace worn teasel heads
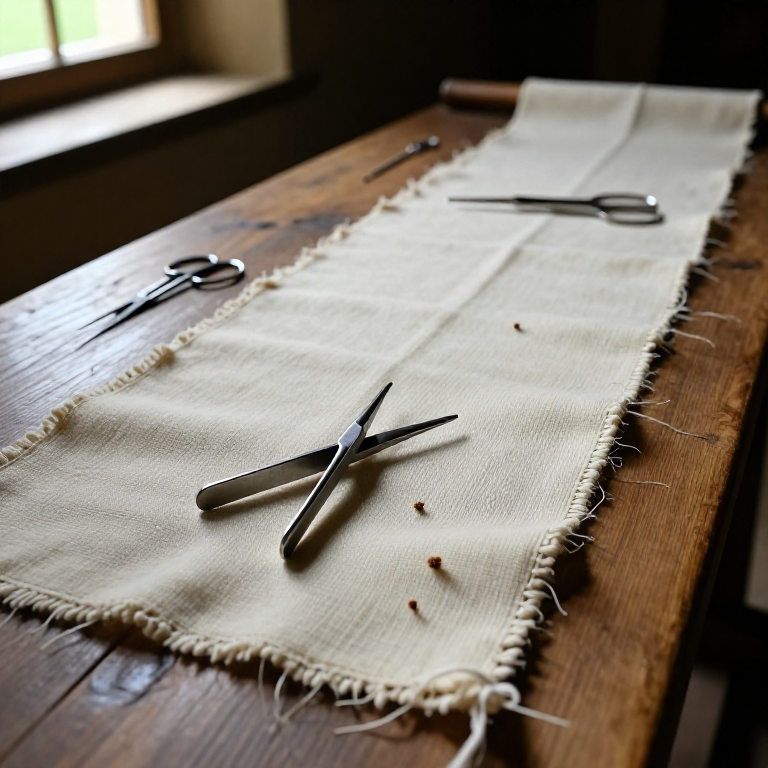
Lay the cloth for shearing
Lay the cloth for shearing
Prepare the cropping shears
Prepare the cropping shears
Alatan diperlukan:
 Cropping Shears
Make the first shearing cut
Make the first shearing cut
Shear the full surface
Shear the full surface
Brush away the clippings
Brush away the clippings
Alatan diperlukan:
 Soft Brush
Nap the second pass
Nap the second pass
Shear the second pass
Shear the second pass
Repeat for the reverse side
Repeat for the reverse side
Make the final finishing pass
Make the final finishing pass
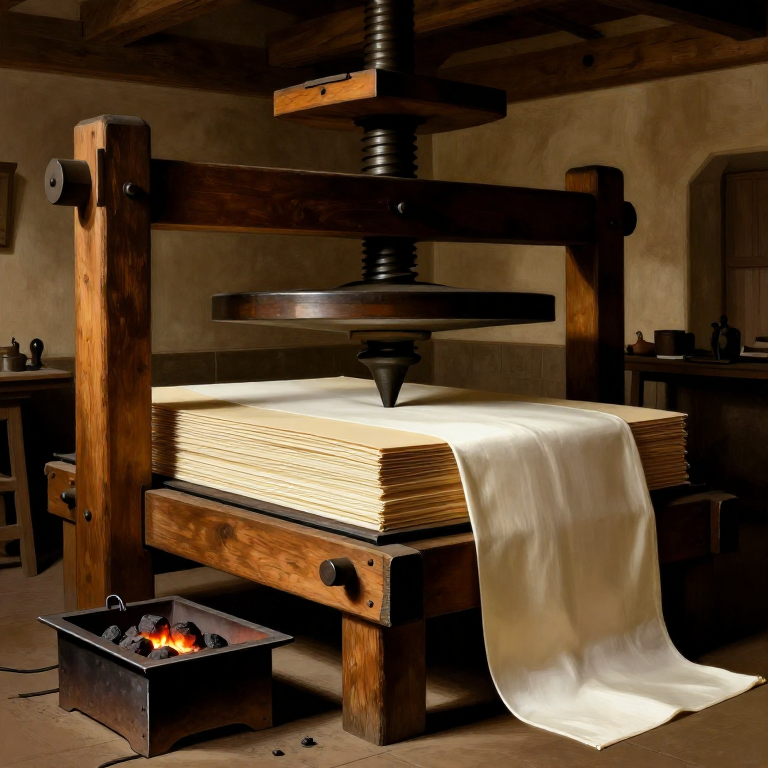
Press the finished cloth
Press the finished cloth
Inspect and fold for sale
Inspect and fold for sale
Bahan
3- 1 kepingPemegang Tempat
- 2 literPemegang Tempat
- 10 kepingPemegang Tempat
Alatan Diperlukan
4- Pemegang Tempat
- Pemegang Tempat
- Pemegang Tempat
- Pemegang Tempat
Bahan Blueprint Bersambung
Blueprint berkaitan
Blueprint ini berkongsi pengetahuan — teknik, bahan atau prinsip
Related blueprints
Other builds that share materials, tools, or techniques with this one.
CC0 Domain Awam
Blueprint ini dikeluarkan di bawah CC0. Anda bebas menyalin, mengubah, mengedar, dan menggunakan karya ini untuk sebarang tujuan, tanpa meminta kebenaran.
Sokong Pembuat dengan membeli produk melalui Blueprint mereka di mana mereka memperoleh Komisen Pembuat ditetapkan oleh Penjual, atau cipta iterasi baru Blueprint ini dan sertakan ia sebagai sambungan dalam Blueprint anda sendiri untuk berkongsi hasil.