
Buat Mesin Pemutar Tiang Zaman Pertengahan untuk Putaran Kayu Hijau
Arahan
Build a Strong Horizontal Beam for the Lathe Bed
Build a Strong Horizontal Beam for the Lathe Bed
Bahan untuk langkah ini:
 Ash Wood Log Section1 keping
Add Two Vertical Stands and a Top Rail
Add Two Vertical Stands and a Top Rail
Alatan diperlukan:
 Axe
Axe Hatchet
Install the Pole Lathe Drive System
Install the Pole Lathe Drive System
Create Support Centers
Create Support Centers
Bahan untuk langkah ini:
 Hardwood Logs (Oak, Maple, Beech)1 keping
Alatan diperlukan:
 Splitting Axe
 Wooden Mallet
Set Up the Chuck
Set Up the Chuck
Alatan diperlukan:
 Drawknife
Test the Drive Connection
Test the Drive Connection
Alatan diperlukan:
 Earth Auger
Install a Tool Holder
Install a Tool Holder
Bahan untuk langkah ini:
Hardwood Logs (Oak, Maple, Beech)2 kepingAlatan diperlukan:
AxeDrawknife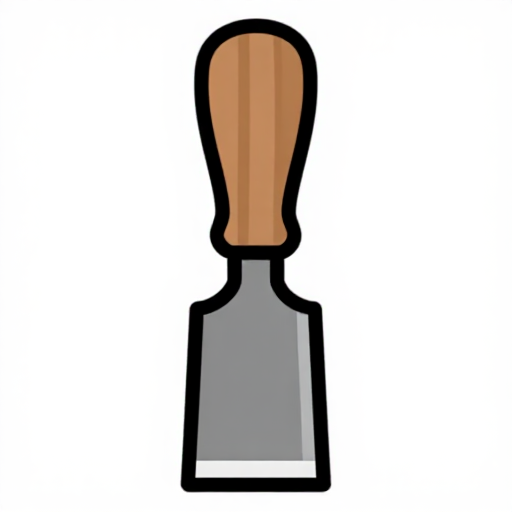 Chisel SetWooden Mallet
Set Up the First Workpiece
Set Up the First Workpiece
Bahan untuk langkah ini:
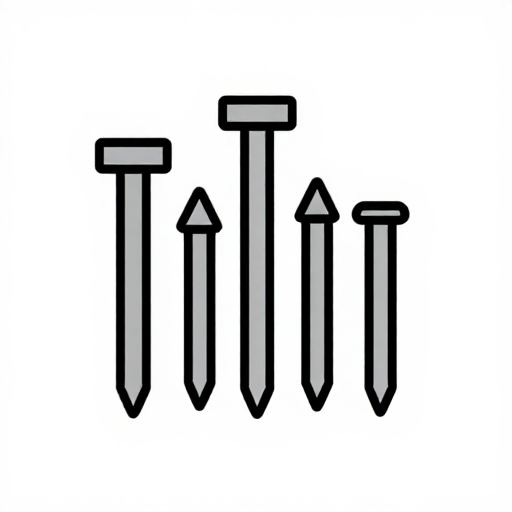 Nails2 keping
Alatan diperlukan:
Wooden Mallet Metal File
Secure the Workpiece
Secure the Workpiece
Bahan untuk langkah ini:
Hardwood Logs (Oak, Maple, Beech)4 kepingAlatan diperlukan:
AxeDrawknifeTest Rotation
Test Rotation
Alatan diperlukan:
Chisel SetWooden MalletEarth AugerBegin Rounding
Begin Rounding
Bahan untuk langkah ini:
 Wooden Felling Wedge8 keping
Alatan diperlukan:
Wooden MalletAdjust Across the Downstroke
Adjust Across the Downstroke
Bahan untuk langkah ini:
Ash Wood Log Section2 kepingAlatan diperlukan:
Chisel SetWooden MalletEarth AugerFinish the Smooth Surface
Finish the Smooth Surface
Bahan untuk langkah ini:
 Ash Board (1x4x24 inches)1 keping
Alatan diperlukan:
Drawknife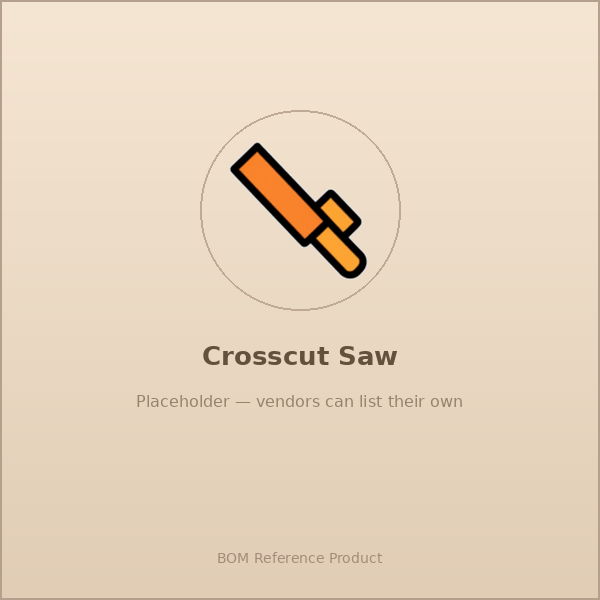 Crosscut Saw
Remove and Clean the Workpiece
Remove and Clean the Workpiece
Bahan untuk langkah ini:
 Dowel Rod1 keping
Alatan diperlukan:
Earth AugerTest Final Quality
Test Final Quality
Bahan untuk langkah ini:
 Hemp Cord3 metre
Alatan diperlukan:
 Knife
KnifeBegin the Drying Process
Begin the Drying Process
Bahan untuk langkah ini:
 Binding Rope2 metre
Alatan diperlukan:
Wooden MalletApply Optional Finishing Techniques
Apply Optional Finishing Techniques
Alatan diperlukan:
Earth AugerPrepare the Lathe for the Next Project
Prepare the Lathe for the Next Project
Alatan diperlukan:
Wooden MalletKnifeRefine Your Skills
Refine Your Skills
Maintain Tool Sharpness
Maintain Tool Sharpness
Explore Design Variations
Explore Design Variations
Alatan diperlukan:
 Gouge
GougeBahan
8- 1 sapling 3-4m + 1 log for stretchers kepingPemegang Tempat
- 2-3 logs for rails, poppets, legs kepingPemegang Tempat
- 2-3 wedges kepingPemegang Tempat
- 1 plank for treadle kepingPemegang Tempat
- 2-3 metres for pole mounting kepingPemegang Tempat
Alatan Diperlukan
11- Pemegang Tempat
- Pemegang Tempat
- Pemegang Tempat
- Pemegang Tempat
- Pemegang Tempat
- Pemegang Tempat
CC0 Domain Awam
Blueprint ini dikeluarkan di bawah CC0. Anda bebas menyalin, mengubah, mengedar, dan menggunakan karya ini untuk sebarang tujuan, tanpa meminta kebenaran.
Sokong Pembuat dengan membeli produk melalui Blueprint mereka di mana mereka memperoleh Komisen Pembuat ditetapkan oleh Penjual, atau cipta iterasi baru Blueprint ini dan sertakan ia sebagai sambungan dalam Blueprint anda sendiri untuk berkongsi hasil.