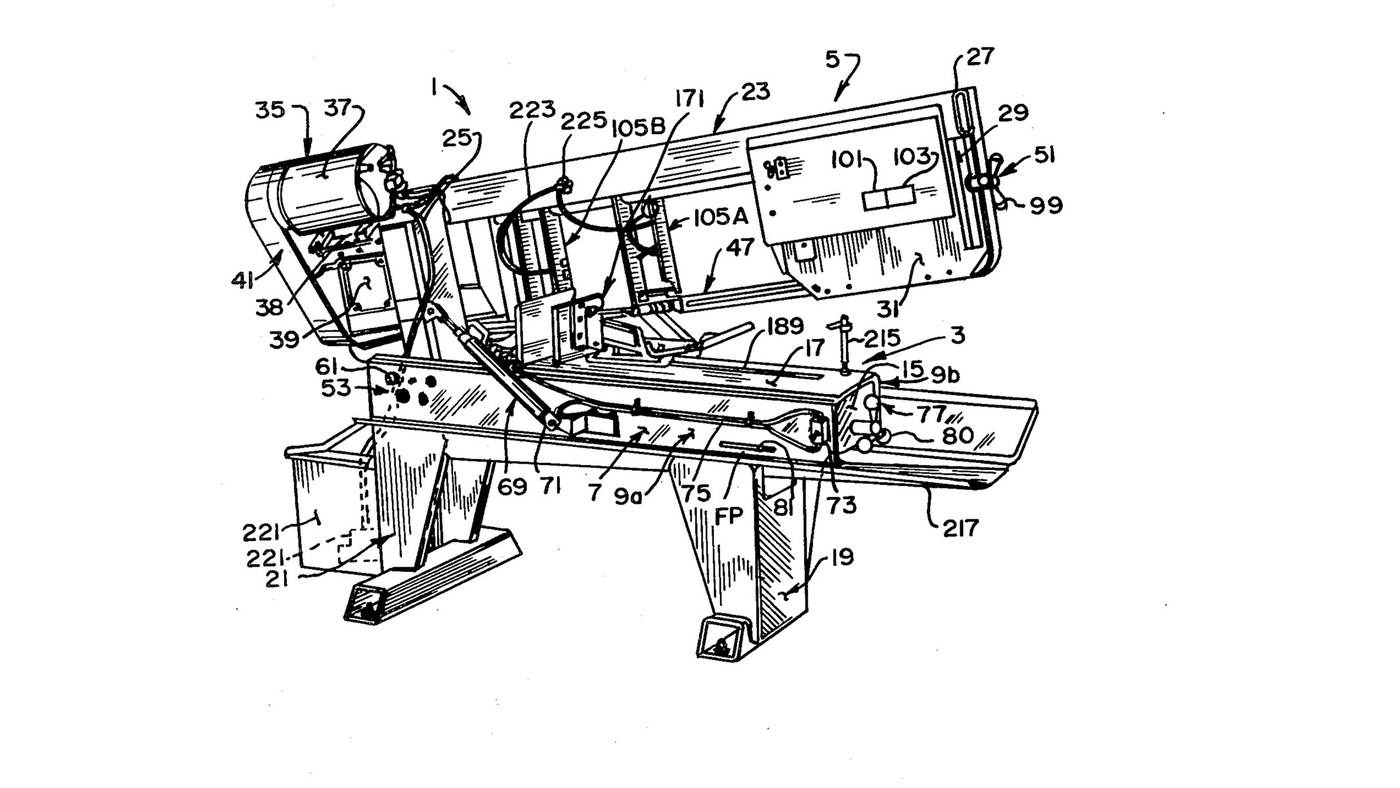

Metal Band Saw: Horizontal Saw on a Welded Steel Frame
Arahan
Weld the bed
Weld the bed
Bahan untuk langkah ini:
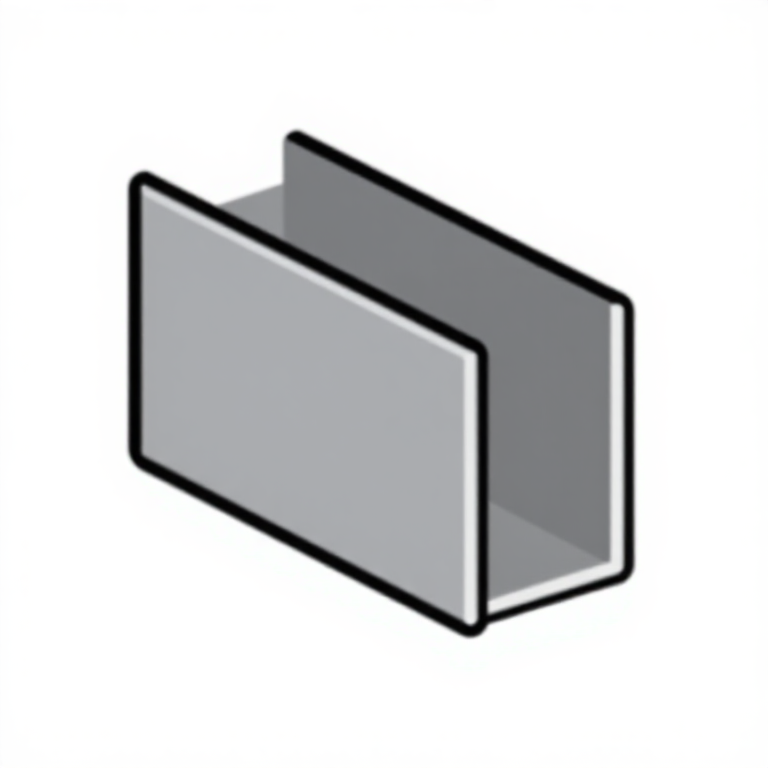 Profil keluli bentuk U2 keping
 Plat keluli lembut1 keping
 Bolt kepala enam segi - mutu 8.81 keping
Alatan diperlukan:
 Mesin kimpal MIG
 Gerudi Tiang
 Sepana boleh laras
Weld and bolt on the legs
Weld and bolt on the legs
Bahan untuk langkah ini:
 Kepingan keluli1 keping
 Tiub keluli1 kepingBolt kepala enam segi - mutu 8.81 keping
Alatan diperlukan:
Mesin kimpal MIGSepana boleh larasWeld the head
Weld the head
Bahan untuk langkah ini:
Tiub keluli1 kepingPlat keluli lembut1 kepingAlatan diperlukan:
Mesin kimpal MIGFit the trunnions and align the pivot
Fit the trunnions and align the pivot
Bahan untuk langkah ini:
 Aci keluli1 keping
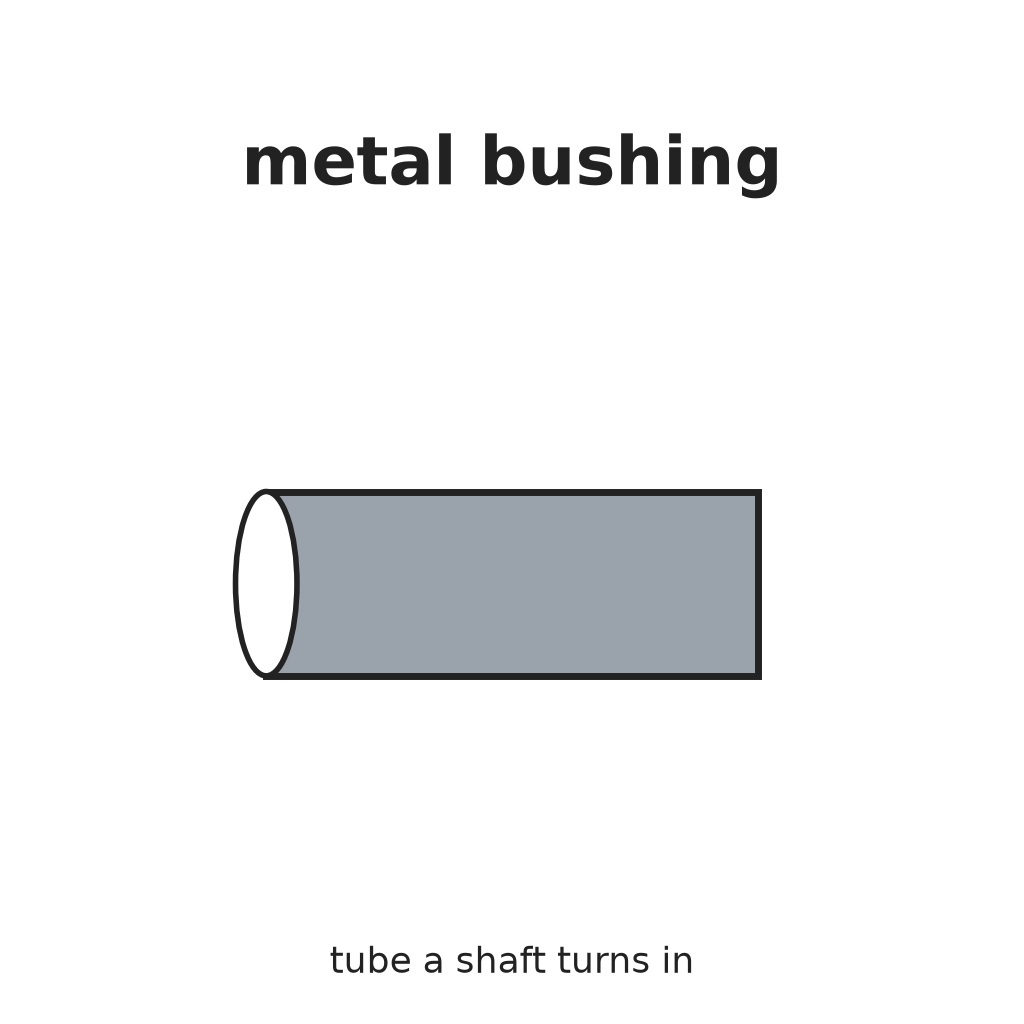 Bush Logam2 keping
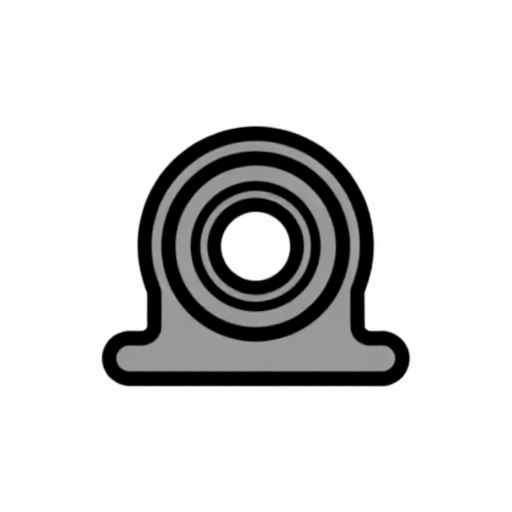 Blok galas2 kepingBolt kepala enam segi - mutu 8.88 keping
 Skru penetap hujung cawan1 keping
Alatan diperlukan:
Gerudi Tiang Sepana Tork
Mount motor, belt drive and gearbox
Mount motor, belt drive and gearbox
Bahan untuk langkah ini:
 Motor elektrik1 kepingPlat keluli lembut1 keping
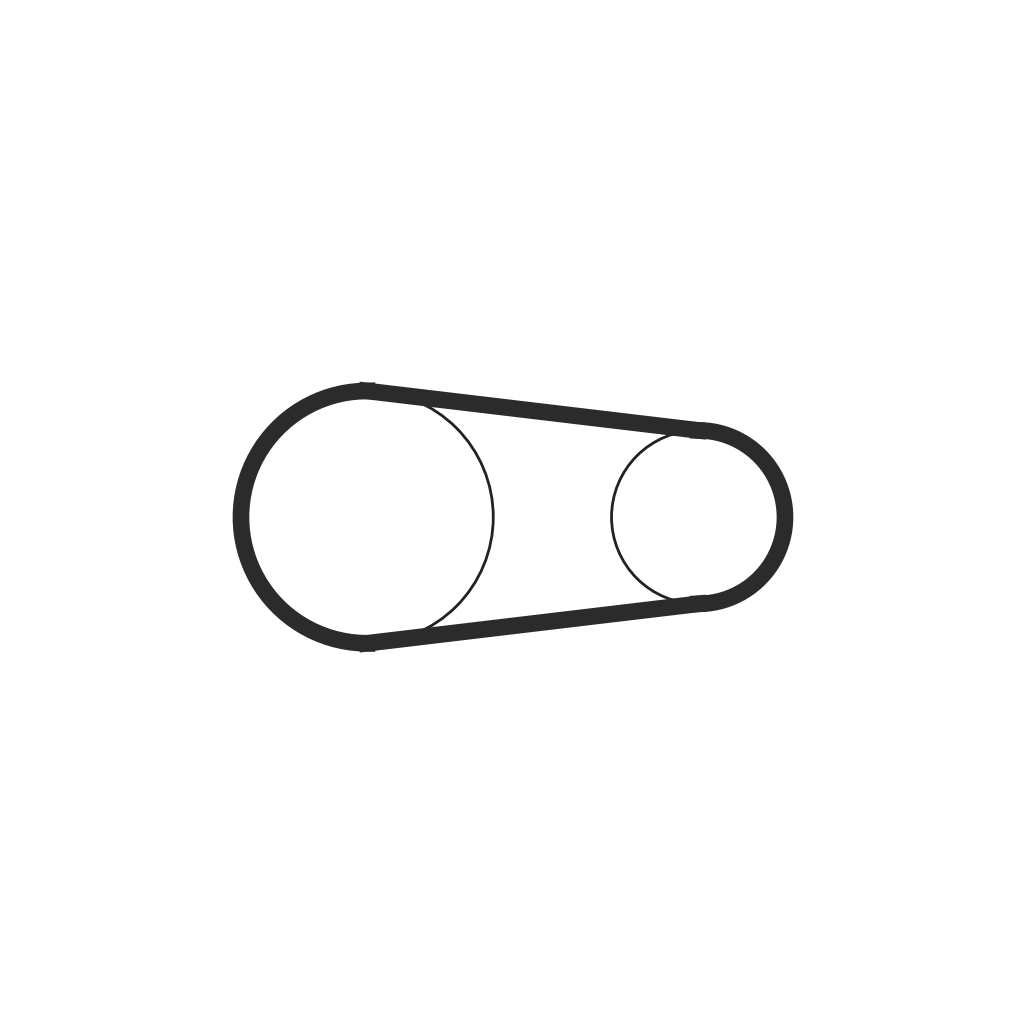 Tali sawat pemacu1 keping
 Takal1 keping
 Kotak gear1 keping
 Roda gergaji jalur1 keping
Alatan diperlukan:
Sepana boleh larasBuild the idler tensioner
Build the idler tensioner
Bahan untuk langkah ini:
Plat keluli lembut1 keping Pin keluli1 kepingAci keluli1 kepingRoda gergaji jalur1 keping
 Galas Bebola1 keping
 Rod berbenang1 keping
 Coil Spring1 keping
 Bolt U1 keping
 Tombol kawalan1 keping
Alatan diperlukan:
Mesin kimpal MIGSepana boleh larasBuild the two blade guides
Build the two blade guides
Bahan untuk langkah ini:
 Penggelek pemandu4 kepingGalas Bebola4 keping
 Sesendal sipi4 keping
 Sisipan karbida6 kepingCoil Spring2 kepingTombol kawalan2 kepingTiub keluli1 keping
Alatan diperlukan:
Sepana boleh larasFit the blade and set the tension
Fit the blade and set the tension
Bahan untuk langkah ini:
 Mata gergaji jalur1 keping
Fit the feed cylinder and counterbalance
Fit the feed cylinder and counterbalance
Bahan untuk langkah ini:
 Silinder hidraulik1 keping
 Minyak hidraulik1 batch
 Tiub hidraulik1 keping
 Injap kawalan aliran1 kepingCoil Spring1 kepingRod berbenang1 kepingTombol kawalan1 keping
Alatan diperlukan:
Sepana boleh larasBolt on the vice
Bolt on the vice
Bahan untuk langkah ini:
 Ragum Mesin1 kepingBolt kepala enam segi - mutu 8.81 keping
Alatan diperlukan:
Sepana boleh larasBahan
29- 2 kepingPemegang Tempat
- 1 kepingPemegang Tempat
- 11 kepingPemegang Tempat
- 1 kepingPemegang Tempat
- 1 kepingPemegang Tempat
- 1 kepingPemegang Tempat
- 2 kepingPemegang Tempat
- 2 kepingPemegang Tempat
- 1 kepingPemegang Tempat
- 1 kepingPemegang Tempat
- 1 kepingPemegang Tempat
- 1 kepingPemegang Tempat
- 1 kepingPemegang Tempat
- 1 kepingPemegang Tempat
- 1 kepingPemegang Tempat
- Pemegang Tempat
- 1 kepingPemegang Tempat
- 4 kepingPemegang Tempat
- 1 kepingPemegang Tempat
- Pemegang Tempat
- 4 kepingPemegang Tempat
- 4 kepingPemegang Tempat
- 6 kepingPemegang Tempat
- 1 kepingPemegang Tempat
- 1 kepingPemegang Tempat
- 1 batchPemegang Tempat
- 1 kepingPemegang Tempat
- 1 kepingPemegang Tempat
- 1 kepingPemegang Tempat
Blueprint ini membuat
CC0 Domain Awam
Blueprint ini dikeluarkan di bawah CC0. Anda bebas menyalin, mengubah, mengedar, dan menggunakan karya ini untuk sebarang tujuan, tanpa meminta kebenaran.
Sokong Pembuat dengan membeli produk melalui Blueprint mereka di mana mereka memperoleh Komisen Pembuat ditetapkan oleh Penjual, atau cipta iterasi baru Blueprint ini dan sertakan ia sebagai sambungan dalam Blueprint anda sendiri untuk berkongsi hasil.