Kerjasama
SENI
KECANTIKAN & KESEJAHTERAAN
KRAFTANGAN
BUDAYA & SEJARAH
HIBURAN
ALAM SEKITAR
MAKANAN & MINUMAN
KEJURUTERAAN TERBALIK
SAINS
SUKAN
TEKNOLOGI
BOLEH PAKAI
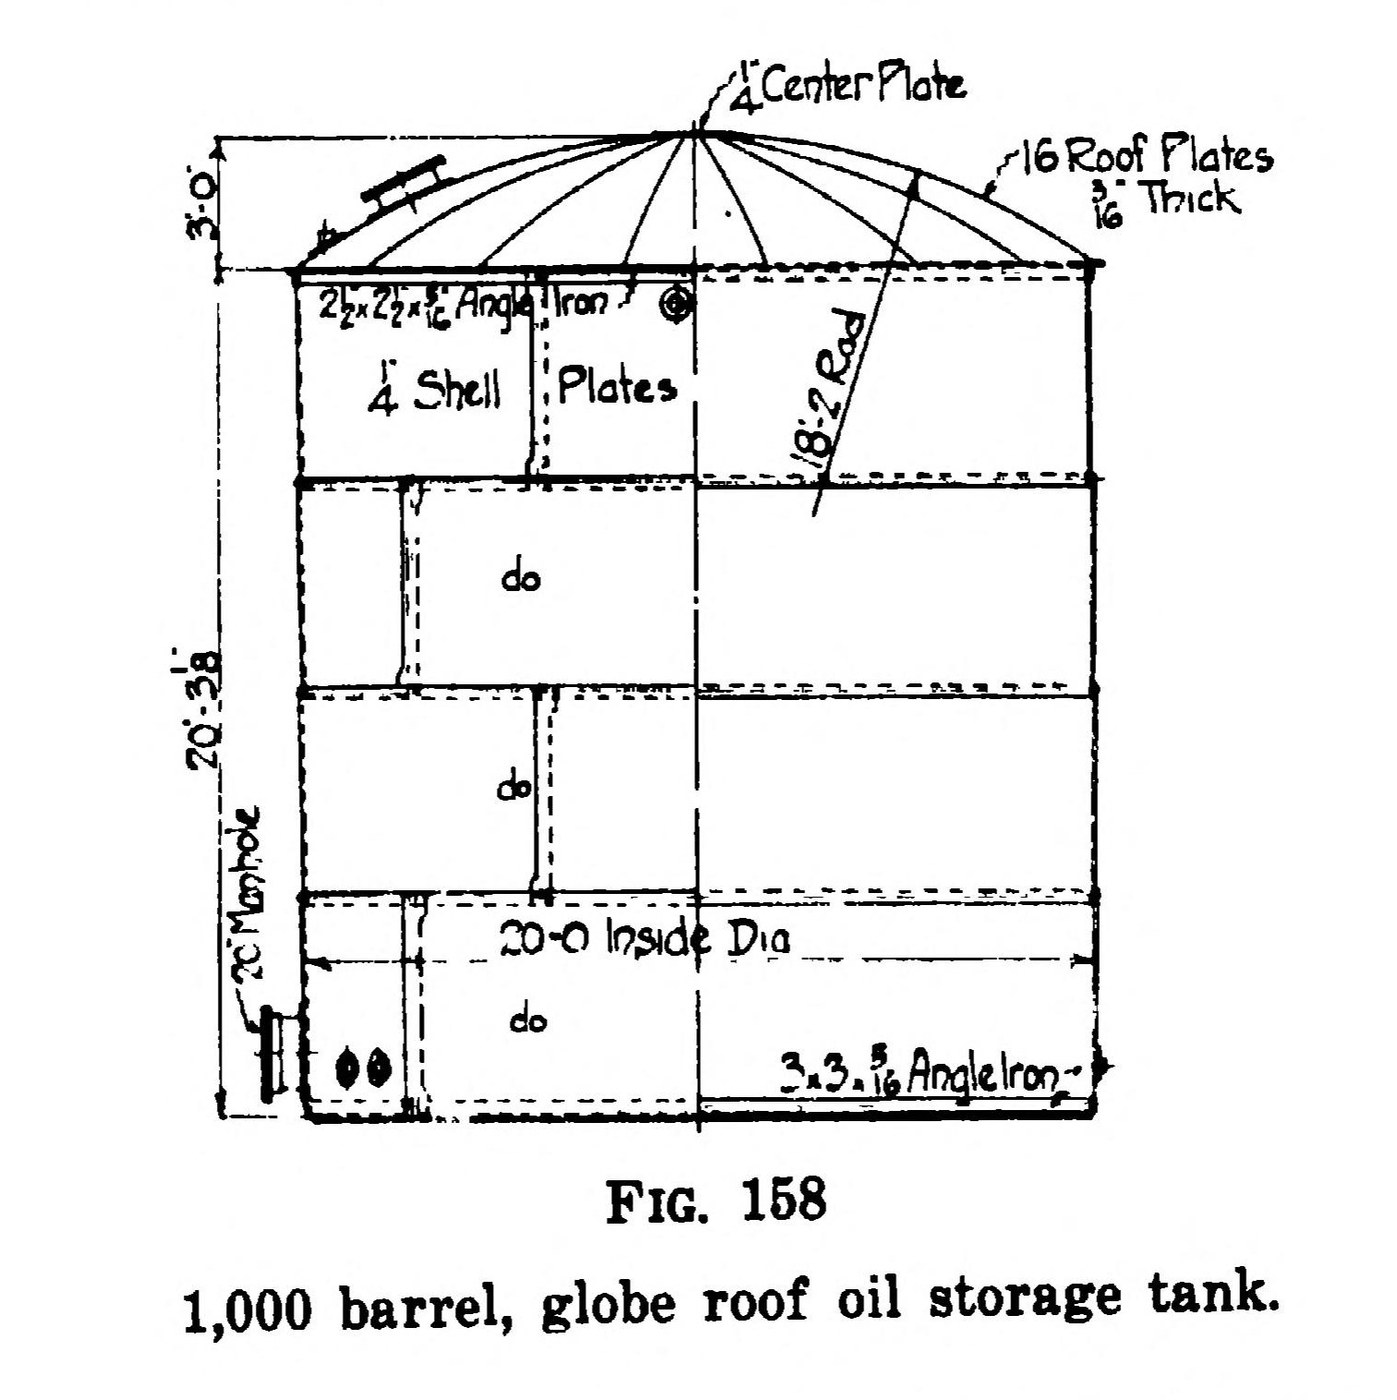

Oil Storage Tank: a Riveted Steel Tank with Globe Roof (Bell, 1923)
An above-ground oil tank of riveted 'tank steel': a flat bottom, rings of plate lapped and riveted, angle irons at top and bottom, and a self-supporting globe roof. Every seam is caulked oil-tight and the tank is water-tested before painting.
Variable: capacity. Bell's Fig. 158 is 1,000 barrels: 20 ft inside diameter, about 20 ft 3 in high, four rings of 1/4 in plate, sixteen 3/16 in roof plates rising 3 ft. Standard tanks run from 500 to 80,000 barrels (120 ft x 40 ft).
Source: H. S. Bell, American Petroleum Refining (1923), pp. 286-306. Picture: Fig. 158 of the book.
Pakar
Unknown
Arahan
1
1
Choose the size and plates
Choose the size and plates
Pick the capacity from the standard sizes (1,000 barrels: 20 ft diameter, 20 ft high). Take plate thickness from Bell's chart for the head and diameter, with a factor of safety of at least 2 1/2 for refinery tanks. Use at least 1/4 in for the shell; bottom 1/4 in on larger tanks, 3/16 in on smaller. Rings are 6 ft (72 in plates); about 7 ft is the limit.
Alatan diperlukan:
 Dimensi tidak diketahui
2
2
Prepare the ground
Prepare the ground
Level the ground in a circle 10 ft wider than the tank and remove all vegetable growth. Avoid a mix of cut and fill. In old yards filled with cinders, dig them out at least 8 in deep and replace with fine gravel, loam or sand. On poor soil, use piles.
Bahan untuk langkah ini:
 Batu kerikil1 as needed
Alatan diperlukan:
Dimensi tidak diketahui3
3
Punch and scarf the plates
Punch and scarf the plates
Punch the rivet holes. For 1/4 in plate with 5/8 in rivets, a single lap seam has holes 2 1/4 in apart and 1 1/8 in from the edge; keep the clear space between holes no more than 6 or 7 times the plate thickness, or the caulked edge springs. Scarf the corner of the middle plate where three plates meet: cold up to 1/4 in, hot above, drawn to an edge no thicker than 1/16 in.
Alatan diperlukan:
 Mesin penekan tebuk
 Tukul besar
4
4
Build the bottom on horses
Build the bottom on horses
Lay, rivet and caulk the bottom on trestles or horses about 30 in high. Rivet the bottom angle iron (Fig. 158: 3 x 3 x 5/16 in) with a 1/4 in bent-plate shoe behind each angle splice; caulk the shell leg past the shoe at least 12 in, or better bevel and caulk the angle all round. Assemble and drive the first ring while the bottom is still up. Test the bottom under 6 to 8 in of water. Coat its underside with ship-bottom or heavy asphalt paint.
Bahan untuk langkah ini:
 Plat keluli lembut1 bottom, first ring
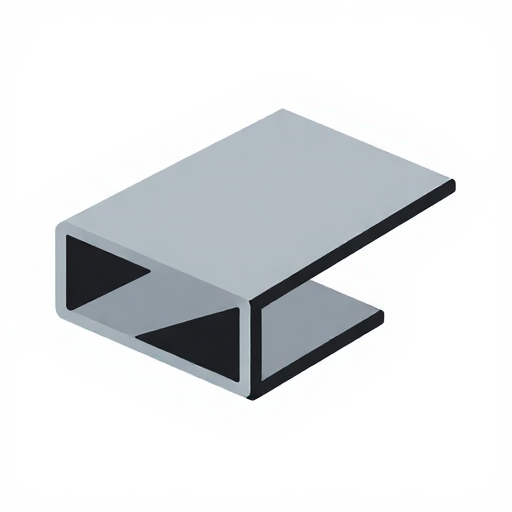 Besi sudut keluli lembut1 bottom angle
 Rivet keluli1 keping
 Bahan tidak diketahui1 asphalt paint
Alatan diperlukan:
 Tukul rivet
 Pelebar lubang tirus
 Air
 Berus cat lebar
5
5
Lower it and raise the shell
Lower it and raise the shell
Raise the tank on jacks round the edge, clear out the horses and debris, and lower the bottom to grade. Rivet and caulk the remaining rings from scaffolds: floating scaffolds where water is at hand (water is pumped in as each ring is caulked tight, testing as you go), or brackets bolted through punched holes, later plugged with hot rivets. Where three plates meet, bolt them, heat cherry red with an oil-burning torch and lay the joint up with sledges before riveting. Fit the top angle (2 1/2 x 2 1/2 x 5/16 in) and a flanged steel manhole in the bottom ring.
Bahan untuk langkah ini:
Plat keluli lembut1 ringsBesi sudut keluli lembut1 top angleRivet keluli1 kepingAlatan diperlukan:
 Jek skruTukul rivetPelebar lubang tirus
 OborTukul besarAir
6
6
Fit the globe roof
Fit the globe roof
For tanks up to 54 ft across, rivet on a self-supporting globe roof of segmental 3/16 in plates (Fig. 158: sixteen plates, 1/4 in centre plate, 3 ft rise); cold riveting is fine here. Make it gas-tight, with one vent at the apex covered by brass or monel wire cloth of at least 50 mesh.
Bahan untuk langkah ini:
Plat keluli lembut1 roofRivet keluli1 kepingAlatan diperlukan:
Tukul rivet7
7
Test and paint
Test and paint
Fill the tank with water to test it before painting; it shows the important leaks, though not always tightness for light oils. Wire-brush off mill scale and rust. Give shell and roof three coats: one of red lead ground in boiled linseed oil, then two of good grey graphite paint.
Bahan untuk langkah ini:
 Plumbum merah1 first coat
 Minyak Biji Rami Rebus1 kepingBahan tidak diketahui2 grey graphite paint
Alatan diperlukan:
Air Set berus dawaiBerus cat lebar
Bahan
7- 1 as neededPemegang Tempat
- 1 roofPemegang Tempat
- 1 top anglePemegang Tempat
- 1 kepingPemegang Tempat
- 2 grey graphite paintPemegang Tempat
- 1 first coatPemegang Tempat
- 1 kepingPemegang Tempat
Alatan Diperlukan
10- Pemegang Tempat
- Pemegang Tempat
- Pemegang Tempat
- Pemegang Tempat
- Pemegang Tempat
- Pemegang Tempat
- Pemegang Tempat
- Pemegang Tempat
- Pemegang Tempat
- Pemegang Tempat
Bahan Blueprint Bersambung
10% Atribusi
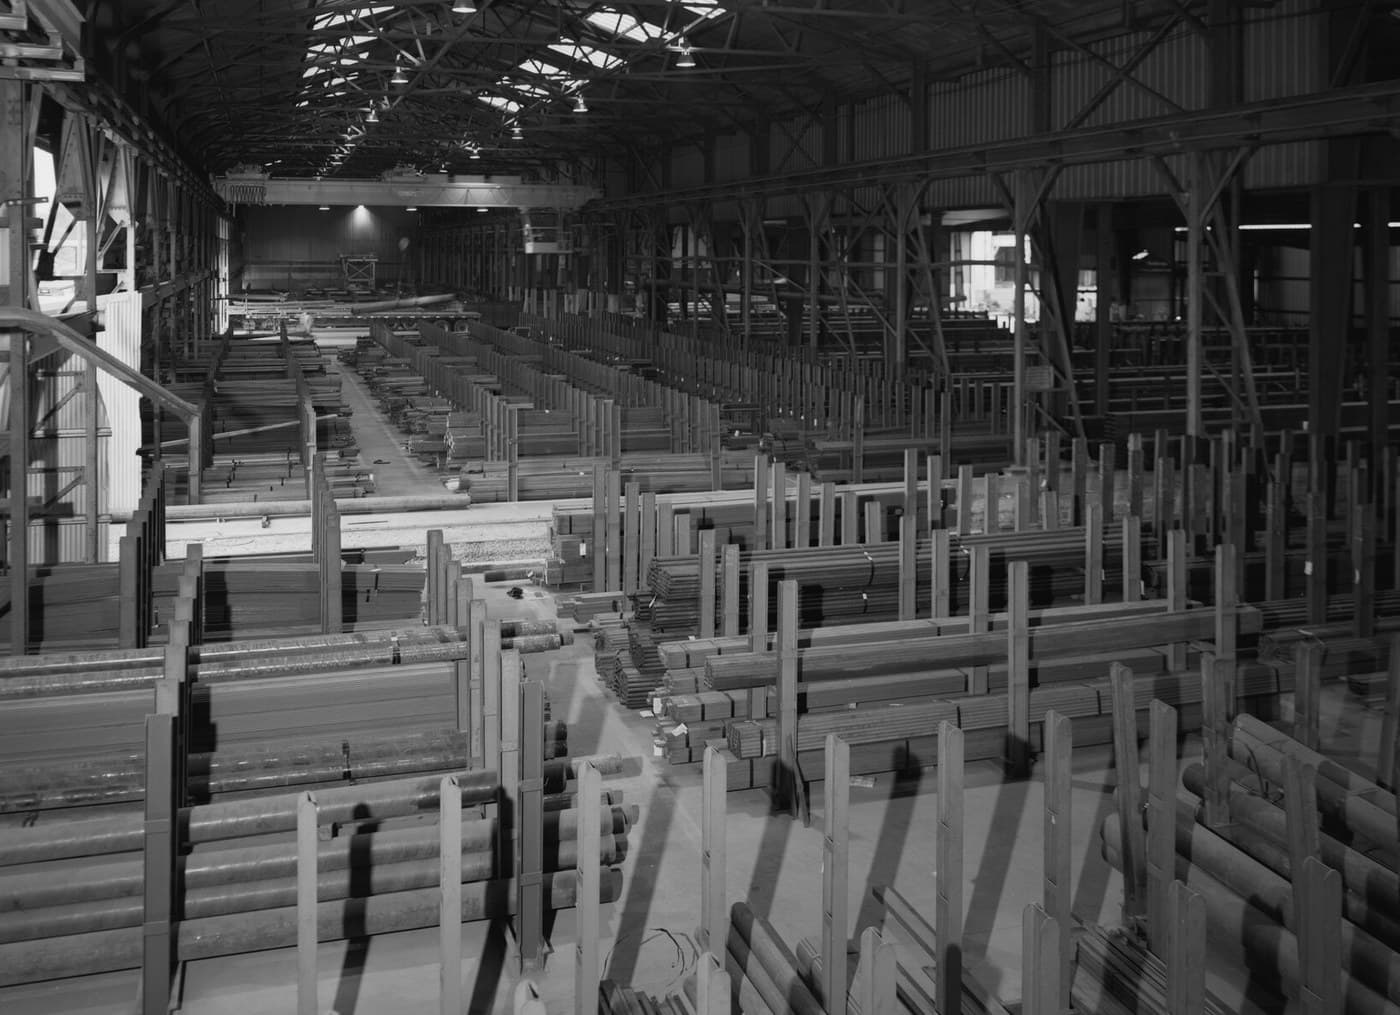
Mild Steel Plate and Sheet Hammered from a Billet
oleh Forge
Moden
41
0
0
0
5
0
10% Atribusi
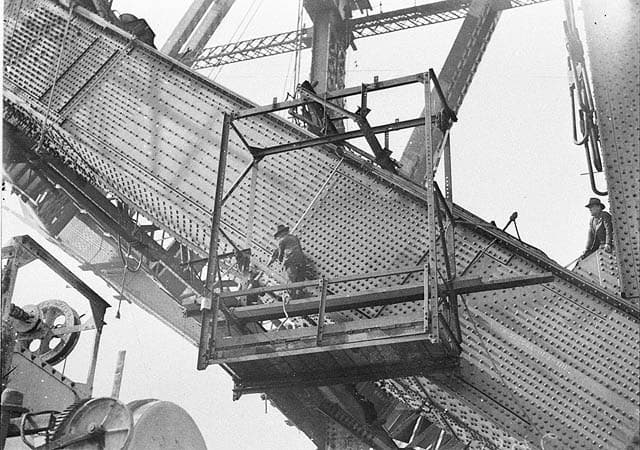
Hot-Rolled Steel Angles and Channels
oleh Forge
Kerja Logam
26
0
0
0
2
0
10% Atribusi
Steel Rivets Forged in a Nail Header
oleh Forge
Tukang Besi
25
0
0
0
1
0

Berbahaya
10% Atribusi
Making Red Lead (Minium) — The Pigment That Named the Art of Miniature Painting
oleh Charlie
SENI
110
0
0
0
2
0
Blueprint ini membuat
CC0 Domain Awam
Blueprint ini dikeluarkan di bawah CC0. Anda bebas menyalin, mengubah, mengedar, dan menggunakan karya ini untuk sebarang tujuan, tanpa meminta kebenaran.
Sokong Pembuat dengan membeli produk melalui Blueprint mereka di mana mereka memperoleh Komisen Pembuat ditetapkan oleh Penjual, atau cipta iterasi baru Blueprint ini dan sertakan ia sebagai sambungan dalam Blueprint anda sendiri untuk berkongsi hasil.