Kerjasama
SENI
KECANTIKAN & KESEJAHTERAAN
KRAFTANGAN
BUDAYA & SEJARAH
HIBURAN
ALAM SEKITAR
MAKANAN & MINUMAN
KEJURUTERAAN TERBALIK
SAINS
SUKAN
TEKNOLOGI
BOLEH PAKAI
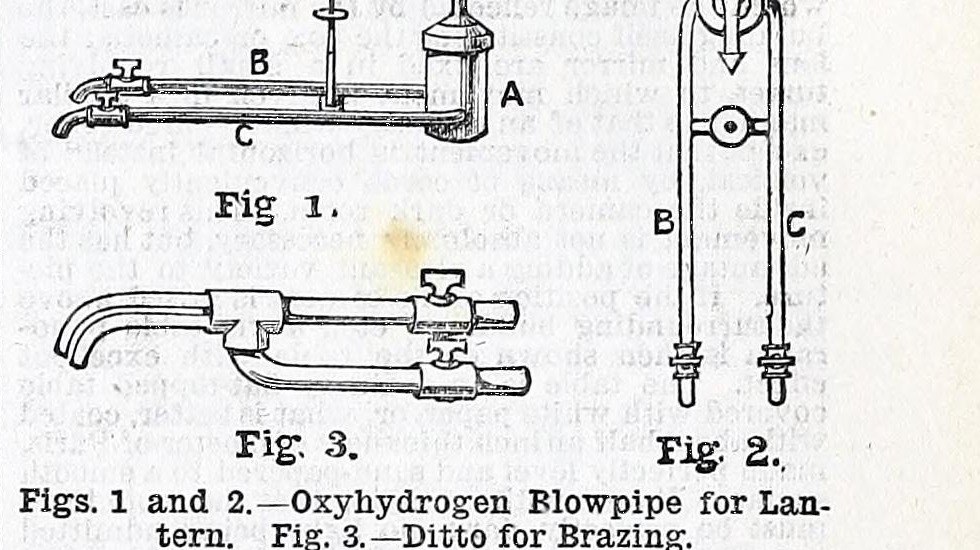


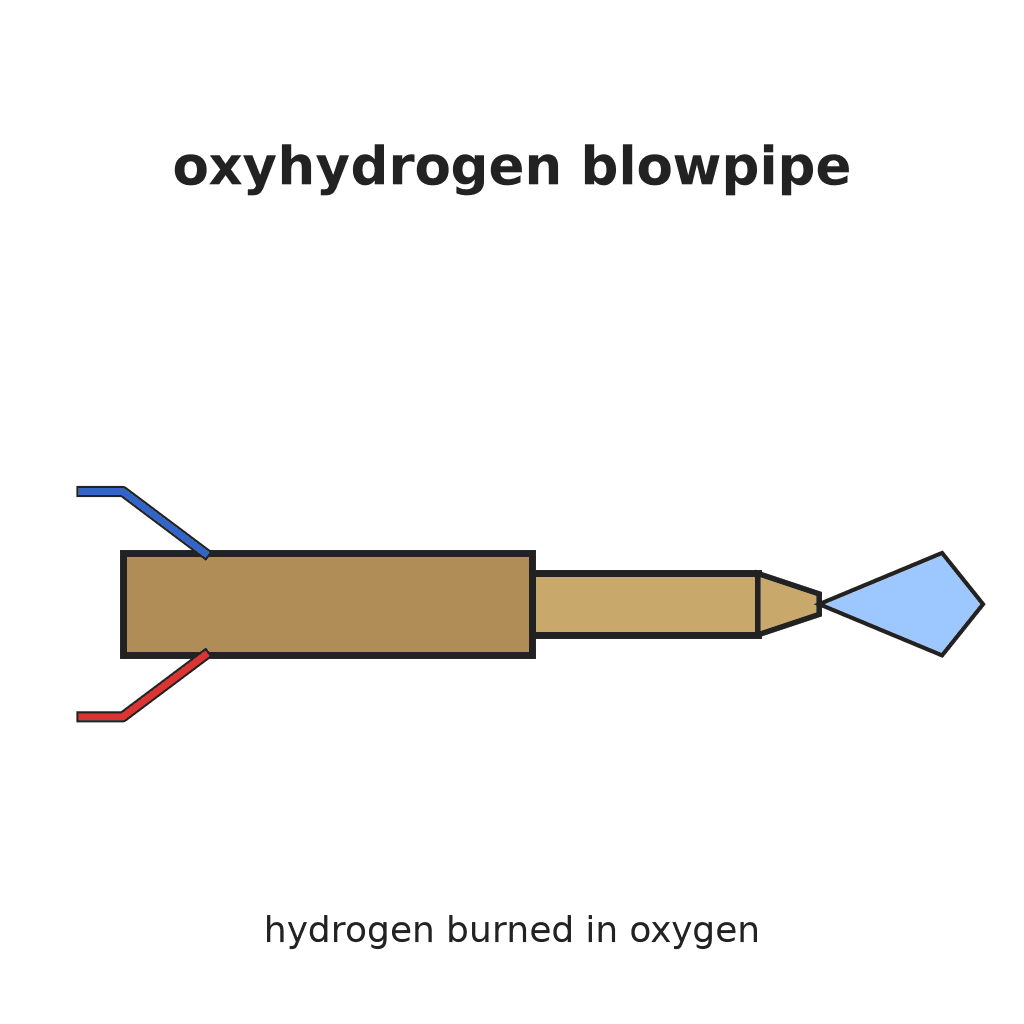
Oxyhydrogen Blowpipe: Brass Tube-in-Tube, the Gases Meeting at the Nozzle (Work, 1892)
A blowpipe that burns hydrogen in a jet of oxygen for a very hot brazing and melting flame. H. B. Stocks (Work, 1892) builds it like his cheap gas blowpipe: a fine brass tube for the oxygen, centred inside an outer brass tube (no more than 1/4 in. bore) that carries the hydrogen, joined by a three-way tube.
The two gases must not mix until they reach the nozzle; each comes from its own reservoir through its own tap.
Source: H. B. Stocks, "How to Prepare Cheap Blowpipes", Work, 2 July 1892, p. 250, with his reply "Oxyhydrogen Blowpipe", Work, 3 December 1892, p. 605 (Fig. 3).
Pertengahan
Unknown
Arahan
1
1
Read Stocks
Read Stocks
"The oxyhydrogen blowpipe for brazing ... is practically the same as the blowpipe shown at p. 250 ..., but the brass pipe should not be more than 1/4 in. internal diameter; the inner tube for oxygen about 1/12 in. internal diameter, and should reach to the mouth of the outer tube. It can then be filed down, if required."
2
2
Cut the tubes
Cut the tubes
Cut the brass tubes: the outer (hydrogen) tube, not more than 1/4 in. bore, threaded at one end; a curved side tube for the hydrogen supply, threaded at one end; a short straight tube for the oxygen supply, threaded at one end; and the inner oxygen tube, about 1/12 in. bore. For his gas blowpipe Stocks used 4 in., 5 1/2 in. (curved), 3 1/2 in. and 5 1/2 in.; the lengths for the brazing pipe are not given and he says the sizes may be changed. How the tube is curved is not given.
Bahan untuk langkah ini:
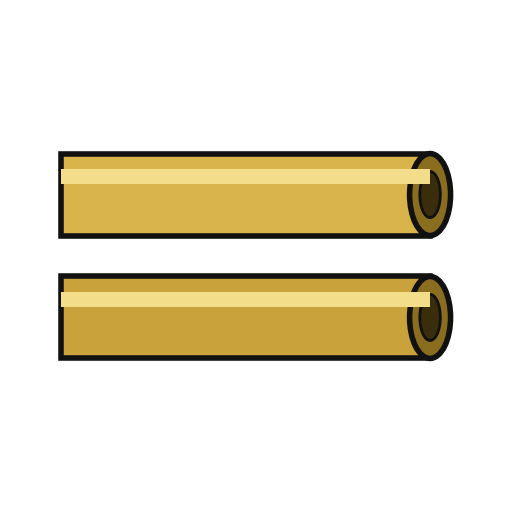 Tiub loyang4 keping
Alatan diperlukan:
 Gergaji Besi
 Set pemotong ulir
 Kaedah pembentukan tidak diketahui
 Dimensi tidak diketahui
3
3
Centre the oxygen tube
Centre the oxygen tube
Cut a small strip of thin sheet brass (Stocks: full 3/4 in. by 1/2 in.), turn it into a ring and solder it on one end of the inner tube. File the ring down until it pushes into the threaded end of the short oxygen tube, and solder it inside.
Bahan untuk langkah ini:
 Kepingan Loyang1 small strip
 Pateri timah-plumbum1 keping
Alatan diperlukan:
 Gunting kepingan logam
 Kikir (Kikir Tangan)
 Alat pematerian
 Fluks
4
4
Assemble
Assemble
Screw the oxygen tube into one end of the three-way tube, screw the outer tube on the other end and see that the inner tube is exactly in its centre. Screw the curved hydrogen tube into the side branch. Fit a tap on each supply (Fig. 3; type not given).
Bahan untuk langkah ini:
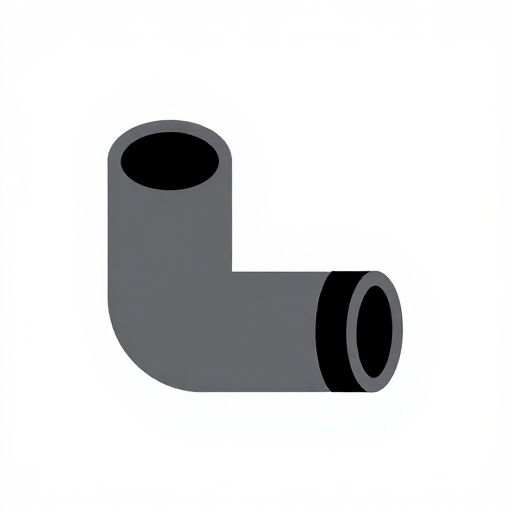 Penyambung paip berbenang1 three-way tube
 Injap tidak diketahui2 one per gas
5
5
Set the nozzle
Set the nozzle
The inner oxygen tube should reach to the mouth of the outer tube. Light it with hydrogen in the outer tube and oxygen in the inner, each from its own reservoir; if the flame shows a white patch, the inner tube is off centre or too long: file it down a little until correct. Never let the gases mix before the nozzle.
Alatan diperlukan:
Kikir (Kikir Tangan) Hidrogen
 Oksigen
Bahan
5- 4 kepingPemegang Tempat
- 1 small stripPemegang Tempat
- 1 kepingPemegang Tempat
- 1 three-way tubePemegang Tempat
- 2 one per gasPemegang Tempat
Alatan Diperlukan
10- Pemegang Tempat
- Pemegang Tempat
- Pemegang Tempat
- Pemegang Tempat
- Pemegang Tempat
- Pemegang Tempat
- 2 vendors sell this, none ship to you yetPemegang Tempat
- Pemegang Tempat
- Pemegang Tempat
- Pemegang Tempat
Blueprint ini membuat
CC0 Domain Awam
Blueprint ini dikeluarkan di bawah CC0. Anda bebas menyalin, mengubah, mengedar, dan menggunakan karya ini untuk sebarang tujuan, tanpa meminta kebenaran.
Sokong Pembuat dengan membeli produk melalui Blueprint mereka di mana mereka memperoleh Komisen Pembuat ditetapkan oleh Penjual, atau cipta iterasi baru Blueprint ini dan sertakan ia sebagai sambungan dalam Blueprint anda sendiri untuk berkongsi hasil.