SENI
KECANTIKAN & KESEJAHTERAAN
KRAFTANGAN
BUDAYA & SEJARAH
HIBURAN
ALAM SEKITAR
MAKANAN & MINUMAN
MASA DEPAN HIJAU
KEJURUTERAAN TERBALIK
SAINS
SUKAN
TEKNOLOGI
WEARABLES
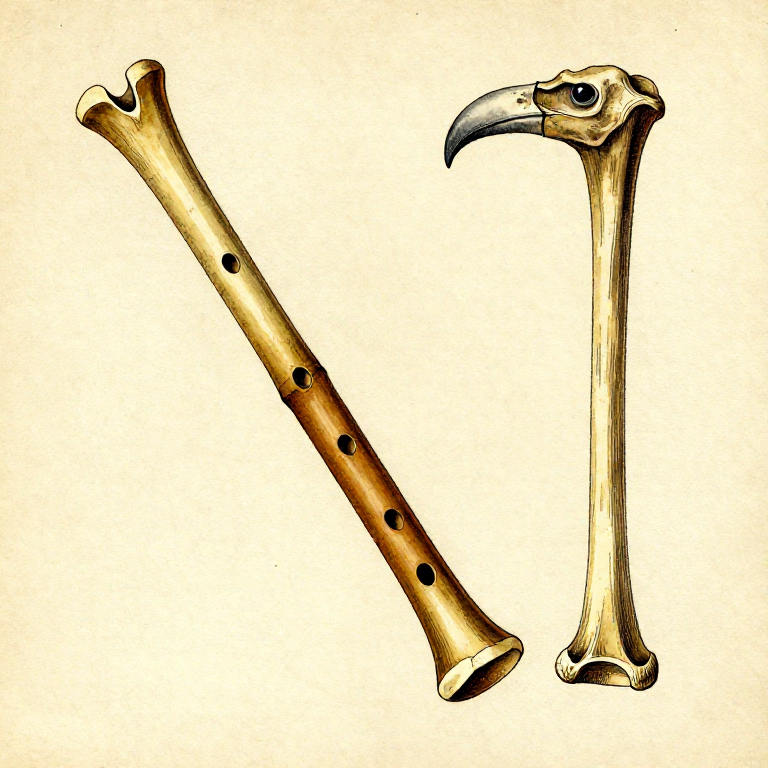
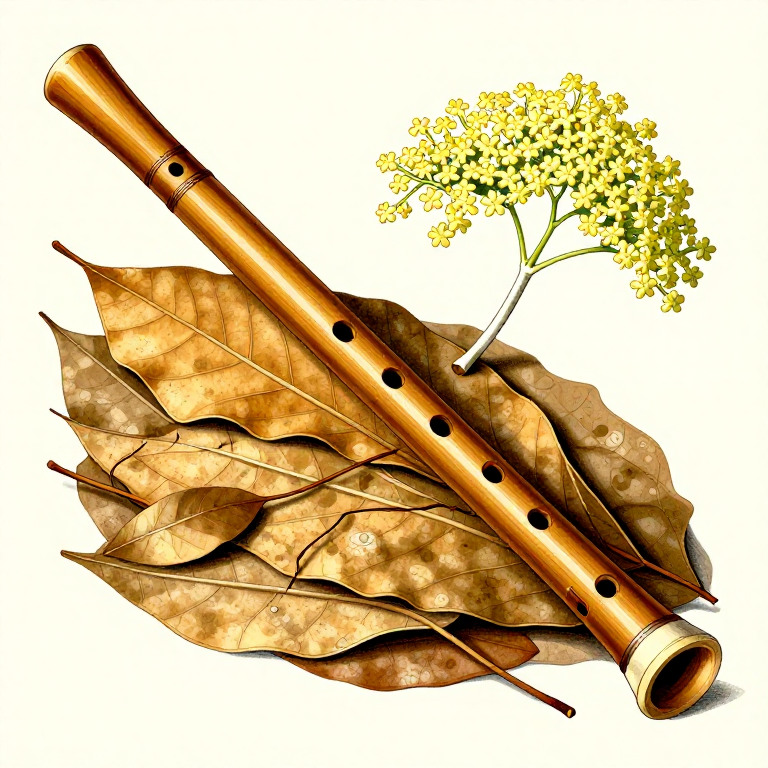
Carving a Bone Flute — Prehistoric Musical Instrument
The bone flute is among the oldest known musical instruments. Flutes carved from bird wing bones and cave bear femurs found at sites in Germany (Hohle Fels, Geissenklosterle) date to over 40,000 years ago — among the earliest evidence of human music-making. Bird wing bones (swan, crane, vulture) are ideal because they are already hollow, thin-walled, and straight. The player blows across an open end or a shaped embouchure (notched mouthpiece), and covers finger holes to change the pitch. Making a playable bone flute requires careful placement of the finger holes — too close together and fingers cannot cover them cleanly, too far apart and the intervals between notes become irregular.
Lanjutan
3-4 hours
Arahan
1
1
Select a Large Bird Wing Bone
Select a Large Bird Wing Bone
Select a large bird wing bone (swan, crane, or vulture ulna) 20 to 30 cm long. It must be hollow and free of cracks. The ulna is preferred over the humerus because it is straighter and has thinner, more uniform walls. Examine the bone carefully for hairline fractures — any crack will worsen during hole-making and ruin the flute.
Bahan untuk langkah ini:
 Animal Bones1 keping
2
2
Clean the Bone Thoroughly
Clean the Bone Thoroughly
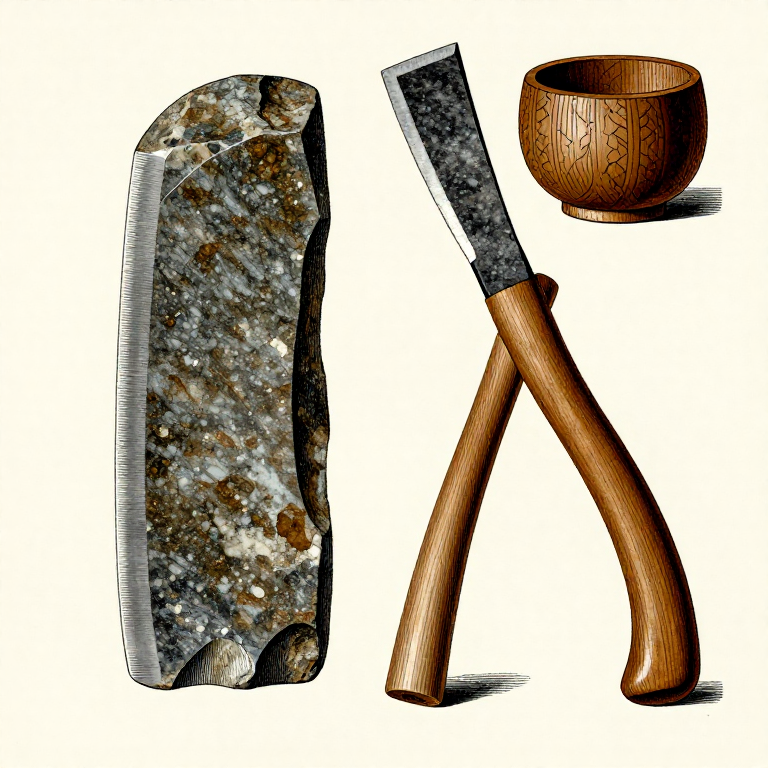
Remove all marrow and periosteum from inside and outside the bone. Push a thin stick wrapped in plant fibre through the hollow centre to scrub out marrow. Scrape the outer periosteum with a flint flake. The bone must be completely clean and dry before working — residual tissue causes odour and attracts insects.
3
3
Smooth Both Open Ends
Smooth Both Open Ends
Grind both open ends of the bone smooth and flat on wet sandstone. Remove any jagged edges from where the bone was cut or broken from the joint. The blowing end especially must be smooth — rough edges split the air stream unpredictably and prevent a clear tone.
Alatan diperlukan:
 Sandstone (Abrasive)
4
4
Carve the Embouchure Notch
Carve the Embouchure Notch
Carve a V-shaped notch on the edge of one open end to form the embouchure (blowing edge). Use a sharp flint flake to carefully cut the notch into the bone wall. The notch should be 5 to 8 mm deep with a sharp, clean inner edge — this is where the air stream splits to create sound. A dull or uneven notch produces a weak, breathy tone.
5
5
Refine the Blowing Edge
Refine the Blowing Edge
The inner edge of the embouchure notch must be sharp and thin — this is the sound-producing element. Carefully thin the bone wall at the notch edge using a flint flake, then smooth with fine sandstone. The sharper this edge, the easier the flute speaks and the clearer the tone. Test by blowing gently across the notch — you should hear a clear, sustained tone.
Alatan diperlukan:
Sandstone (Abrasive)6
6
Mark Finger Hole Positions
Mark Finger Hole Positions
Mark 3 to 5 finger hole positions along the top surface of the bone, evenly spaced between the embouchure end and the far end. Leave at least 3 cm from the embouchure and 2 cm from the far end. Space holes 2 to 3 cm apart — close enough for comfortable finger placement but far enough that the bone wall between holes remains structurally sound.
7
7
Start Each Finger Hole
Start Each Finger Hole
Start each hole by pressing a sharp flint point into the bone at the marked position and rotating it slowly. Apply steady downward pressure while turning — the flint should grind through the outer bone layer without cracking. Work slowly and patiently. Bird bones are thin-walled and fragile; too much force will crack the bone between holes.
8
8
Enlarge Each Hole to Playing Size
Enlarge Each Hole to Playing Size
Carefully enlarge each hole to 6 to 8 mm diameter using a flint drill or bone awl. Rotate the tool gently to grind the hole wider without cracking the surrounding bone. Work from both sides — drill halfway through from the outside, then flip and finish from the inside. This prevents blow-out and gives cleaner edges.
Alatan diperlukan:
 Bone Awl
9
9
Smooth the Inside Edge of Each Hole
Smooth the Inside Edge of Each Hole
Smooth the inside edge of each finger hole with fine sandstone or a small piece of abrasive stone rolled against the rim. Rough edges inside the holes create air turbulence that dulls the tone and causes squealing. Each hole should have clean, smooth edges that allow air to pass freely when open and seal completely when a fingertip covers it.
Alatan diperlukan:
Sandstone (Abrasive)10
10
Test the Fundamental Tone
Test the Fundamental Tone
Blow across the embouchure notch with all finger holes covered. This produces the fundamental tone — the lowest note the flute can play. The tone should be clear, sustained, and stable. If it is weak or breathy, the embouchure edge needs further sharpening. If no tone sounds, check that the blowing angle is correct — direct the air stream across the notch, not into it.
11
11
Test Each Finger Hole
Test Each Finger Hole
Cover and uncover holes one at a time, starting from the hole nearest the far end. Each opened hole should produce a distinct, higher pitch than the one before it. If two adjacent holes produce nearly the same pitch, one needs to be enlarged slightly. If the pitch jump is too large, a hole may be too big or positioned too far from its neighbour.
12
12
Fine-Tune Hole Sizes
Fine-Tune Hole Sizes
Adjust hole sizes to improve the pitch intervals. A larger hole raises the pitch of that note — carefully enlarge with a bone awl if a note is flat. If a note is too sharp, reduce the effective hole size by plugging slightly with a small ball of beeswax pressed into one side of the hole. Small adjustments make large differences in pitch, so work incrementally.
Alatan diperlukan:
Bone AwlBahan
1- Pemegang Tempat
Bahan Blueprint Bersambung
Blueprint berkaitan
Blueprint ini berkongsi pengetahuan — teknik, bahan atau prinsip
Related blueprints
Other builds that share materials, tools, or techniques with this one.
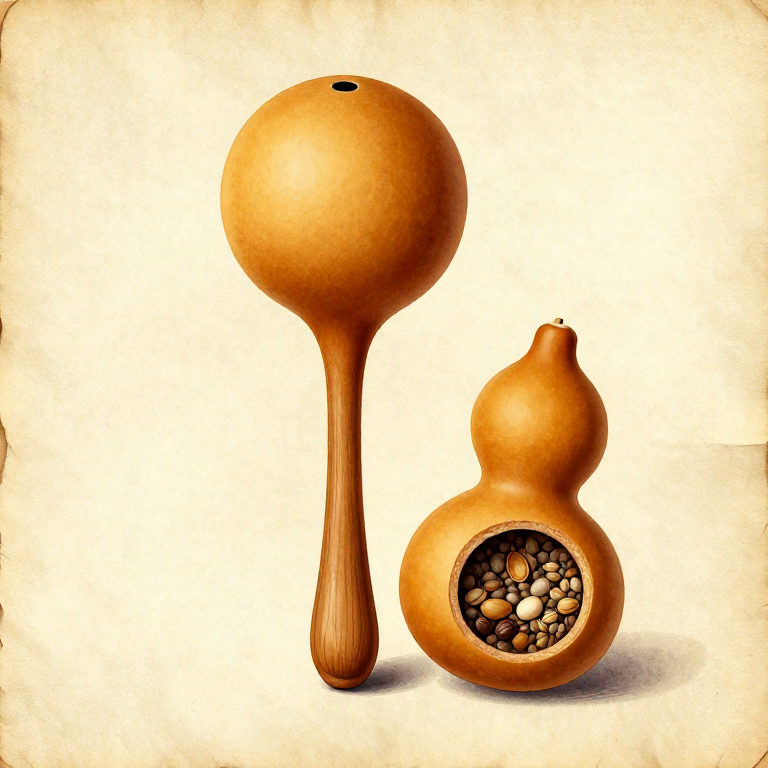
Making a Gourd Rattle — Prehistoric Seed-Pod Musical Instrumentwoodworking

Making a Bull-Roarer — Whirling Sound Instrumentwoodworking
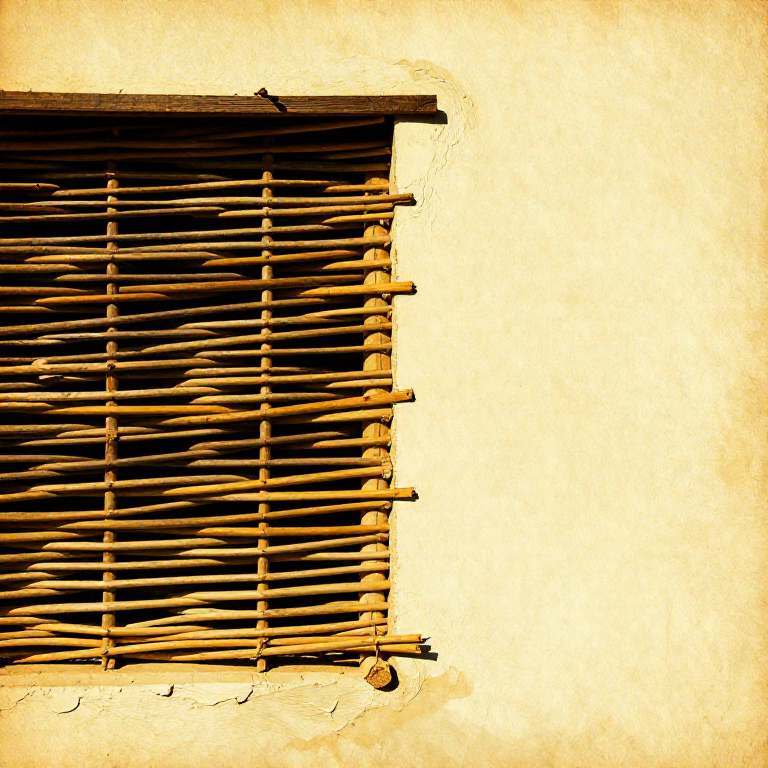
Building a Wattle-and-Daub Wall — The Universal Prehistoric Construction Techniquewoodworking
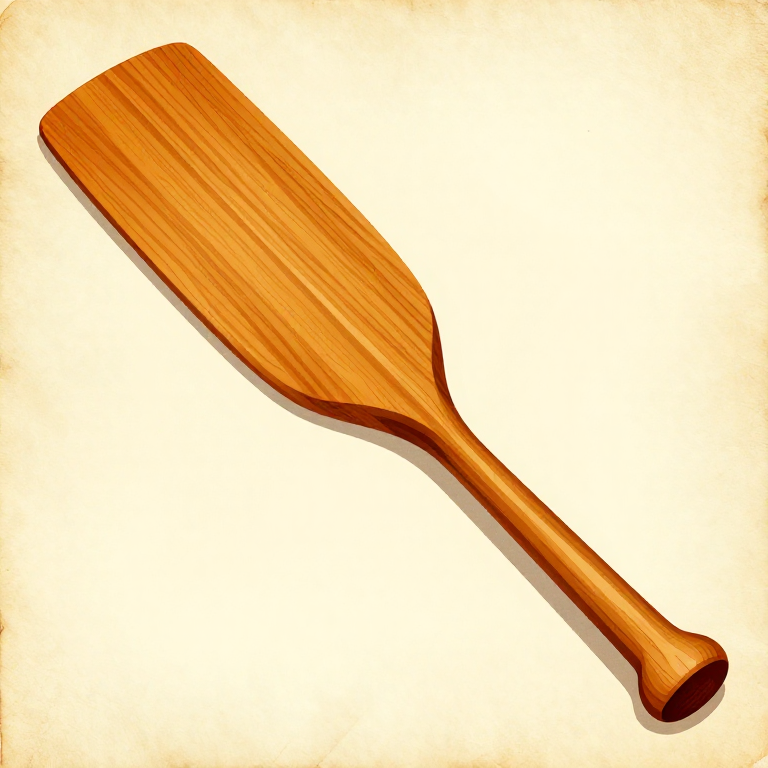
Carving a Wooden Paddle from a Single Piece of Hardwood — Prehistoric Watercraft Propulsionwoodworking
Carving an Elder Branch Flutewoodworking
Making a Stone Adze — The Woodworking Tool That Shaped Canoes and Beamswoodworking
CC0 Domain Awam
Blueprint ini dikeluarkan di bawah CC0. Anda bebas menyalin, mengubah, mengedar, dan menggunakan karya ini untuk sebarang tujuan, tanpa meminta kebenaran.
Sokong Pembuat dengan membeli produk melalui Blueprint mereka di mana mereka memperoleh Komisen Pembuat ditetapkan oleh Penjual, atau cipta iterasi baru Blueprint ini dan sertakan ia sebagai sambungan dalam Blueprint anda sendiri untuk berkongsi hasil.