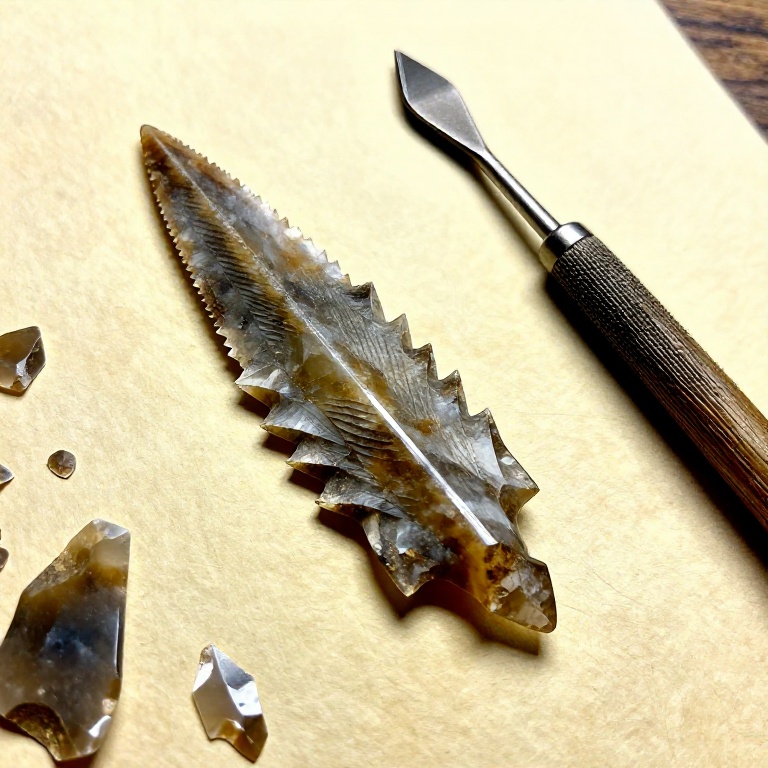
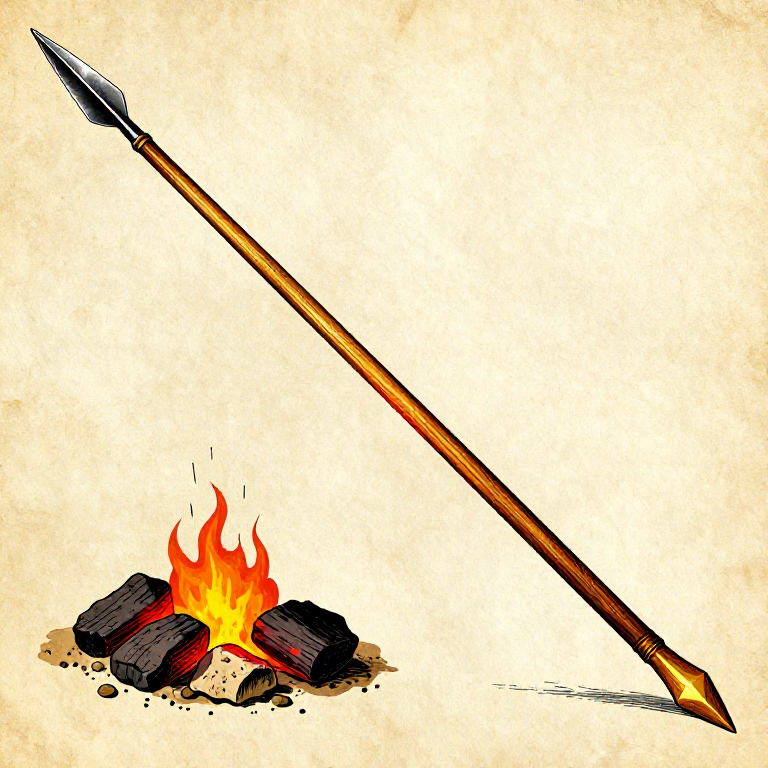
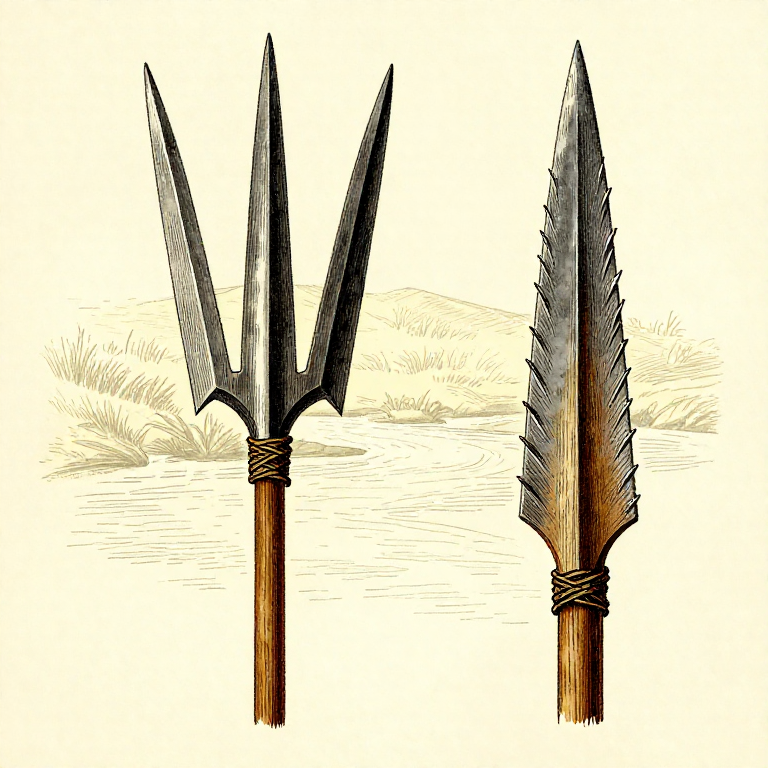
Knapping a Stone Arrowhead — Pressure-Flaked Projectile Point
Arahan
Select a Suitable Flint Nodule
Select a Suitable Flint Nodule
Bahan untuk langkah ini:
 Flint Nodule1 keping
Prepare a Leather Pad and Work Surface
Prepare a Leather Pad and Work Surface
Bahan untuk langkah ini:
 Raw Hide1 keping
Strike Off an Initial Flake Blank
Strike Off an Initial Flake Blank
Alatan diperlukan:
 Hammerstone
Rough Out the Preform Shape by Percussion
Rough Out the Preform Shape by Percussion
Alatan diperlukan:
HammerstonePrepare the Antler Pressure Flaker
Prepare the Antler Pressure Flaker
Bahan untuk langkah ini:
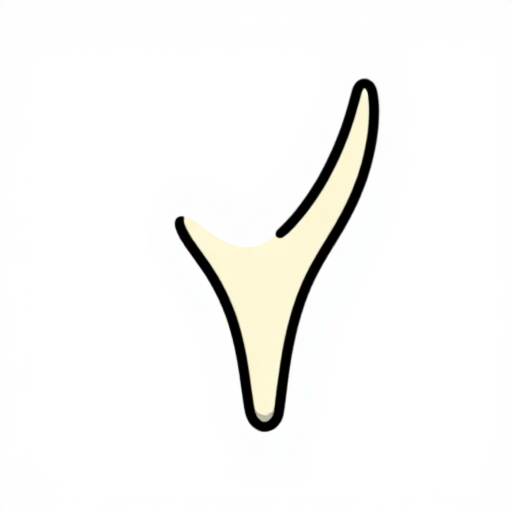 Antler Tine1 keping
Alatan diperlukan:
 Sandstone
Prepare the Edge Platforms for Pressure Flaking
Prepare the Edge Platforms for Pressure Flaking
Alatan diperlukan:
SandstoneBegin Pressure Flaking the Outline
Begin Pressure Flaking the Outline
Alatan diperlukan:
Antler TineThin the Cross-Section
Thin the Cross-Section
Alatan diperlukan:
Antler TineShape the Tip
Shape the Tip
Alatan diperlukan:
Antler TineCreate the Hafting Notches
Create the Hafting Notches
Alatan diperlukan:
Antler TineFinal Edge Refinement
Final Edge Refinement
Alatan diperlukan:
Antler TineTest Fit the Arrowhead to a Shaft
Test Fit the Arrowhead to a Shaft
Bahan untuk langkah ini:
 Hardwood Sapling1 keping
Alatan diperlukan:
 Flint Knife
Bahan
4- 1 kepingPemegang Tempat
- 1 kepingPemegang Tempat
- 1 kepingPemegang Tempat
Bahan Blueprint Bersambung
Recommended for this build
Products makers often use with builds like this one.
 CordageUsed together and in similar builds
 Sandstone (Abrasive)Used together and in similar builds
 Flat Stone SlabUsed together and in similar builds
 Animal Fat (Tallow)Used together and in similar builds
 Bone AwlUsed together and in similar builds
 Sinew ThreadUsed together and in similar builds
 Birch Bark SheetsUsed together and in similar builds
 Smooth StoneUsed together and in similar builds
Blueprint berkaitan
Blueprint ini berkongsi pengetahuan — teknik, bahan atau prinsip
Related blueprints
Other builds that share materials, tools, or techniques with this one.

CC0 Domain Awam
Blueprint ini dikeluarkan di bawah CC0. Anda bebas menyalin, mengubah, mengedar, dan menggunakan karya ini untuk sebarang tujuan, tanpa meminta kebenaran.
Sokong Pembuat dengan membeli produk melalui Blueprint mereka di mana mereka memperoleh Komisen Pembuat ditetapkan oleh Penjual, atau cipta iterasi baru Blueprint ini dan sertakan ia sebagai sambungan dalam Blueprint anda sendiri untuk berkongsi hasil.