Kerjasama
SENI
KECANTIKAN & KESEJAHTERAAN
KRAFTANGAN
BUDAYA & SEJARAH
HIBURAN
ALAM SEKITAR
MAKANAN & MINUMAN
KEJURUTERAAN TERBALIK
SAINS
SUKAN
TEKNOLOGI
BOLEH PAKAI
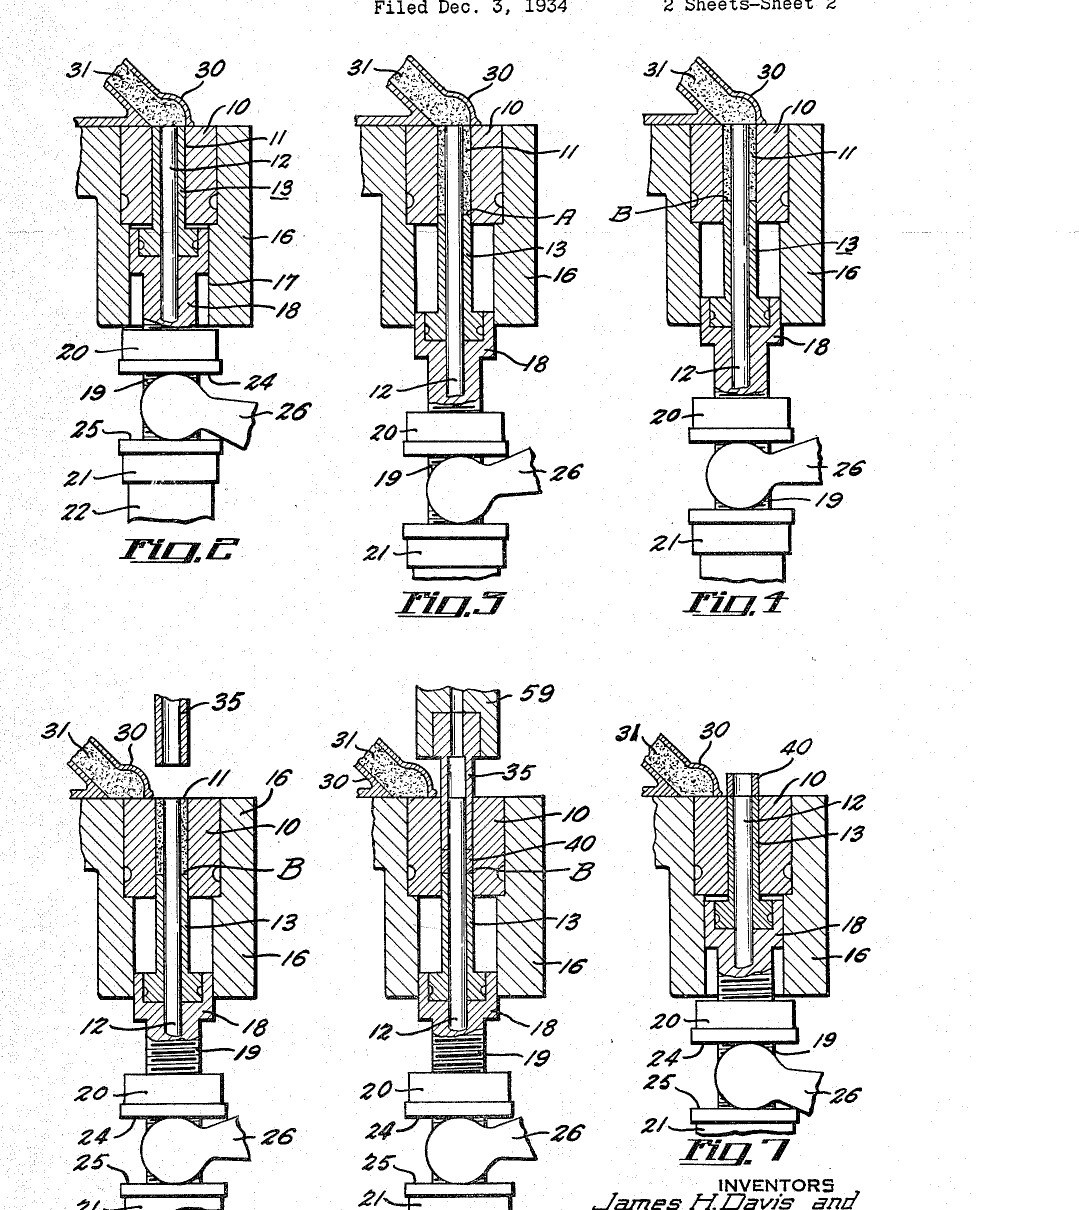

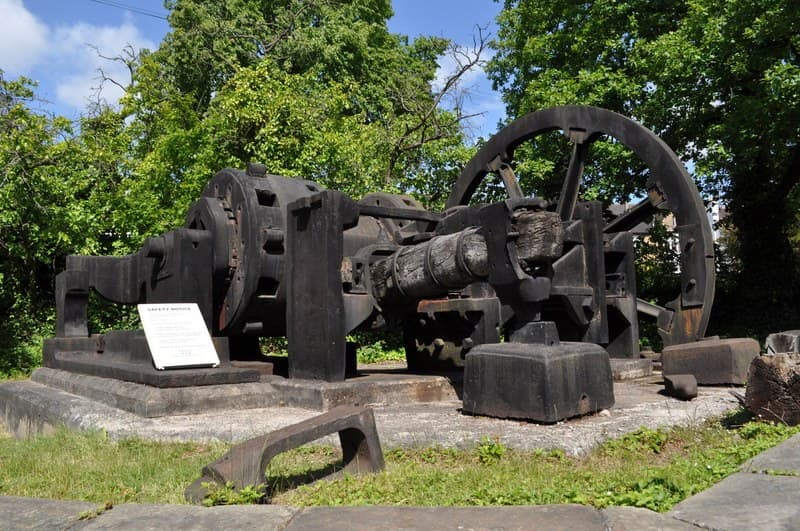
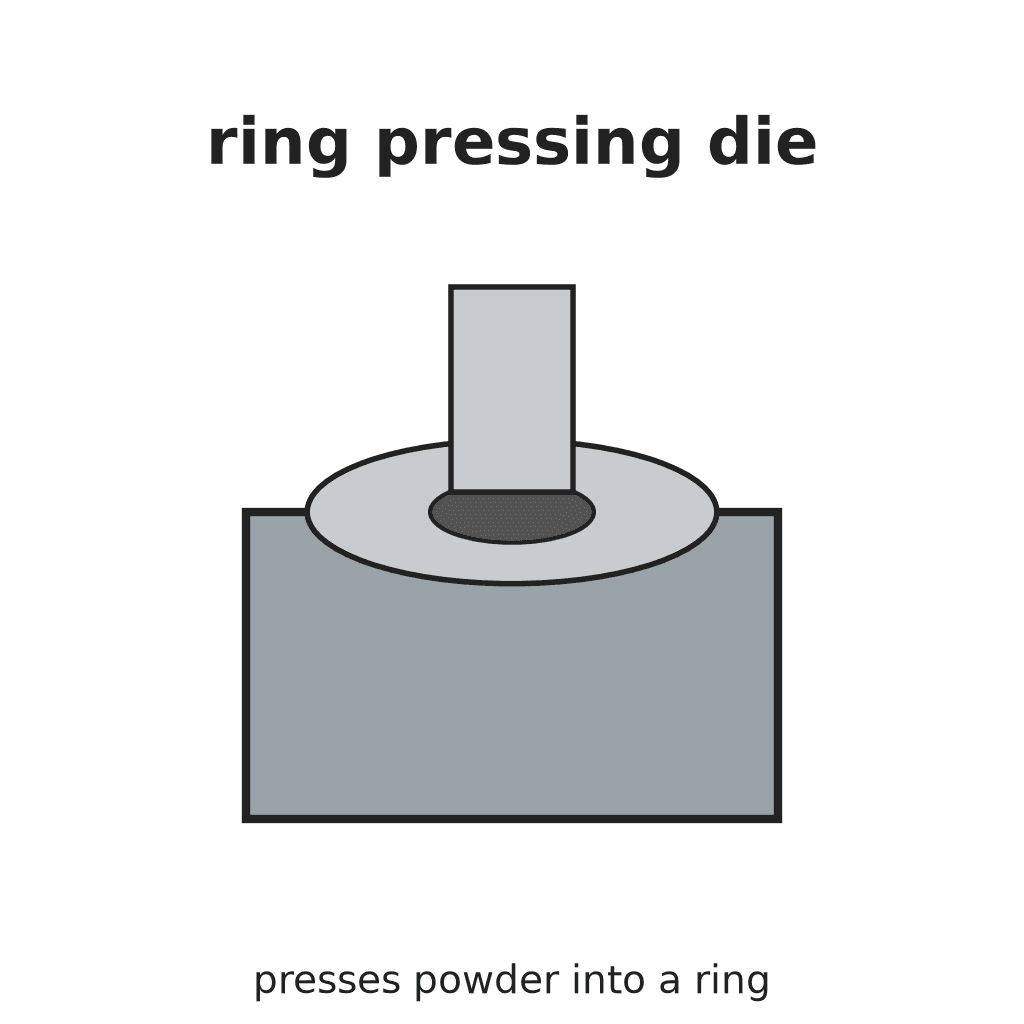
Ring Pressing Die: Core-Rod Die with Tubular Punches and Overfill Filling (Davis & Lemming, GM, US 2,127,994, 1938)
The die set for pressing metal or other powder into rings (bushings, ring cores). A die with a round cavity has a fixed core rod standing up through its middle, so the cavity is ring-shaped; a tube-shaped lower plunger slides up and down round the core rod, and a tube-shaped upper punch comes down to press. Filling is the trick: the lower plunger drops past the pressing point under a shaking shoe of powder, then rises a little to push the surplus back, so every ring gets the same charge with no trapped air.
Result: a die that presses powder into rings of even weight and density, ejected flush with the die top.
Source: J. H. Davis and J. C. Lemming (General Motors), US 2,127,994 (1938). Unknown: steels, sizes, clearances, pressure. Picture: the patent drawing.
Lanjutan
Unknown
Arahan
1
1
Make the die, core rod and punches
Make the die, core rod and punches
Make a die block with a straight round cavity open at both ends. Make a core rod that stands up through the middle of the cavity, its top flush with the die top, threaded at its foot to be anchored in the base with a lock nut. Make a tube-shaped lower plunger that slides in the cavity round the core rod, and a tube-shaped upper punch to match. Not given: the steel, sizes, clearances. Ours: tool steel, turned and threaded on the lathe.
Bahan untuk langkah ini:
 Bar keluli alat segi empat sama1 die, core rod, punches
 Logam tidak diketahui1 lock nut
Alatan diperlukan:
 Mesin Pelarik Logam
 Set pemotong ulir
 Dimensi tidak diketahui
2
2
Harden and finish
Harden and finish
The powder wears the cavity wall, so harden the die and punches and polish the working faces. Not given: the hardening or finish. Ours: a heat-treating oven and quench, then lapping with rouge along the stroke as for the disc die.
Alatan diperlukan:
 Ketuhar rawatan haba
 Baldi pelindapkejutan
 Merah penggilap tukang emas
3
3
Set it in the press
Set it in the press
Fix the die in a heavy table, anchor the core rod in the base through the lower plunger, and drive the lower plunger up and down by a cam lever. Fix the upper punch to the press crosshead. Beside the die, pivot a filling shoe full of powder that can swing over the cavity and shake. Ours: a punch press.
Alatan diperlukan:
 Mesin penekan tebuk
4
4
Fill, press and eject
Fill, press and eject
Start with the lower plunger right up, filling the cavity. Swing the shaking shoe over and lower the plunger: the powder falls in after it by gravity and suction, so no air is trapped. Take the plunger below the pressing position, then raise it to the pressing position, pushing the surplus back into the shoe so every charge is the same. Swing the shoe away, bring down the upper punch to press the ring between the punches, lift the punch and raise the lower plunger to push the ring out flush with the die top; the returning shoe sweeps it aside. Sinter the rings afterwards.
Alatan diperlukan:
Mesin penekan tebukBahan
2- 1 die, core rod, punchesPemegang Tempat
- 1 lock nutPemegang Tempat
Alatan Diperlukan
7- Pemegang Tempat
- Pemegang Tempat
- Pemegang Tempat
- Pemegang Tempat
- Pemegang Tempat
- Pemegang Tempat
- Pemegang Tempat
Bahan Blueprint Bersambung
10% Atribusi
Tool-Steel Bar: Crucible Steel Drawn Out at a Cherry-Red Heat
oleh Forge
Tukang Besi
31
0
0
0
5
0

10% Atribusi
Building a Screw-Cutting Lathe — The Machine That Makes Other Machines
oleh Gimli
Kerja Logam
57
0
0
0
4
0

10% Atribusi
Taps and Dies Cut on the Lathe, with Wrench and Stock
oleh Martin
Kerja Logam
25
0
0
0
6
0
Blueprint ini membuat
CC0 Domain Awam
Blueprint ini dikeluarkan di bawah CC0. Anda bebas menyalin, mengubah, mengedar, dan menggunakan karya ini untuk sebarang tujuan, tanpa meminta kebenaran.
Sokong Pembuat dengan membeli produk melalui Blueprint mereka di mana mereka memperoleh Komisen Pembuat ditetapkan oleh Penjual, atau cipta iterasi baru Blueprint ini dan sertakan ia sebagai sambungan dalam Blueprint anda sendiri untuk berkongsi hasil.