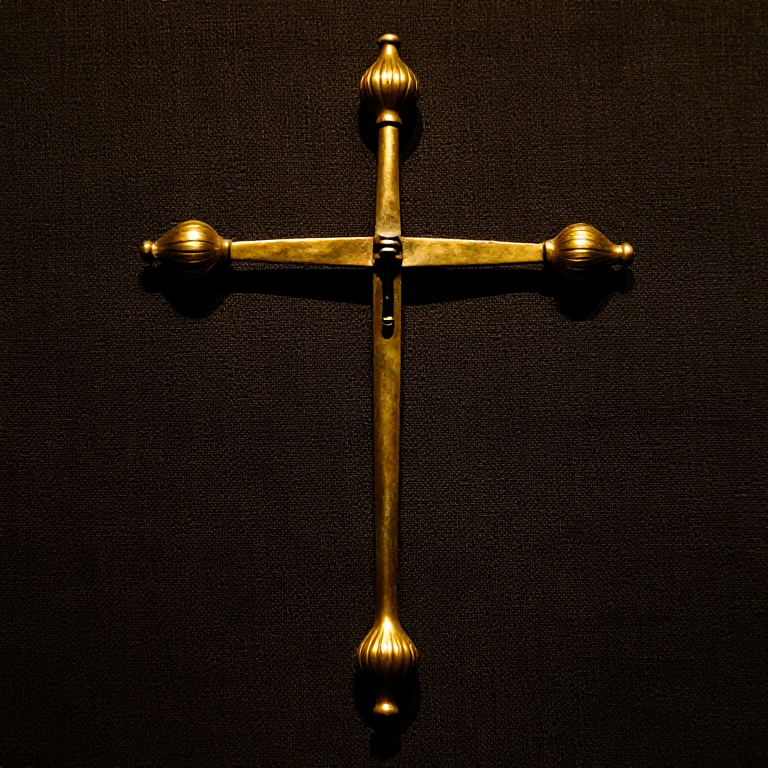
Casting a Roman Crossbow Fibula Brooch — Late Roman Dress Fastener
Arahan
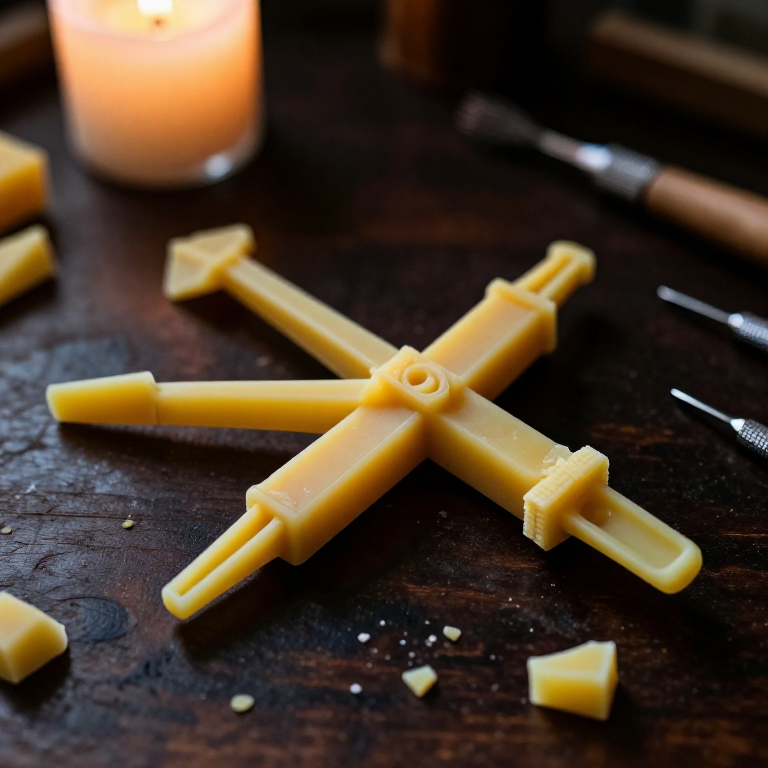
Carve the Wax Model
Carve the Wax Model
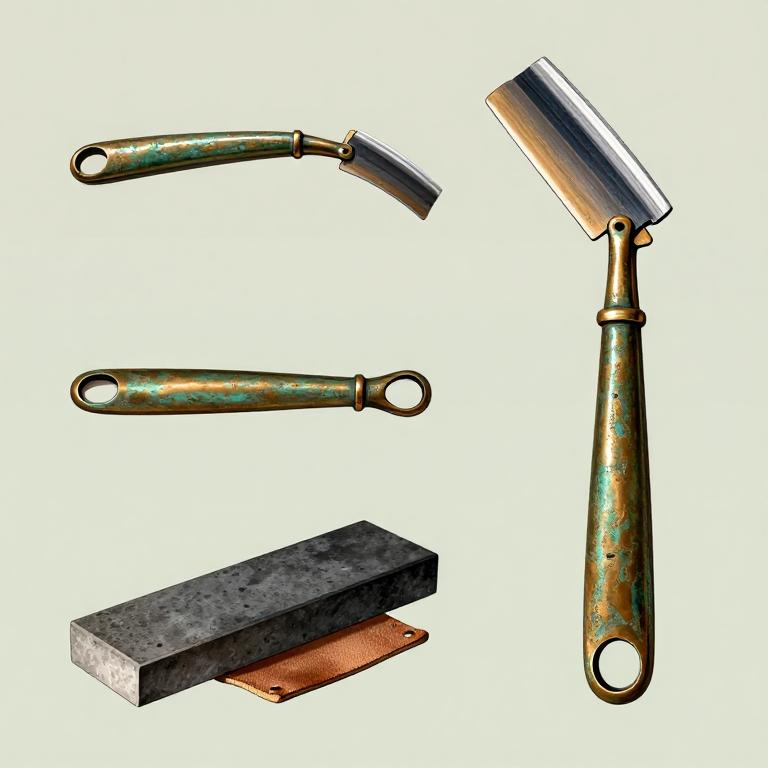
Warm the beeswax until pliable and shape the crossbow fibula form. Start with the transverse crossbar — a rod approximately 5 to 6 cm long. At each end of the crossbar, form an onion-shaped bulb (approximately 8 mm diameter) by rolling a ball of wax and pressing it onto the rod end. From the centre of the crossbar, extend the arched bow (approximately 3 cm long) curving down to the long foot (approximately 6 cm), which ends in a flat catch plate where the pin will rest when closed. Carve any decorative elements — Roman crossbow fibulae often featured incised geometric patterns, ring-and-dot motifs, or faceted surfaces on the foot and onion terminals. Attach a wax rod (sprue) approximately 3 mm diameter from the foot to serve as the pouring channel, and add a smaller vent rod from the crossbar to allow air escape during casting.
Build the Investment Mould
Build the Investment Mould
Mix fine clay with sand and water to create a smooth, thin slurry. Paint this first coat directly onto the wax model using a soft brush, ensuring it fills every crevice and surface detail — this inner layer captures all the fine decoration. Allow it to dry partially, then apply a second coat of thicker clay-sand mixture. Build up the mould in layers, allowing each to dry before adding the next, until the shell is approximately 10 to 15 mm thick overall. Embed the mould in a larger clay cylinder if necessary for structural support. Leave the sprue and vent openings exposed and clear. Allow the completed mould to dry thoroughly for 24 to 48 hours in a warm, dry place — any residual moisture will cause steam explosions when the molten bronze is poured.
Bahan untuk langkah ini:
 Beeswax (Optional)50-80 grams keping
 Clay500 grams keping
Burn Out the Wax and Fire the Mould
Burn Out the Wax and Fire the Mould
Place the mould upside-down (sprue opening facing down) in a kiln or over a charcoal fire and slowly raise the temperature to approximately 300-400 °C. The beeswax will melt and drain out through the sprue opening — collect it for reuse. Continue heating the mould to approximately 600-700 °C to burn out any wax residue and fire the clay to a hard ceramic. The mould interior now contains a perfect negative impression of the fibula. Keep the mould at temperature or allow it to cool to approximately 400 °C before pouring — casting into a warm mould reduces thermal shock and allows the bronze to flow into thin sections more easily. Position the mould upright with the sprue opening at the top, ready to receive the molten metal.

Melt and Pour the Bronze
Melt and Pour the Bronze
Place bronze ingots in a small clay or graphite crucible and heat in a charcoal forge with forced-air bellows until the bronze is fully molten — bronze melts at approximately 950 °C (varying with alloy composition). The surface of the melt should be bright orange-yellow and fluid. Skim any slag or dross from the surface with a dry stick. Lift the crucible with tongs and pour the molten bronze steadily into the mould sprue in a single continuous stream — hesitation or interrupted pouring causes cold shuts (incomplete joins) in the casting. The bronze should fill the mould cavity and rise slightly into the vent opening, confirming that the mould is completely filled. Allow the casting to cool naturally in the mould for at least 30 minutes — do not quench, as rapid cooling can crack the casting.
Break Out, Clean, and Finish
Break Out, Clean, and Finish
Once cool, crack open the clay mould with a hammer to reveal the raw bronze casting. Cut off the sprue and vent stubs with a jeweller's saw or file them flush with the surface. Use needle files to clean up the casting seams, fill any small surface pits by burnishing the surrounding metal over them, and sharpen the decorative details that may have softened slightly in casting. Polish the fibula with progressively finer abrasive stones, finishing with a leather strop charged with fine polishing compound to achieve a bright bronze surface. Finally, form the pin mechanism from bronze or steel wire — coil two to three turns around the crossbar to create a spring, then extend the wire into a straight pin that rests in the catch plate on the foot when closed. The completed fibula should open and close securely to fasten a cloak fold.
Bahan
5- 80-120 grams kepingPemegang Tempat
- 15 cm kepingPemegang Tempat
Alatan Diperlukan
6- Pemegang Tempat
- Pemegang Tempat
- Pemegang Tempat
- Pemegang Tempat
Related blueprints
Other builds that share materials, tools, or techniques with this one.
CC0 Domain Awam
Blueprint ini dikeluarkan di bawah CC0. Anda bebas menyalin, mengubah, mengedar, dan menggunakan karya ini untuk sebarang tujuan, tanpa meminta kebenaran.
Sokong Pembuat dengan membeli produk melalui Blueprint mereka di mana mereka memperoleh Komisen Pembuat ditetapkan oleh Penjual, atau cipta iterasi baru Blueprint ini dan sertakan ia sebagai sambungan dalam Blueprint anda sendiri untuk berkongsi hasil.