
Using a Flex Sensor — SIK Circuit 9
Arahan
Parts & Introduction
Parts & Introduction
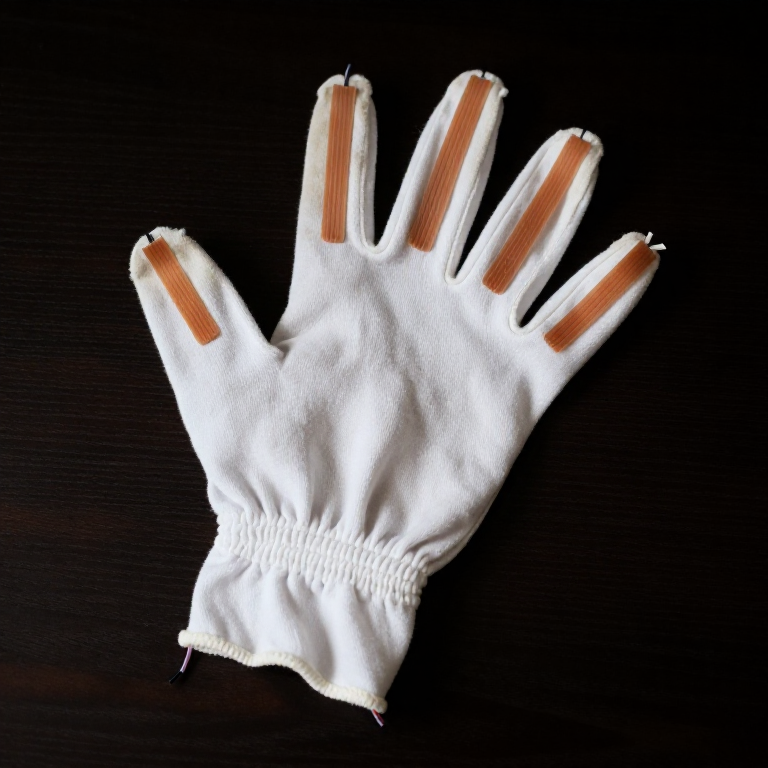
A flex sensor changes resistance when bent. Combined with the servo from Circuit 8, you can create gesture-based controls — bend the sensor to move the servo. This combines analogRead() with the Servo library.
Parts Needed
- 1x Arduino Uno + USB cable
- 1x Breadboard
- 1x Flex Sensor
- 1x Servo Motor
- 1x 10KΩ Resistor
- 11x Jumper Wires
Bahan untuk langkah ini:
 SparkFun Inventors Kit - V3.21 kit
 Arduino Uno R31 keping
 Breadboard1 keping
 Flex Sensor1 keping
 Servo Motor1 keping
 10K Ohm Resistor1 keping
 Jumper Wires7 keping
Alatan diperlukan:
Hardware Hookup
Hardware Hookup
Wiring Instructions
Flex Sensor
- Connect one pin of the flex sensor to 5V.
- Connect the other pin to Analog Pin A0.
- Connect a 10K resistor from Analog Pin A0 to GND (voltage divider).
Servo
- Connect Red wire to 5V.
- Connect Black wire to GND.
- Connect White wire to Digital Pin 9.
Bahan untuk langkah ini:
Flex Sensor1 kepingServo Motor1 keping10K Ohm Resistor1 kepingBreadboard1 kepingJumper Wires7 kepingArduino Code
Arduino Code
Open the Arduino IDE and upload the following sketch to your Arduino board.
Bahan untuk langkah ini:
Arduino Uno R31 kepingAlatan diperlukan:
Test & Experiment
Test & Experiment
What You Should See
The servo moves in response to bending the flex sensor. Open the Serial Monitor to see both the raw sensor value and the mapped servo position.
Troubleshooting
- Servo not moving: Check servo wiring — easy to plug in backwards.
- Sensor only works one way: The flex sensor bends in one direction. The striped side should face outward on a convex curve.
- Limited range: Adjust the
map()range values (600, 900) to match your sensor's actual readings from the Serial Monitor.
Experiments to Try
- Build a "robot finger" that mimics your finger bending.
- Replace the servo with an LED and control brightness by bending.
Bahan
7- $105.00
- 1 kepingPemegang Tempat
- 1 kepingPemegang Tempat
- 1 kepingPemegang Tempat
- 1 kepingPemegang Tempat
- $3.00
- $5.00
You can swap these in
Can't get one of the materials? Swap it for an equivalent — these work just as well.
- Instead of Arduino Uno R3, try:
 Prototyping Shield for Arduino Uno (3-Pack)
 Arduino Uno R3 BoardArduino Uno
 - Instead of Servo Motor, try:
 Vibration Motor Assortment
 SG90 Micro Servo Motor (5-Pack)
 Marine Brushless Motor
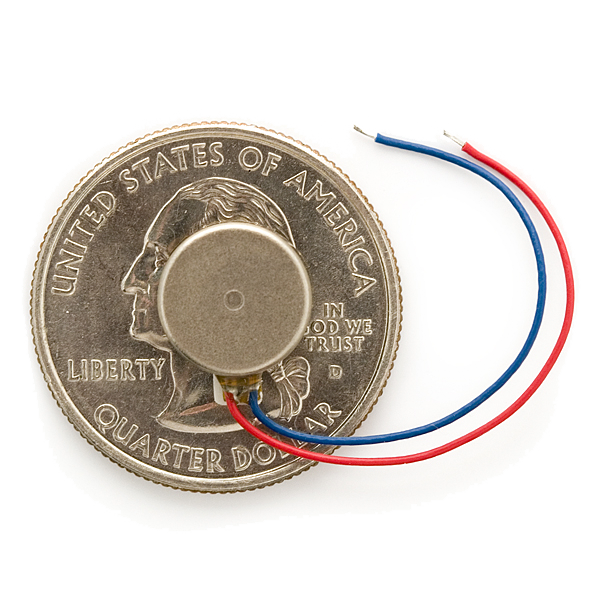 Vibration Motor
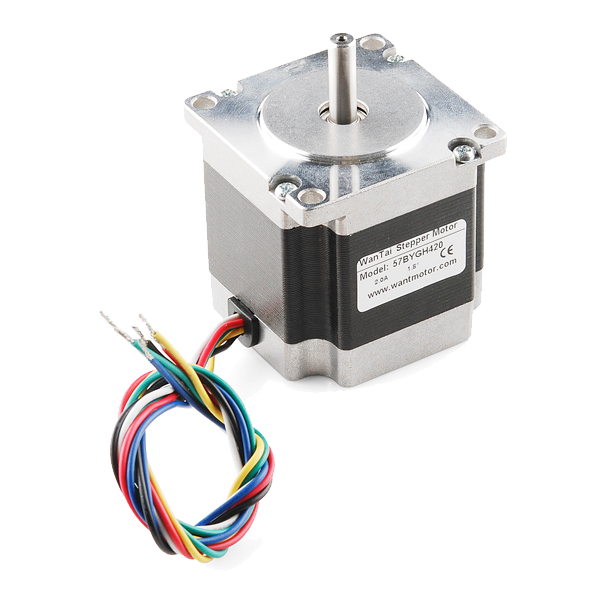 Stepper Motor - 125 oz.in (200 steps/rev)
 - Instead of Flex Sensor 2.2 Inch, try:
 Bare Solar Cell 6x6 inch
 Magnet Square - 0.25 inch
 - Instead of Resistor 10K Ohm 1/6th Watt PTH - 20 pack, try:
 Resistor 330 Ohm 1/6 Watt PTH - 20 pack
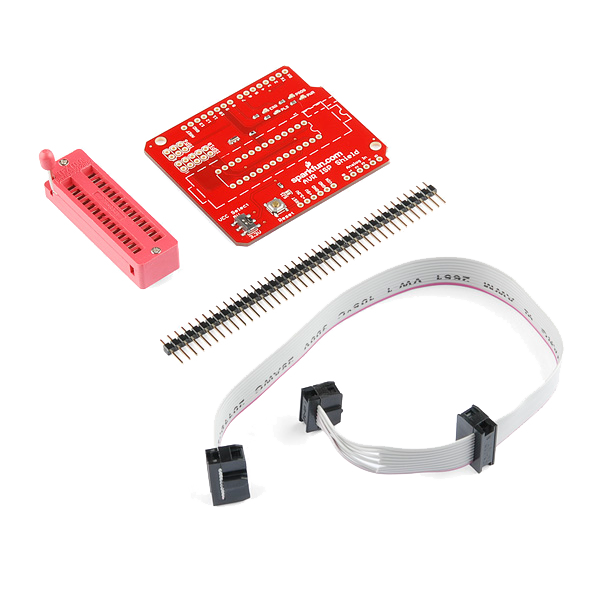 AVR ISP Shield - PTH Kit
Recommended for this build
Products makers often use with builds like this one.
 Diode KitUsed together and in similar buildsResistor 330 Ohm 1/6 Watt PTH - 20 packUsed together and in similar builds
 5mm LED Assortment Kit (300pcs, 5 Colors)Used together and in similar builds
 Temperature SensorUsed in similar builds
 DC MotorUsed in similar builds
 Relay ModuleUsed in similar builds
 USB CableUsed together and in similar builds
Related blueprints
Other builds that share materials, tools, or techniques with this one.


CC0 Domain Awam
Blueprint ini dikeluarkan di bawah CC0. Anda bebas menyalin, mengubah, mengedar, dan menggunakan karya ini untuk sebarang tujuan, tanpa meminta kebenaran.
Sokong Pembuat dengan membeli produk melalui Blueprint mereka di mana mereka memperoleh Komisen Pembuat ditetapkan oleh Penjual, atau cipta iterasi baru Blueprint ini dan sertakan ia sebagai sambungan dalam Blueprint anda sendiri untuk berkongsi hasil.