Kerjasama
SENI
KECANTIKAN & KESEJAHTERAAN
KRAFTANGAN
BUDAYA & SEJARAH
HIBURAN
ALAM SEKITAR
MAKANAN & MINUMAN
KEJURUTERAAN TERBALIK
SAINS
SUKAN
TEKNOLOGI
BOLEH PAKAI
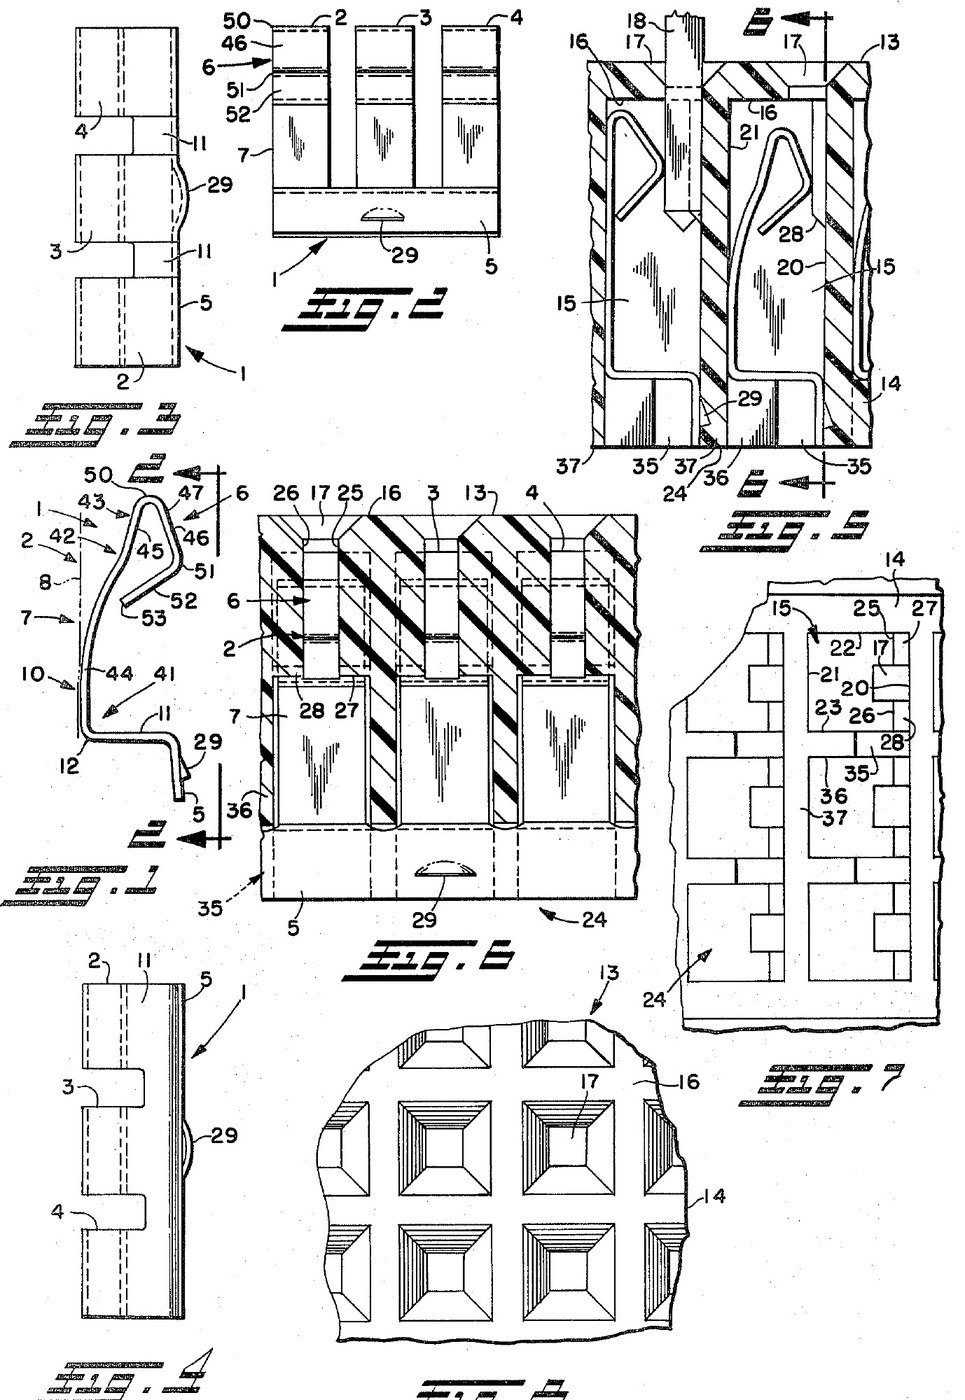


Solderless Breadboard: Cantilever Contacts in a Moulded Acetal Housing (Tengler, US 4,420,215)
A breadboard lets you build a circuit without solder: push component leads into holes and spring contacts underneath join them in rows. John N. Tengler of A P Products received US 4,420,215 (1983) for one: a one-piece moulded acetal housing with holes on 0.100 in centres, and sets of three springy cantilever contacts of copper alloy No. 688 pushed in from below.
Not given: the contact thickness and sizes, how the contacts are formed, and the moulding conditions.
Source: J. N. Tengler, US 4,420,215. Picture: the patent's drawing sheet.
Lanjutan
Not given in the source
Arahan
1
1
Mould the housing
Mould the housing
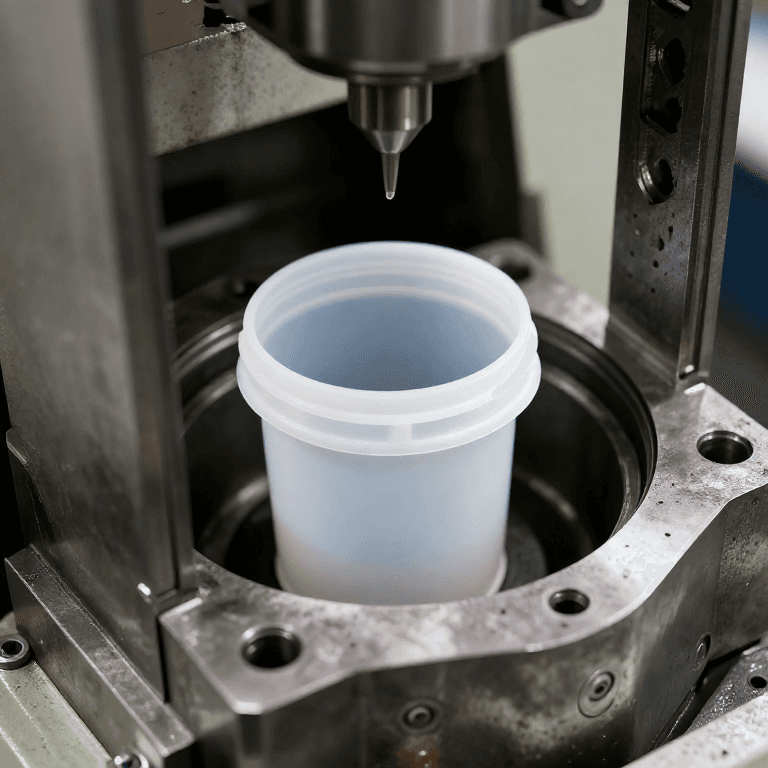
Injection-mould the housing as one piece in acetal copolymer (Tengler names CELCON). His example has 78 cells in 26 rows of three, open at the bottom, under a top wall whose holes sit on 0.100 in centres. Give each cell two preload bars on its front wall, one either side of the hole, with tapered lower ends. Mould notches into the walls between the cells of a row, and none into the front and back walls, so a contact set fits only the right way round.
Bahan untuk langkah ini:
 Pelet kopolimer asetal1 one housing
Alatan diperlukan:
 Mesin pengacuan suntikan
 Rangka acuan suntikan
 Dimensi tidak diketahui
2
2
Form the contact sets
Form the contact sets
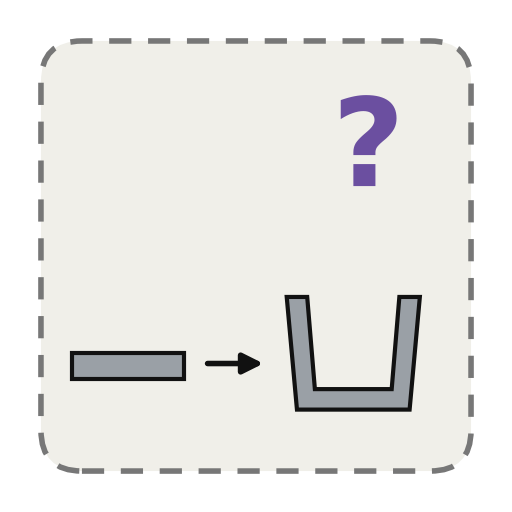
Form three identical contacts from copper alloy No. 688, joined at the foot by a strip. Each is a single cantilever: a foot with a seat, an arm curving up into a spring, a hairpin bend, then a contact face that a pushed-in lead slides along, ending in a tip, with a stop extension that comes to rest against the arm. If you like, stamp a small barb in the joining strip.
Bahan untuk langkah ini:
 Jalur aloi kuprum 6881 one set of three per row
Alatan diperlukan:
 Kaedah pembentukan tidak diketahuiDimensi tidak diketahui
3
3
Push the sets in from below
Push the sets in from below
Push each set up into its row from the open bottom, contact faces toward the holes, with the strip running through the notches. The strip is bent at a slight angle, so the front wall springs it and wedges the contact's foot against the back wall. The preload bars press on the contact face, and the barb, if there is one, bites into the plastic.
Alatan diperlukan:
 Playar Muncung Rata
4
4
Check a row
Check a row
Push a resistor lead through a hole: it should slide along the contact face. The two end contacts of a row join two components; Tengler meant the middle one for injecting or testing a signal. Check with a meter that the three holes of a row connect and neighbouring rows do not.
Alatan diperlukan:
 Rintangan
 Multimeter
Bahan
2- 1 one housingPemegang Tempat
- 1 one set of three per rowPemegang Tempat
Alatan Diperlukan
7- Pemegang Tempat
- Pemegang Tempat
- Pemegang Tempat
- Pemegang Tempat
- Pemegang Tempat
- Pemegang Tempat
- Pemegang Tempat
Bahan Blueprint Bersambung

Blueprint ini membuat
CC0 Domain Awam
Blueprint ini dikeluarkan di bawah CC0. Anda bebas menyalin, mengubah, mengedar, dan menggunakan karya ini untuk sebarang tujuan, tanpa meminta kebenaran.
Sokong Pembuat dengan membeli produk melalui Blueprint mereka di mana mereka memperoleh Komisen Pembuat ditetapkan oleh Penjual, atau cipta iterasi baru Blueprint ini dan sertakan ia sebagai sambungan dalam Blueprint anda sendiri untuk berkongsi hasil.