Kerjasama
SENI
KECANTIKAN & KESEJAHTERAAN
KRAFTANGAN
BUDAYA & SEJARAH
HIBURAN
ALAM SEKITAR
MAKANAN & MINUMAN
KEJURUTERAAN TERBALIK
SAINS
SUKAN
TEKNOLOGI
BOLEH PAKAI
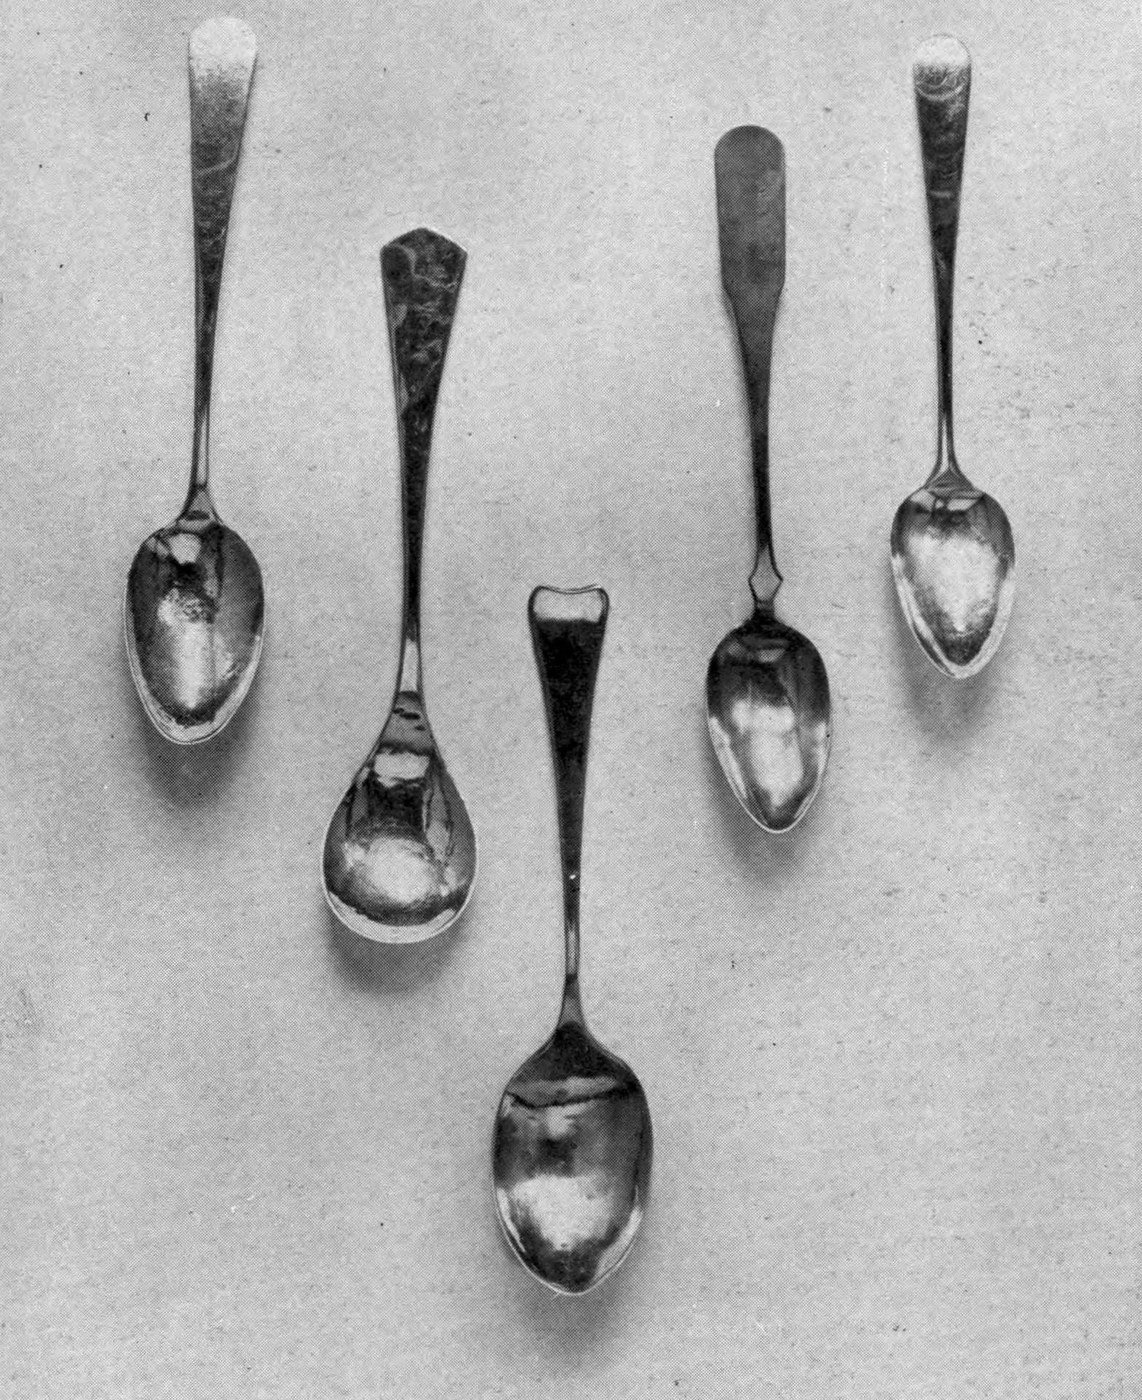
Arthur F. Payne · Public domain (1914)


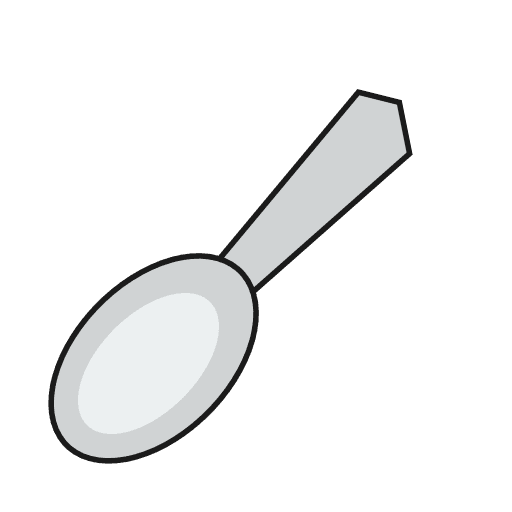
Teaspoon Forged from a Silver Bar (Payne 1914)
A 6-inch silver teaspoon forged out of a small bar of silver, the way a blacksmith forges iron. Arthur Payne called it the hardest of his five spoon methods, but the cheapest, because almost no silver is wasted.
Source: A. F. Payne, Art Metalwork with Inexpensive Equipment (1914), pp. 184–186; annealing from his chapter XI. Cutting the bar from sheet is ours. Picture: Payne's Fig. 158, teaspoons forged this way.
Lanjutan
1 day
Arahan
1
1
Cut the silver bar
Cut the silver bar
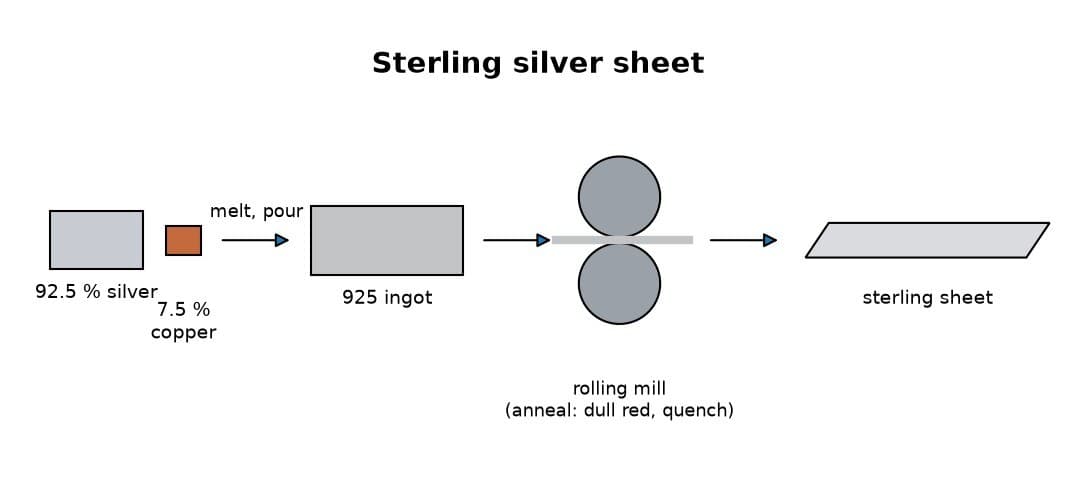
For a teaspoon 6 in long you need a piece of sterling silver 4 in long, ½ in wide and ⅛ in thick. Mark it out and saw it from sheet of that thickness (cutting from sheet is ours).
Bahan untuk langkah ini:
 Lembaran perak sterling1 piece 4 × ½ × ⅛ in
Alatan diperlukan:
 Penyurat
 Gergaji Tukang Emas
2
2
Forge out the bowl
Forge out the bowl
Heat the bar until it is almost red-hot, hold it in tongs and forge the bowl out on the anvil. Silver forges more easily when it is nearly red, but never hammer it while it is red-hot: it will crack.
Alatan diperlukan:
 Penunu Bunsen
 Penyepit
 Andas
 Tukul
3
3
Work bowl, then shank and handle
Work bowl, then shank and handle
Hammer the bowl until it is hard, then the shank and handle, so the whole spoon is hard before you anneal it again. That saves time.
Alatan diperlukan:
AndasTukul4
4
Anneal and repeat
Anneal and repeat
To soften it, heat it to a dull red and plunge it into water, or let it cool. Then go on forging until the spoon is roughly to shape.
Bahan untuk langkah ini:
 Air1 as required
Alatan diperlukan:
Penunu BunsenPenyepit Bekas kaca
5
5
Trim with shears and file
Trim with shears and file
Trim the outline with the shears and file the edges smooth.
Alatan diperlukan:
 Gunting logam berat
 Kikir (Kikir Tangan)
6
6
Polish out the file marks
Polish out the file marks
Rub out all the scratches and file marks with emery cloth.
Alatan diperlukan:
 Kain emeri
7
7
Anneal to even the fire scale
Anneal to even the fire scale
Anneal the spoon thoroughly once more. Heated silver grows a thin white skin, the fire scale, and this brings it back over the spots where filing and polishing took it off, so the colour is even.
Bahan untuk langkah ini:
Air1 as requiredAlatan diperlukan:
Penunu BunsenPenyepitBekas kaca8
8
Planish with smooth hammers
Planish with smooth hammers
Planish the spoon on smooth tools with smooth, bright hammers. This makes it stiff again after the annealing.
Alatan diperlukan:
 Tukul perataAndas
 Pancang
9
9
Final polish with rouge
Final polish with rouge
Polish it lightly with a soft cotton flannel and a little red rouge.
Alatan diperlukan:
 Kain penggilap barang kemas
 Merah penggilap tukang emas
Bahan
2- 1 piece 4 × ½ × ⅛ inPemegang Tempat
- 2 as requiredPemegang Tempat
Alatan Diperlukan
14- Pemegang Tempat
- Pemegang Tempat
- Pemegang Tempat
- Pemegang Tempat
- Pemegang Tempat
- Pemegang Tempat
- Pemegang Tempat
- Pemegang Tempat
- Pemegang Tempat
- Pemegang Tempat
- Pemegang Tempat
- Pemegang Tempat
- Pemegang Tempat
- Pemegang Tempat
Blueprint ini membuat
Blueprint berkaitan
Blueprint ini berkongsi pengetahuan — teknik, bahan atau prinsip
CC0 Domain Awam
Blueprint ini dikeluarkan di bawah CC0. Anda bebas menyalin, mengubah, mengedar, dan menggunakan karya ini untuk sebarang tujuan, tanpa meminta kebenaran.
Sokong Pembuat dengan membeli produk melalui Blueprint mereka di mana mereka memperoleh Komisen Pembuat ditetapkan oleh Penjual, atau cipta iterasi baru Blueprint ini dan sertakan ia sebagai sambungan dalam Blueprint anda sendiri untuk berkongsi hasil.