SENI
KECANTIKAN & KESEJAHTERAAN
KRAFTANGAN
BUDAYA & SEJARAH
HIBURAN
ALAM SEKITAR
MAKANAN & MINUMAN
KEJURUTERAAN TERBALIK
SAINS
SUKAN
TEKNOLOGI
BOLEH PAKAI
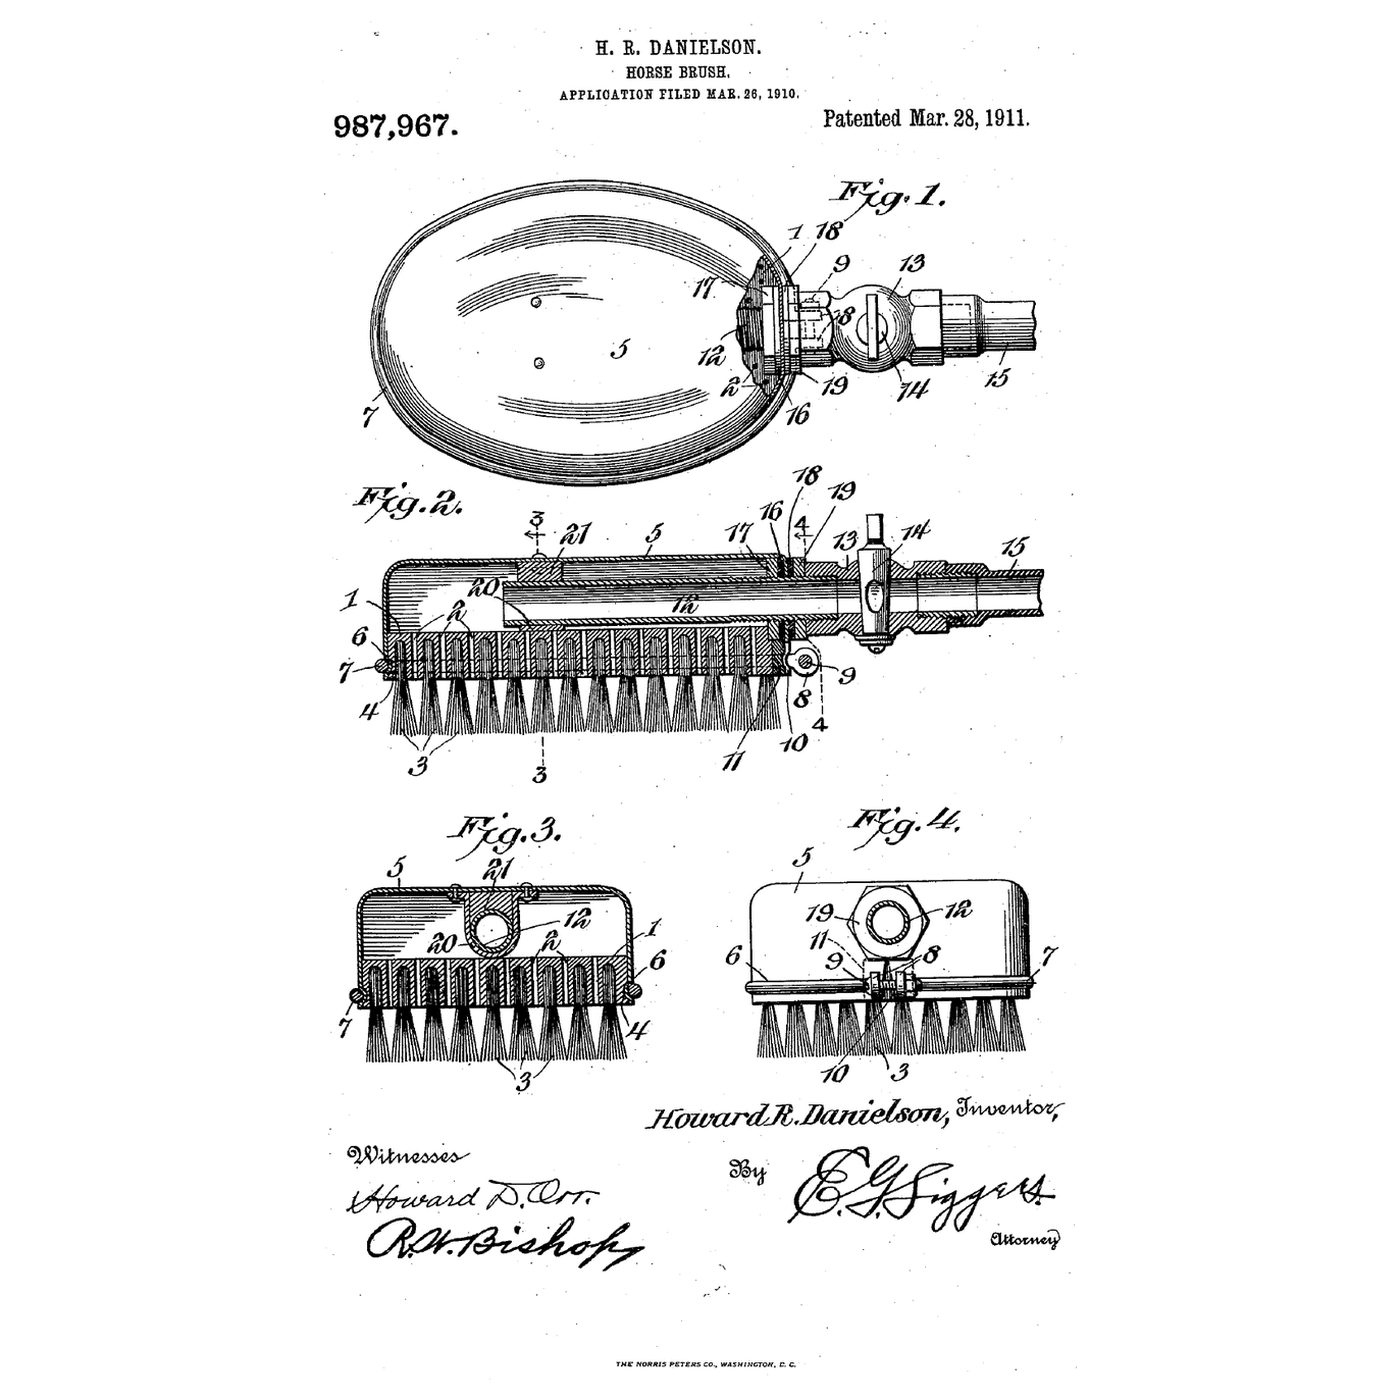


The Capped Fountain Horse Brush: Water Out Only Through the Bristles
A horse caked in mud is slow to clean with a dry brush, and a hose alone soaks the handler.
Howard R. Danielson of Crookston, Minnesota, received US 987,967, patented 28 March 1911, for a horse brush "so constructed as to avoid leakage, and to provide no outlet for the water except through the bristles": a perforated wooden back under a steel cap whose bead sits in a groove round the back, held by a clamping wire and bolt, with a pipe clamped through the cap by washers and nuts; loosening the wire lets a worn brush be replaced.
This rung shows why the valve sets the water use, then caps a scrub brush in aluminium, plumbs it and measures the water a grooming takes.
Pertengahan
About 4 hours
Arahan
1
1
Water per grooming
Water per grooming
Memuatkan buku nota Jupyter…
2
2
A horse brush before it
A horse brush before it
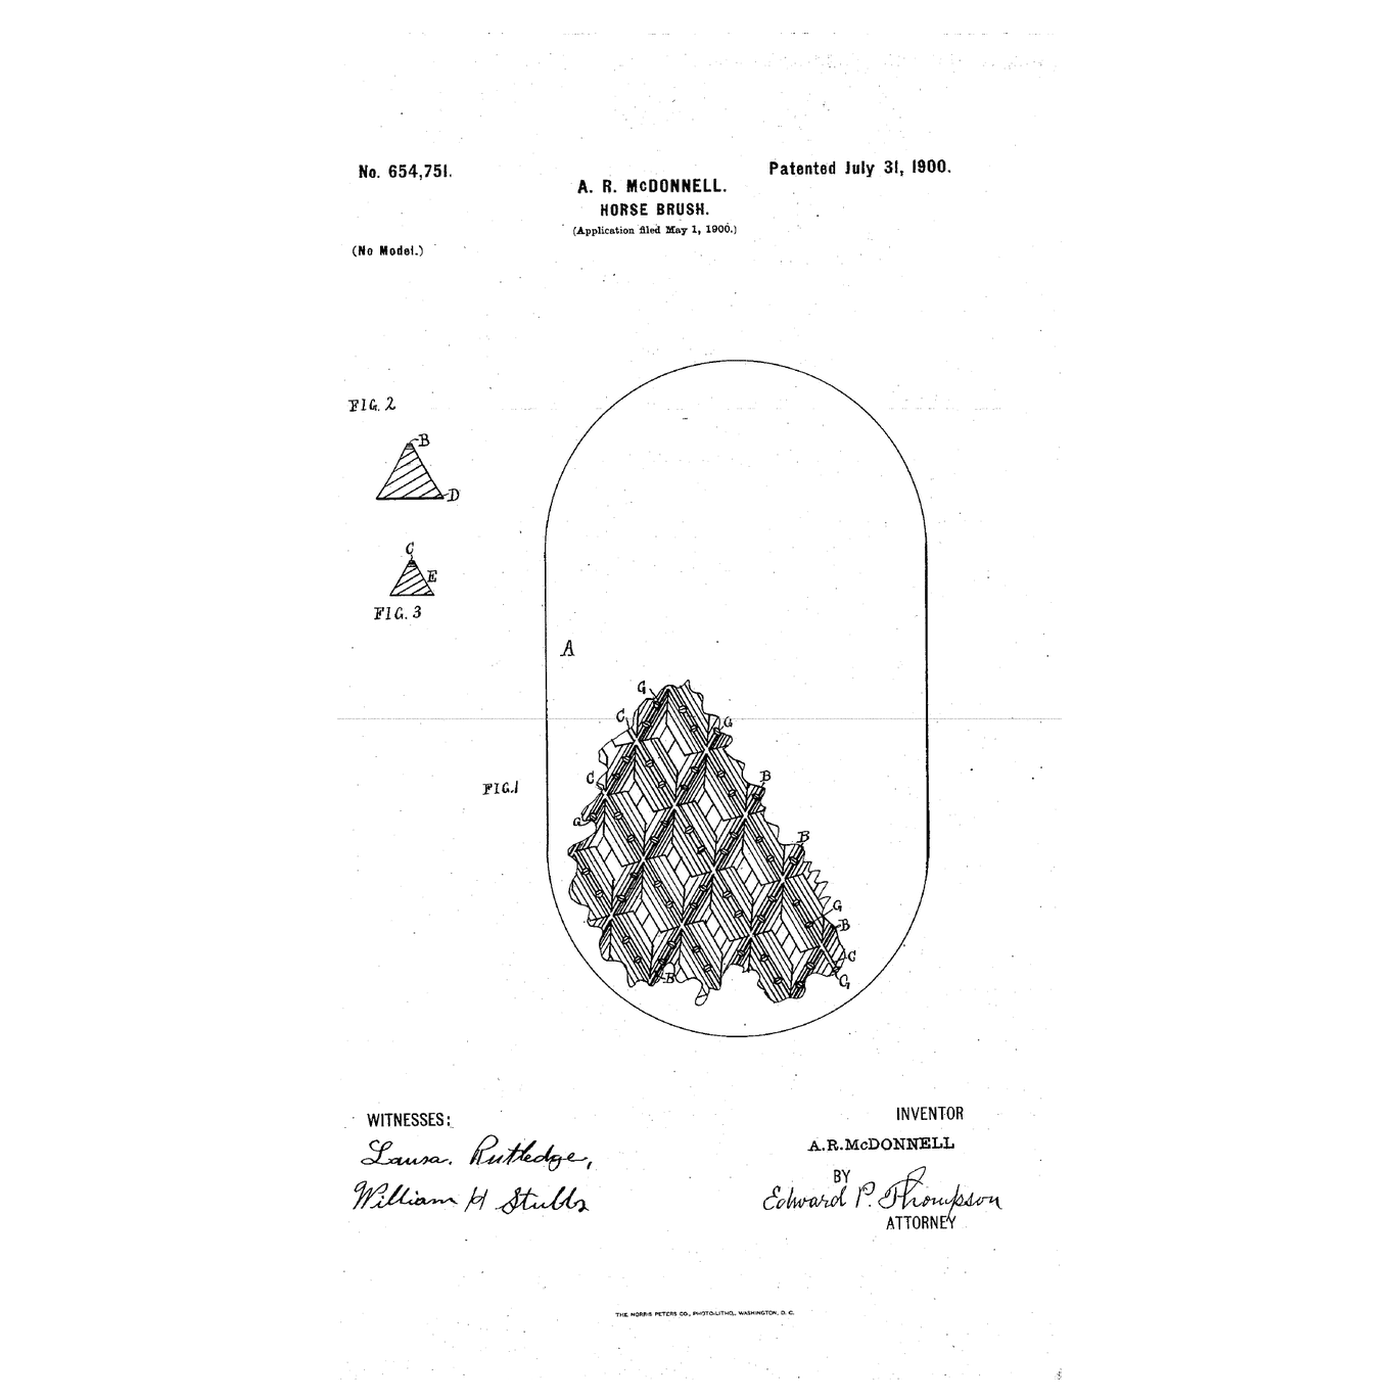
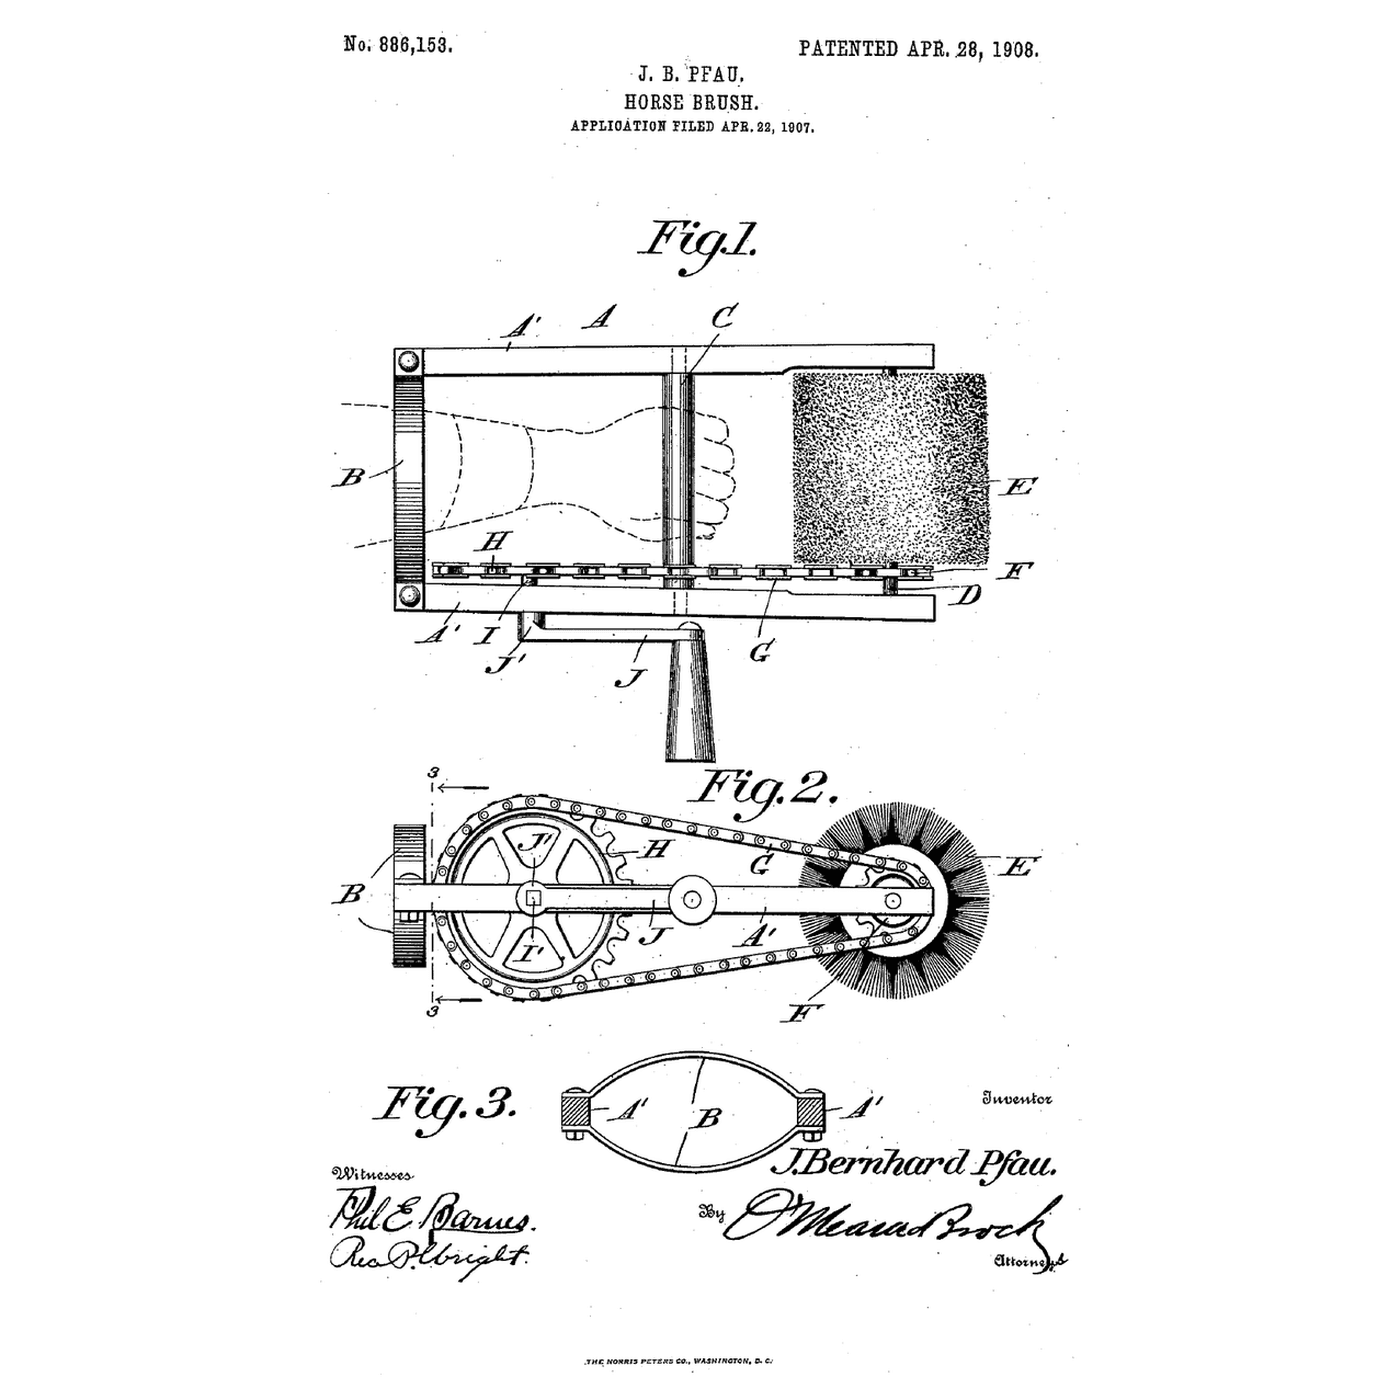
The embedded blueprint cleans the coat dry with rubber ridges. Danielson brings water to the bristles and lets it out nowhere else.
3
3
Read US 987,967
Read US 987,967
"A clamping wire 7 is placed around the cap and body within the groove in the cap presented by the said bead 6, and the ends of this clamping wire are formed into perforated lugs or ears 8 through which a securing bolt or screw 9 is inserted."
"The brush is moved over the body of the horse and the water permitted to flow through the pipe to the interior of the cap, whence it will escape through the perforations in the body or back of the brush and escape through the bristles to the animal. The flow of water may be regulated according to the condition of the animal's skin so that mud or other matter may be quickly and easily removed and the horse quickly cleaned."
4
4
Perforate the back
Perforate the back
Drill ten 4 mm holes through the scrub brush's back between the tufts, from the top.
Bahan untuk langkah ini:
 Berus penyental1 keping
Alatan diperlukan:
 Ragum Bangku
 Gerudi Tanpa Wayar
 Set Mata Gerudi
 Penanda Kekal
 Cermin Mata Keselamatan Jernih
5
5
Groove the edge
Groove the edge
Rout a 3 mm groove 3 mm deep round the back's edge, 8 mm above the bristle face.
Alatan diperlukan:
 Mesin penghala kayu
 Set mata mesin penghalaCermin Mata Keselamatan Jernih
6
6
Shape the cap
Shape the cap
Cut aluminium sheet to the back's outline plus 25 mm all round. Snip the margin into 15 mm tabs, fold them down over the sides, and press their edges into the groove. Seal the tab gaps with silicone.
Bahan untuk langkah ini:
 Kepingan aluminium1 keping
 Pengedap Silikon1 keping
Alatan diperlukan:
 Gunting kepingan logam
 Playar Muncung Rata
 Tukul
 Sarung Tangan Kerja Kulit
7
7
Wire it on
Wire it on
Lay a strip of rubber sheet across the cap's joint. Lay galvanised wire in the groove over the tabs, bend its ends into eyes, and draw them together with an M4 screw and nut.
Bahan untuk langkah ini:
 Kepingan getah1 keping
 Dawai Keluli Bersadur Zink1 keping
 Skru mesin1 keping
 Nat Heksagon1 keping
Alatan diperlukan:
Playar Muncung Rata Set pemutar skru
 Sepana boleh laras
8
8
Plumb the cap
Plumb the cap
Drill the cap's end for a threaded brass connector from the fittings. Clamp it with a flat washer, a rubber washer and a nut each side. Fit the ball valve and a hose connector to it.
Bahan untuk langkah ini:
 Penyambung loyang1 keping
 Sesendal Rata1 kepingKepingan getah1 keping
 Injap bebola1 keping
 Pita pengedap bebenang PTFE1 keping
Alatan diperlukan:
Gerudi Tanpa WayarSet Mata GerudiSepana boleh laras9
9
The build in 3D
The build in 3D
FreeCAD model of this build, not of the patent: a 190 × 90 × 24 mm elliptical back with ten 4 mm holes and a groove, the cap and clamping wire, and the connector, valve and hose tail.
10
10
Test it
Test it
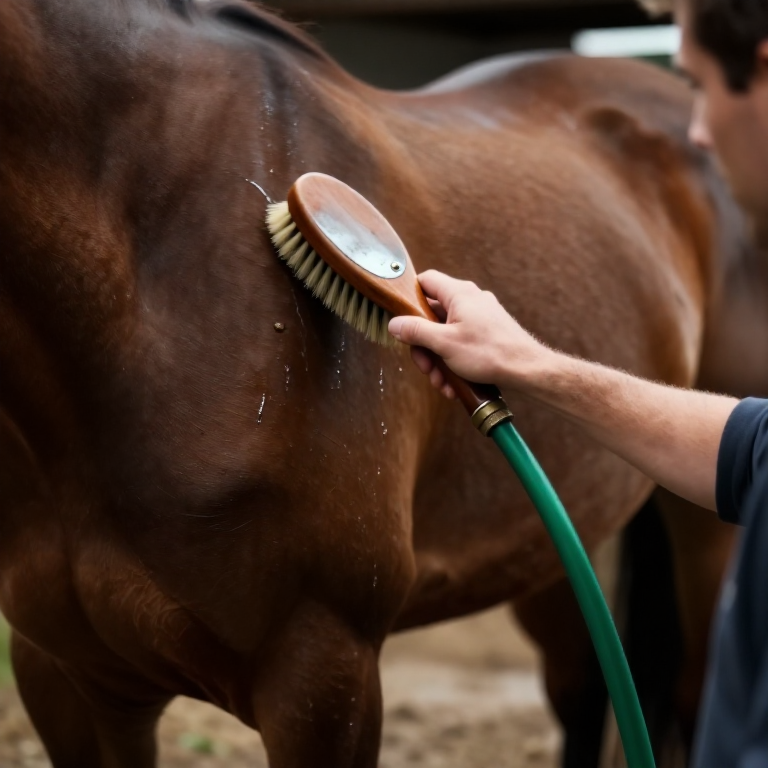
Connect the garden hose. Set the valve to fill the jug in one minute and note the litres; look for water anywhere but the bristles. Time how long it takes to loosen the wire and lift the cap off.
Bahan untuk langkah ini:
 Air1 keping
Alatan diperlukan:
 Jag penyukat
 Jam Randik
 Hos taman
11
11
A brush that leaks, floods or will not come apart
A brush that leaks, floods or will not come apart
Capped fountain horse brush troubleshooting.
Flow
Loading...
12
12
History and honest limits
History and honest limits
**Howard R. Danielson** of Crookston, Minnesota, filed US 987,967 on 26 March 1910; it was patented 28 March 1911. The back is preferably a wooden block of elliptical outline; the cap preferably a single piece of steel. A slit lets the cap spring over the back, sealed by a rubber block behind it. Inside, a clamping band riveted to the cap supports the pipe's inner end. He wrote that its life "is practically limitless, as the wear will all be on the bristles."
**Honest limits.** Our tabbed aluminium cap needs silicone where his pressed steel cap did not, and a bought scrub brush stands in for his. Your water use is the result.
Bahan
12- 1 kepingPemegang Tempat
- 1 kepingPemegang Tempat
- 1 kepingPemegang Tempat
- 1 kepingPemegang Tempat
- 1 kepingPemegang Tempat
- 1 kepingPemegang Tempat
- 1 kepingPemegang Tempat
- 1 kepingPemegang Tempat
- 1 kepingPemegang Tempat
- 1 kepingPemegang Tempat
- 1 kepingPemegang Tempat
- 1 kepingPemegang Tempat
Alatan Diperlukan
16- Pemegang Tempat
- 1 vendor sell this, none ship to you yetPemegang Tempat
- Pemegang Tempat
- Pemegang Tempat
- Pemegang Tempat
- Pemegang Tempat
- 1 vendor sell this, none ship to you yetPemegang Tempat
- Pemegang Tempat
- Pemegang Tempat
- Pemegang Tempat
- Pemegang Tempat
- Pemegang Tempat
- Pemegang Tempat
- Pemegang Tempat
- Pemegang Tempat
- Hos taman10% komisenPemegang Tempat
Fail reka bentuk
1Blueprint berkaitan
Blueprint ini berkongsi pengetahuan — teknik, bahan atau prinsip


CC0 Domain Awam
Blueprint ini dikeluarkan di bawah CC0. Anda bebas menyalin, mengubah, mengedar, dan menggunakan karya ini untuk sebarang tujuan, tanpa meminta kebenaran.
Sokong Pembuat dengan membeli produk melalui Blueprint mereka di mana mereka memperoleh Komisen Pembuat ditetapkan oleh Penjual, atau cipta iterasi baru Blueprint ini dan sertakan ia sebagai sambungan dalam Blueprint anda sendiri untuk berkongsi hasil.