SENI
KECANTIKAN & KESEJAHTERAAN
KRAFTANGAN
BUDAYA & SEJARAH
HIBURAN
ALAM SEKITAR
MAKANAN & MINUMAN
KEJURUTERAAN TERBALIK
SAINS
SUKAN
TEKNOLOGI
BOLEH PAKAI
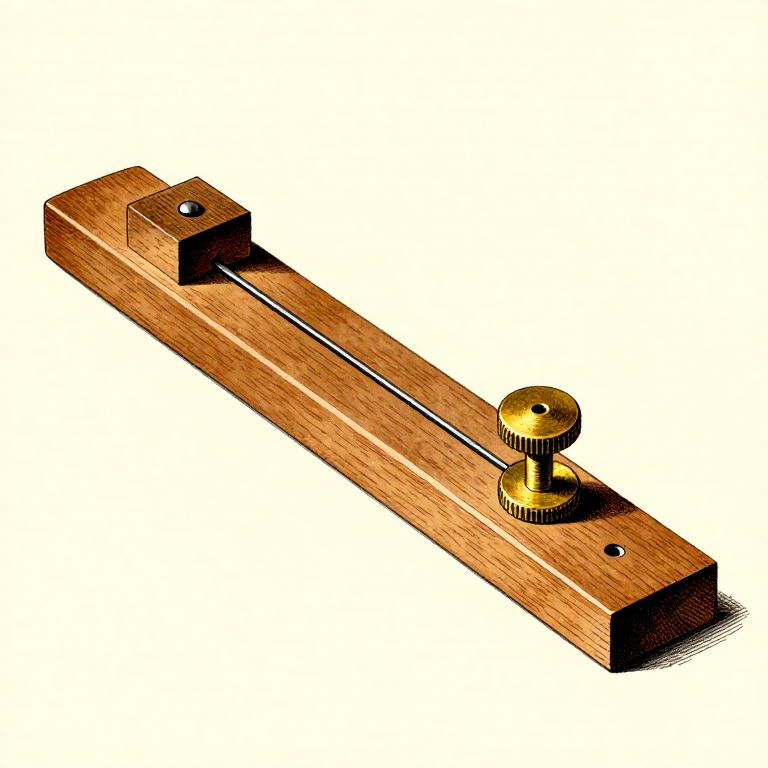


The Marking Gauge: Distance From a Surface, Not a Number
A marking gauge scribes a line a fixed distance from a surface, and it does it identically on every board you run it along. That repeatability is the point — far more than the number it is set to.
In fact the number rarely matters. You set the gauge from the actual part it has to match — a chisel width, a tenon thickness, the piece it will fit against — and never read a scale at all. An error in the setting is then an error everywhere equally, which is usually harmless; an error that varies board to board is not.
The mortise gauge takes the same idea further: two pins, so a mortise and its tenon are marked from one setting and cannot disagree.
Pemula
2 hours
Arahan
1
1
Set it from the thing it must match
Set it from the thing it must match
To mark a mortise, set the gauge pins to the actual chisel you will cut it with. To mark a tenon, set it to the mortise you have already cut. To gauge a thickness, set it against the part that has to fit.
Setting from the object instead of from a number removes a whole layer of error — no reading a scale, no rounding, no converting. And it guarantees the two things agree, which is the only thing that actually matters in a joint.
Nudge the stock gently with a tap on the bench to adjust it rather than sliding it by hand: fine adjustment by tapping is far more controllable, and then lock the thumbscrew and check the setting has not moved.
Bahan untuk langkah ini:
 Papan Kayu Keras1 keping
Alatan diperlukan:
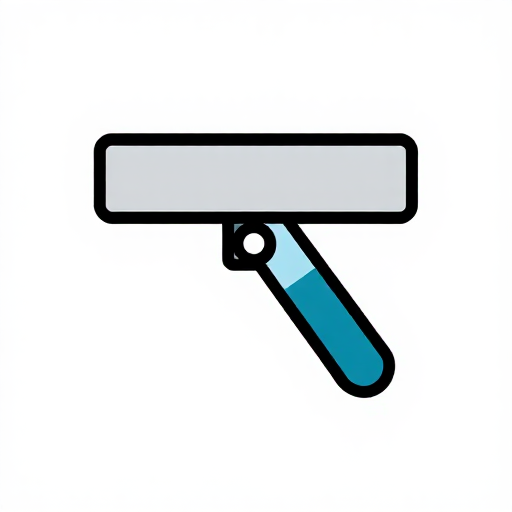 Perejang tanda
 Set pahat - tepi serong
 Pembaris
2
2
Stock against the FACE, and press it there
Stock against the FACE, and press it there
The gauge's stock must be held firmly against the face side or face edge for the whole stroke. The pin will follow wherever the stock goes, so any lift or rock puts a wander in the line.
Press sideways into the reference surface harder than you press down into the wood. That is the hand pressure that matters and it is the one beginners get backwards — pushing down hard makes the pin dig in and follow the grain, while the stock drifts away from the face.
Always the marked face, on every board of a set. A gauge run from the opposite face on one board out of four is exactly the error the face-side convention exists to prevent.
Bahan untuk langkah ini:
Papan Kayu Keras4 kepingAlatan diperlukan:
Perejang tanda Ragum bangku berat
3
3
Tilt it forward and take two light passes
Tilt it forward and take two light passes
Tilt the beam so the pin trails rather than digs, and push the gauge away from you in a light first pass to score the surface, then a second to deepen it.
A pin driven straight down into the wood follows the grain and wanders off into the softer early wood, especially on softwood. Trailing it, and scoring lightly first, keeps it on the line you intended.
A WHEEL gauge — a small round cutter instead of a pin — slices the fibres rather than tearing them, so it wanders much less and works across the grain cleanly. If a pin gauge keeps running off, that is the reason, and it is the tool rather than your hand.
Bahan untuk langkah ini:
 Papan Kayu Lembut Kering1 kepingPapan Kayu Keras1 keping
Alatan diperlukan:
Perejang tanda Kanta Pembesar Tukang Emas
4
4
The mortise gauge: two pins so they cannot disagree
The mortise gauge: two pins so they cannot disagree
A mortise gauge carries two pins on one beam, one fixed and one adjustable. Set the gap between them to the chisel, set the stock to position them on the work, and both walls of the mortise are marked in a single pass.
Then mark the tenon from the SAME setting, without touching the pins. The two parts are now defined by one measurement, so they cannot disagree with each other however inaccurate that measurement was.
That is the whole principle of this rung in one tool. Getting the absolute number right is rarely what determines whether a joint fits; making the two halves come from the same setting almost always is.
Bahan untuk langkah ini:
Papan Kayu Keras2 kepingAlatan diperlukan:
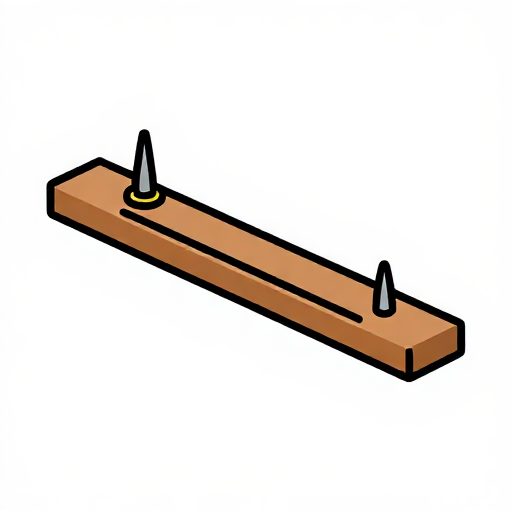 Perejang dua jarumSet pahat - tepi serong
 Sesiku tetap
Bahan
2- 4 kepingPemegang Tempat
- 1 kepingPemegang Tempat
Alatan Diperlukan
7- Pemegang Tempat
- Pemegang Tempat
- Pemegang Tempat
- Pemegang Tempat
- Pemegang Tempat
- Pemegang Tempat
- Pemegang Tempat
Blueprint berkaitan
Blueprint ini berkongsi pengetahuan — teknik, bahan atau prinsip

CC0 Domain Awam
Blueprint ini dikeluarkan di bawah CC0. Anda bebas menyalin, mengubah, mengedar, dan menggunakan karya ini untuk sebarang tujuan, tanpa meminta kebenaran.
Sokong Pembuat dengan membeli produk melalui Blueprint mereka di mana mereka memperoleh Komisen Pembuat ditetapkan oleh Penjual, atau cipta iterasi baru Blueprint ini dan sertakan ia sebagai sambungan dalam Blueprint anda sendiri untuk berkongsi hasil.