SENI
KECANTIKAN & KESEJAHTERAAN
KRAFTANGAN
BUDAYA & SEJARAH
HIBURAN
ALAM SEKITAR
MAKANAN & MINUMAN
KEJURUTERAAN TERBALIK
SAINS
SUKAN
TEKNOLOGI
BOLEH PAKAI


The Tank-Headed Self-Feeding Brush: Soap in the Tank, a Plate to Meter It
Scrubbing a floor means going back to the bucket every few strokes.
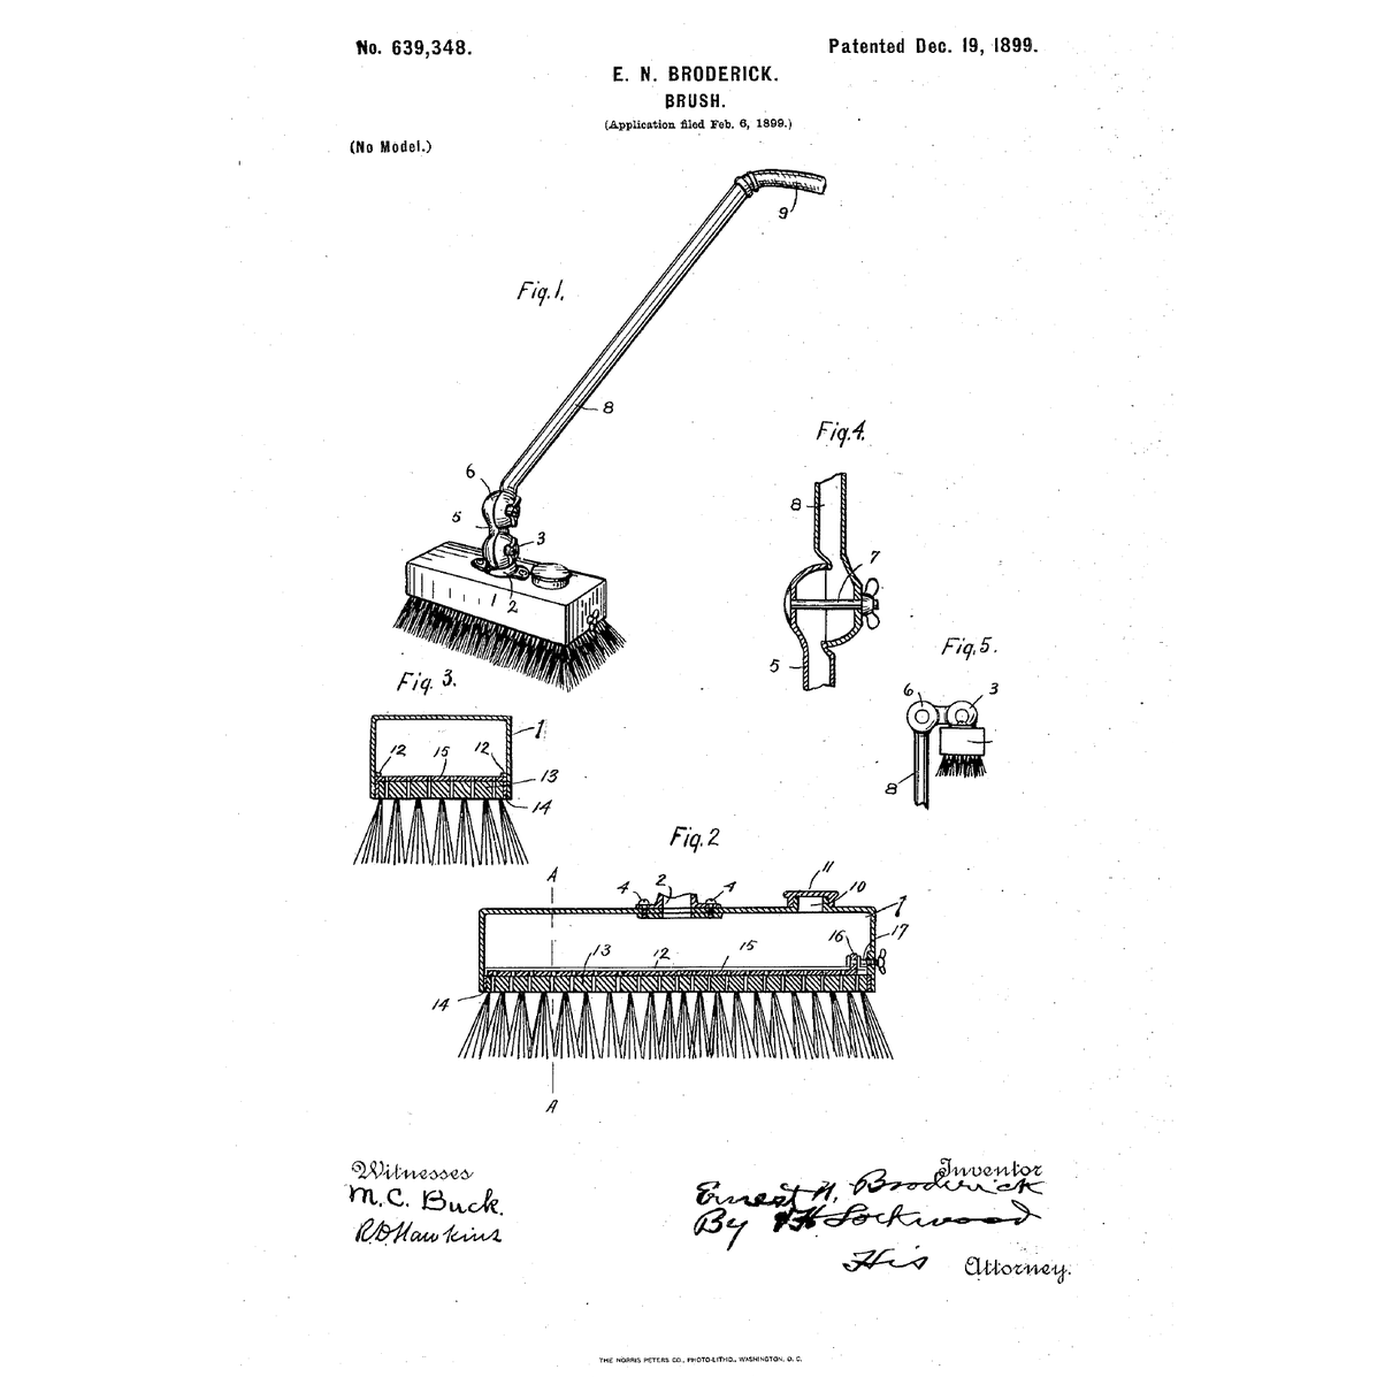
Ernest N. Broderick of Indianapolis received US 639,348, dated 19 December 1899, for a cleaning brush with a small tank on its perforated top, fed through a hollow handle from a hose; a perforated plate slid by a screw sets how far the holes open, and soap in the tank turns the water to suds — "a self-feeding brush."
This rung works out how the sliding plate opens the holes, then builds the tank on a scrub brush and measures the flow at each plate setting.
Pertengahan
About 4 hours
Arahan
1
1
Open area of the plate
Open area of the plate
Memuatkan buku nota Jupyter…
2
2
A scrubbing brush before it
A scrubbing brush before it
The embedded blueprint holds two brush heads on a sprung holder. Broderick puts a water tank on the head and feeds it through the handle.
3
3
Read US 639,348
Read US 639,348
"When used for scrubbing, the hose can be connected to a hydrant, and thus supply the desired amount of water to the brush, making it unnecessary to dip the brush into the bucket or tub of water. In other words, my device is a self-feeding brush. Should I desire to use soapy water, I can insert through the openings 10 particles of soap or soap powder. In this way I get soapsuds, which I use in scrubbing as it is needed, keeping the brush constantly supplied."
4
4
Perforate the brush back
Perforate the brush back
Drill fourteen 4 mm holes through the scrub brush's back between the tufts, in two rows 30 mm apart.
Bahan untuk langkah ini:
 Berus penyental1 keping
Alatan diperlukan:
 Ragum Bangku
 Gerudi Tanpa Wayar
 Set Mata Gerudi
 Penanda Kekal
 Pembaris
 Cermin Mata Keselamatan Jernih
5
5
Make the sliding plate
Make the sliding plate
Cut an aluminium plate 10 mm shorter than the back. Drill it through the back's holes, then file its end square. Rivet two guide strips to the back's top so it slides lengthwise.
Bahan untuk langkah ini:
 Kepingan aluminium1 keping
 Rivet keluli1 keping
Alatan diperlukan:
 Gunting kepingan logamGerudi Tanpa WayarSet Mata Gerudi
 Kikir (Kikir Tangan)
 Set rivet
 Tukul rivet
6
6
Build the tank
Build the tank
Fold an aluminium box 50 mm deep to the back's size with a lid. Drill the lid for a 25 mm filling hole and a handle socket. Seal it to the back with silicone and screws.
Bahan untuk langkah ini:
Kepingan aluminium1 kepingRivet keluli1 keping Pengedap Silikon1 keping
 Skru kayu #8 x 1"1 keping
Alatan diperlukan:
Gunting kepingan logamRagum BangkuSet rivetGerudi Tanpa WayarSet Mata Gerudi Sarung Tangan Kerja Kulit
7
7
Fit the adjusting screw
Fit the adjusting screw
Run an M4 screw through a nut epoxied on the tank's end wall so its tip pushes the plate. Turn it to close or open the holes.
Bahan untuk langkah ini:
 Skru mesin1 keping
 Nat Heksagon1 keping
 Epoksi dua komponen1 keping
Alatan diperlukan:
Gerudi Tanpa WayarSet Mata Gerudi Set pemutar skru
8
8
Fit the handle
Fit the handle
Fix 1.2 m of 15 mm copper tube in the socket with brass fittings. Fit a ball valve and hose connector at its top.
Bahan untuk langkah ini:
 Tiub tembaga1 keping
 Penyambung loyang1 keping
 Injap bebola1 keping
 Pita pengedap bebenang PTFE1 keping
Alatan diperlukan:
 Pemotong tiub
 Sepana boleh laras
9
9
The patent drawing
The patent drawing
US 639,348 drawing sheet, public domain (expired patent).
10
10
Measure the flow at each setting
Measure the flow at each setting
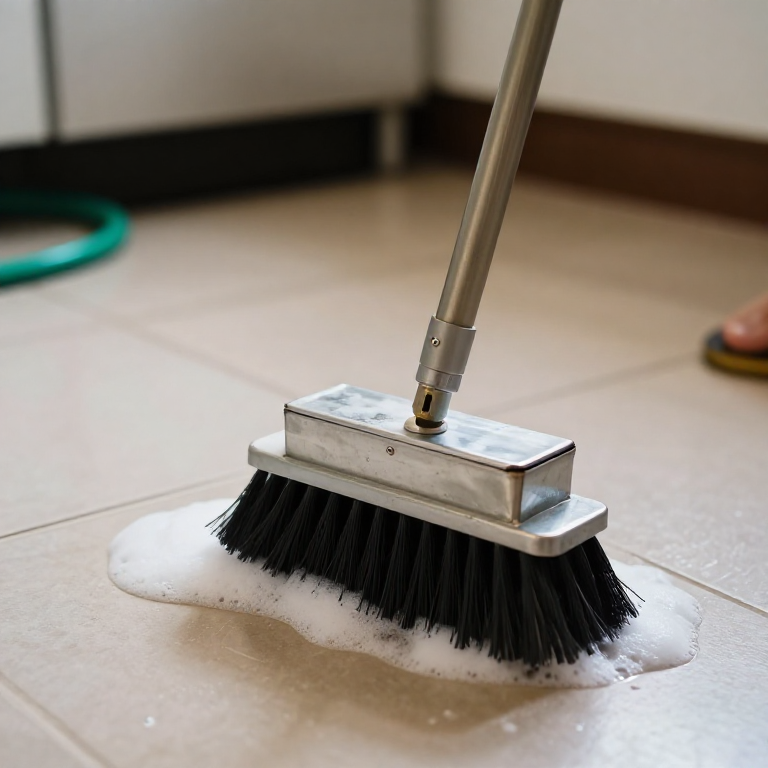
Connect the garden hose. Set the plate fully open, half and nearly shut, and catch the water for 30 s each in the jug. Then add a squirt of soap through the filling hole and scrub.
Bahan untuk langkah ini:
 Air1 keping
 Sabun Castile (cecair)1 keping
Alatan diperlukan:
 Jag penyukat
 Jam Randik
 Angkup Digital 6 Inci
 Hos taman
11
11
A brush that floods, starves or leaks
A brush that floods, starves or leaks
Tank-headed self-feeding brush troubleshooting.
Flow
Loading...
12
12
History and honest limits
History and honest limits
**Ernest N. Broderick** of Indianapolis filed US 639,348 on 6 February 1899; it is dated 19 December 1899. Rubber or leather strips seal the tank to the brush-top. Two hollow adjustable joints, ground to fit and clamped by a bolt, let the handle be set at any angle, for floors, walls, windows or dusting high furniture; with compressed air instead of water it blows dust away, and a mop or duster may replace the brush.
**Honest limits.** Our handle is fixed; his joints are not built here. The notebook gives open area, not flow through a real hole. Your flows are the result.
Bahan
14- 1 kepingPemegang Tempat
- 1 kepingPemegang Tempat
- 2 kepingPemegang Tempat
- 1 kepingPemegang Tempat
- 1 kepingPemegang Tempat
- 1 kepingPemegang Tempat
- 1 kepingPemegang Tempat
- 1 kepingPemegang Tempat
- 1 kepingPemegang Tempat
- 1 kepingPemegang Tempat
- 1 kepingPemegang Tempat
- 1 kepingPemegang Tempat
- 1 kepingPemegang Tempat
- 1 kepingPemegang Tempat
Alatan Diperlukan
18- Pemegang Tempat
- 1 vendor sell this, none ship to you yetPemegang Tempat
- Pemegang Tempat
- Pemegang Tempat
- Pemegang Tempat
- Pemegang Tempat
- Pemegang Tempat
- Pemegang Tempat
- Pemegang Tempat
- Pemegang Tempat
- Pemegang Tempat
- Pemegang Tempat
- Pemegang Tempat
- Pemegang Tempat
- Pemegang Tempat
- Pemegang Tempat
- Pemegang Tempat
- Hos taman10% komisenPemegang Tempat
Blueprint berkaitan
Blueprint ini berkongsi pengetahuan — teknik, bahan atau prinsip



CC0 Domain Awam
Blueprint ini dikeluarkan di bawah CC0. Anda bebas menyalin, mengubah, mengedar, dan menggunakan karya ini untuk sebarang tujuan, tanpa meminta kebenaran.
Sokong Pembuat dengan membeli produk melalui Blueprint mereka di mana mereka memperoleh Komisen Pembuat ditetapkan oleh Penjual, atau cipta iterasi baru Blueprint ini dan sertakan ia sebagai sambungan dalam Blueprint anda sendiri untuk berkongsi hasil.