SENI
KECANTIKAN & KESEJAHTERAAN
KRAFTANGAN
BUDAYA & SEJARAH
HIBURAN
ALAM SEKITAR
MAKANAN & MINUMAN
KEJURUTERAAN TERBALIK
SAINS
SUKAN
TEKNOLOGI
BOLEH PAKAI
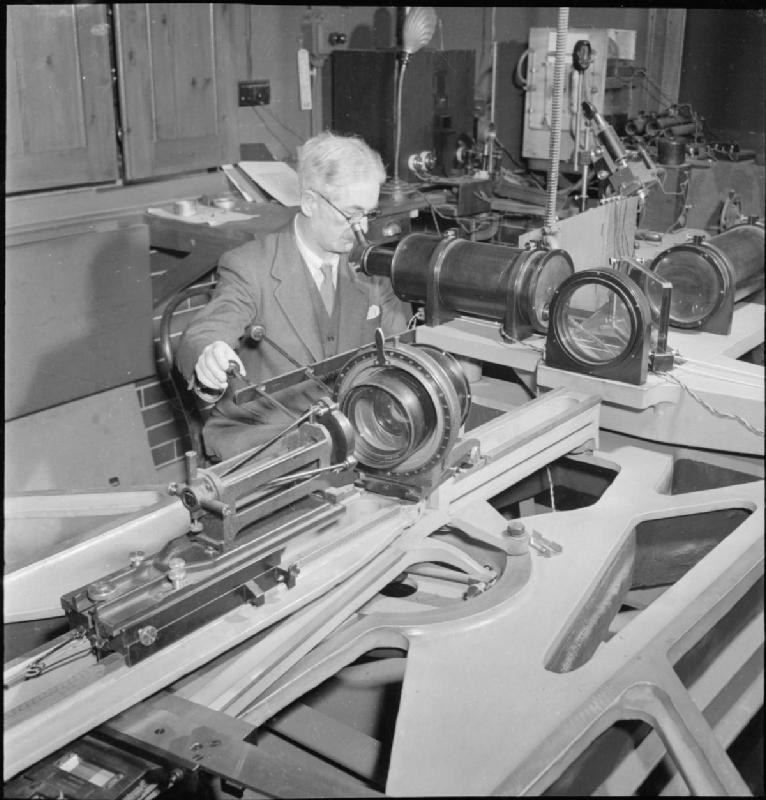

The Twyman-Green Interferometer
Frank Twyman and A. Green patented one change to the Michelson in 1916 and turned a physics instrument into a production tool. Illuminate it with a COLLIMATED beam — a plane wave rather than a point source — and put the optic you want to test in one arm, with a mirror behind it to send the light back through.
A perfect optic returns the plane wave unchanged and the fringes are dead straight. A real one returns a wavefront with its own errors printed into it, and the fringes bend by exactly that much. The pattern is a contour map of the optic's error, in steps of half a wavelength, and because the light passes through twice the error is doubled and therefore easier to see.
The Fizeau wedge of blueprint 3 already maps a surface, and does it more cheaply. What it cannot do is test anything that is not a flat you can lay a reference against — a cemented doublet, a prism, a whole telescope. Moving the optic into an ARM of an interferometer removes that constraint completely, at the cost of a collimator and about two orders of magnitude in money.
It also produces the one number an optical shop can put on a certificate: peak-to-valley wavefront error, against the quarter-wave criterion below which an optic is as good as its aperture allows and polishing further buys nothing at all.
Lanjutan
4 hours
Arahan
1
1
Collimate, then insert the optic
Collimate, then insert the optic
Start from the Michelson of blueprint 4. Expand the laser through a short-focus lens and re-collimate it with a longer one, so the beam leaves as a wide plane wave — check by confirming the spot does not change size across three metres.
Put the lens under test in one arm with a front-surface mirror behind it, positioned so the light comes back on itself. Re-find the fringes.
Bahan untuk langkah ini:
 Set kanta satah-cembung1 keping
 Cermin permukaan hadapan1 keping
 Kiub pembelah alur1 keping
Alatan diperlukan:
 Kit Bangku Optik
 Penunjuk Laser
 Cermin Mata Keselamatan Laser
 Pembaris
2
2
Null the tilt and read the bow
Null the tilt and read the bow
Adjust the reference mirror until the fringes are as wide and as straight as you can make them. That removes tilt and defocus, which are alignment rather than optic error.
Photograph the pattern. As in blueprint 3, measure the fringe spacing and the greatest departure of a fringe from straight, and divide. Test the same lens turned through ninety degrees: astigmatism shows up as a bow that rotates with the optic, and mounting strain as one that does not.
Alatan diperlukan:
 Komputer MejaPembaris
3
3
Wavefront error, Rayleigh, Strehl
Wavefront error, Rayleigh, Strehl
Memuatkan buku nota Jupyter…
Alatan diperlukan:
Komputer Meja4
4
Compendium: what the fringes cannot tell you
Compendium: what the fringes cannot tell you
TILT AND DEFOCUS ARE NOT ERRORS. Straight evenly spaced fringes mean tilt; circular ones mean the return mirror is at the wrong distance. Both are how you SET THE THING UP and both are removed before anything is measured, which is why a Twyman-Green result is always quoted after subtracting them. Confusing an alignment fringe pattern with an optic's error is the classic beginner's result, and it always reads far worse than the optic deserves.
THE SIGN AMBIGUITY, AND HOW THE MODERN INSTRUMENT ESCAPES IT. A single fringe pattern cannot tell a bump from a dip: both bend the fringes the same way. Traditionally you resolved it by introducing a known tilt and watching which way the bow moved. A modern phase-shifting interferometer instead steps the reference mirror through a fraction of a wavelength with a piezo, captures several frames, and computes the phase at every pixel unambiguously — which is how the same 1916 layout now delivers a full surface map to a hundredth of a wave rather than a photograph to be interpreted by eye.
Bahan
3- 1 kepingPemegang Tempat
- 1 kepingPemegang Tempat
- 1 kepingPemegang Tempat
Alatan Diperlukan
5- Pemegang Tempat
- Pemegang Tempat
- Pemegang Tempat
- Pemegang Tempat
- Pemegang Tempat
Blueprint berkaitan
Blueprint ini berkongsi pengetahuan — teknik, bahan atau prinsip
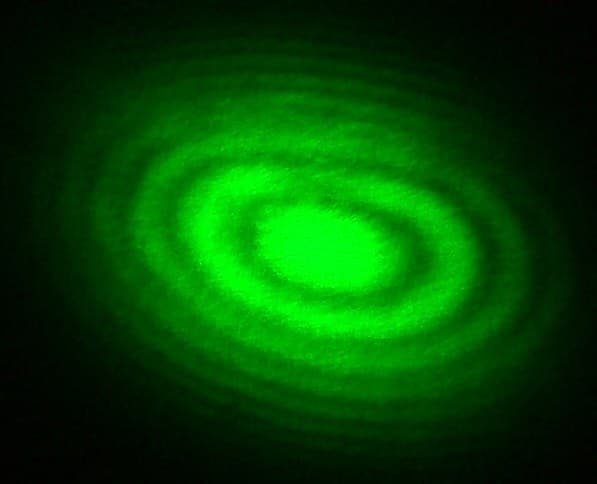
The Michelson Interferometer
oleh Penny
Pembuatan Tolakan
55
0
0
0
0
0
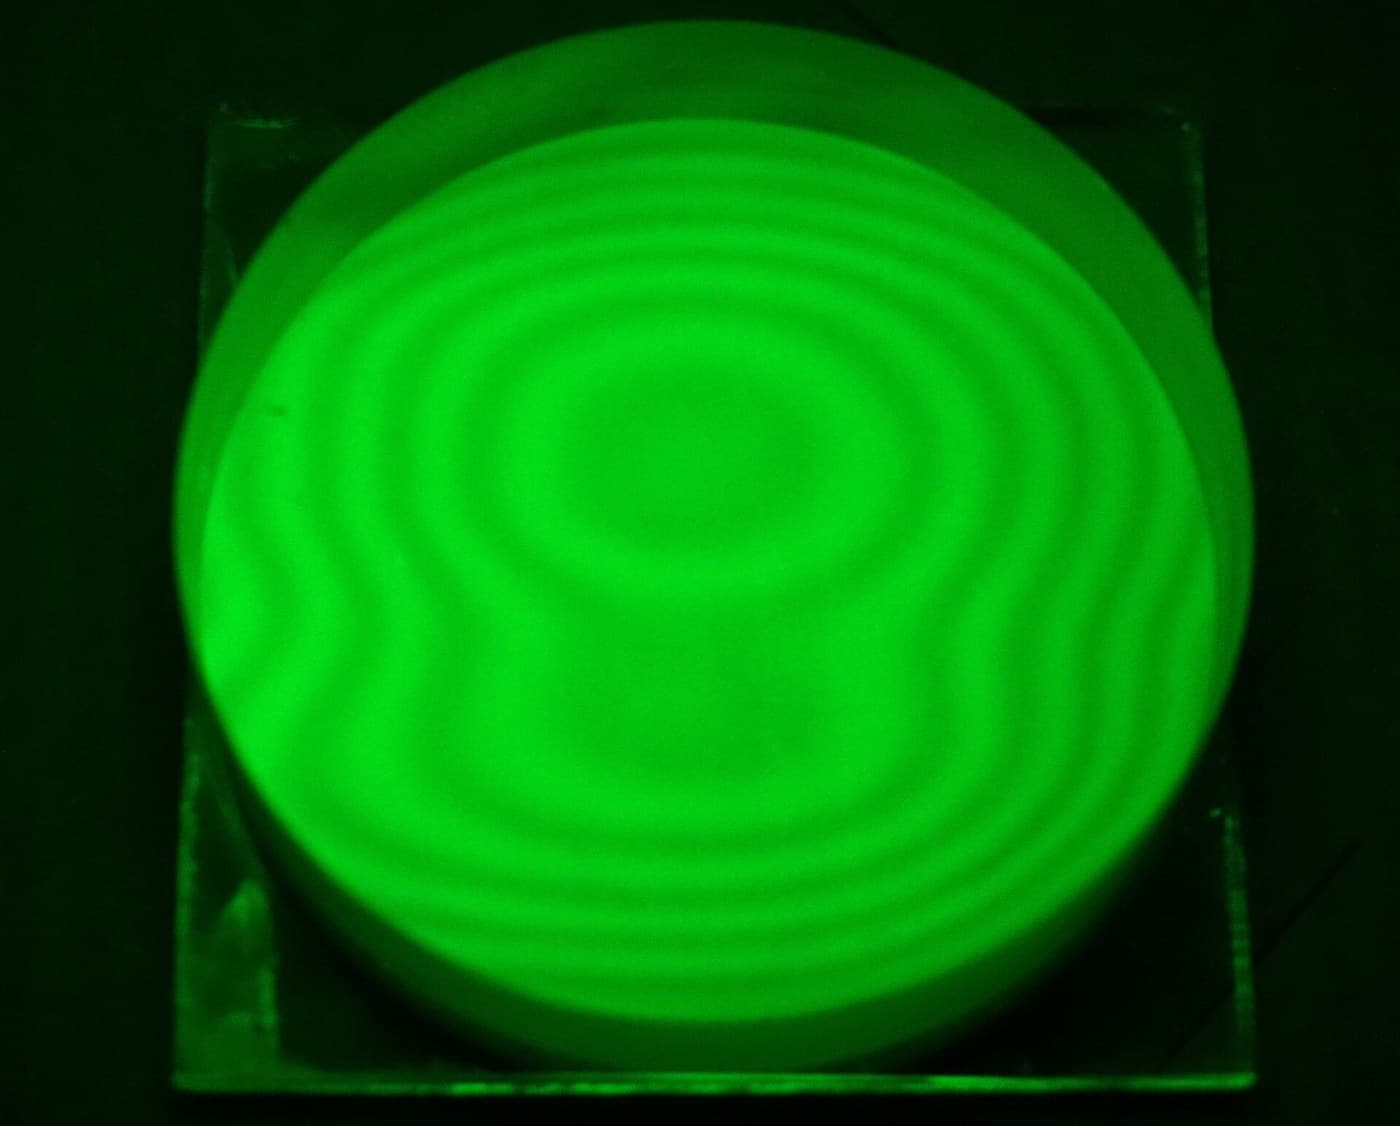
The Fizeau Wedge and the Optical Flat
oleh Emma
Pembuatan Tolakan
55
0
0
0
0
0
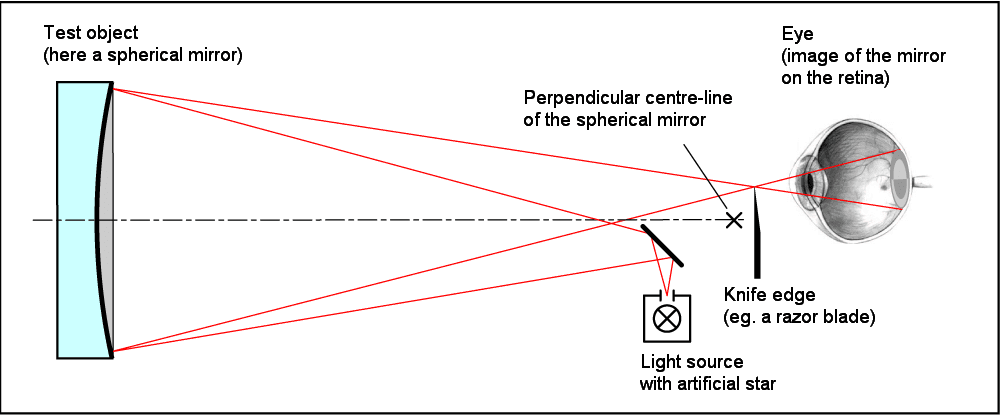
Foucault Knife-Edge Test
oleh Astro
SAINS
51
0
0
0
0
0
Achromatic Lens
oleh Penny
Fizik
43
0
0
0
0
0
Building a Newtonian Reflecting Telescope — Mirrors Instead of Lenses
oleh Astro
Kerja Kayu
91
1
0
0
2
0
CC0 Domain Awam
Blueprint ini dikeluarkan di bawah CC0. Anda bebas menyalin, mengubah, mengedar, dan menggunakan karya ini untuk sebarang tujuan, tanpa meminta kebenaran.
Sokong Pembuat dengan membeli produk melalui Blueprint mereka di mana mereka memperoleh Komisen Pembuat ditetapkan oleh Penjual, atau cipta iterasi baru Blueprint ini dan sertakan ia sebagai sambungan dalam Blueprint anda sendiri untuk berkongsi hasil.