Kerjasama
SENI
KECANTIKAN & KESEJAHTERAAN
KRAFTANGAN
BUDAYA & SEJARAH
HIBURAN
ALAM SEKITAR
MAKANAN & MINUMAN
KEJURUTERAAN TERBALIK
SAINS
SUKAN
TEKNOLOGI
BOLEH PAKAI
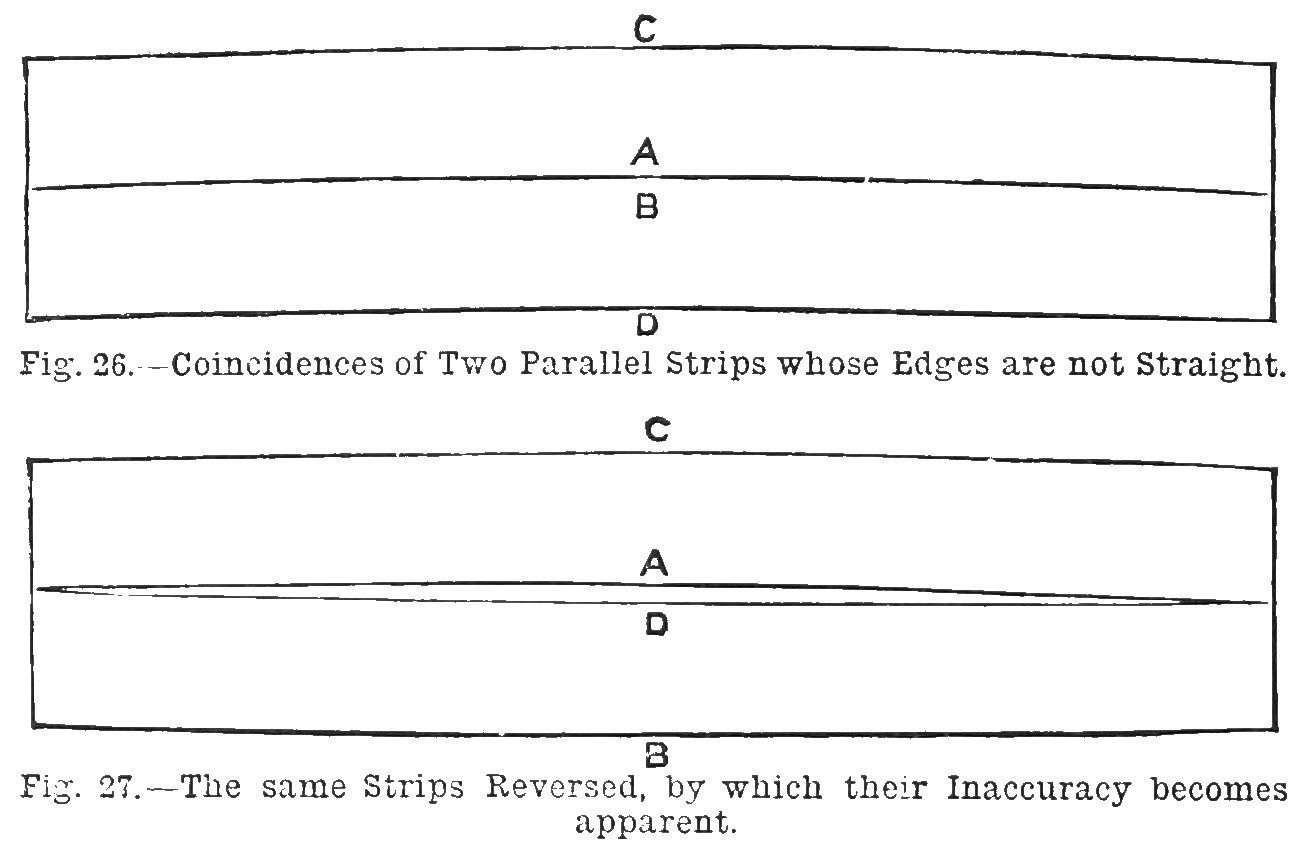


Winding Sticks: a Pair of Parallel Mahogany Strips Planed Together (Work, 1889)
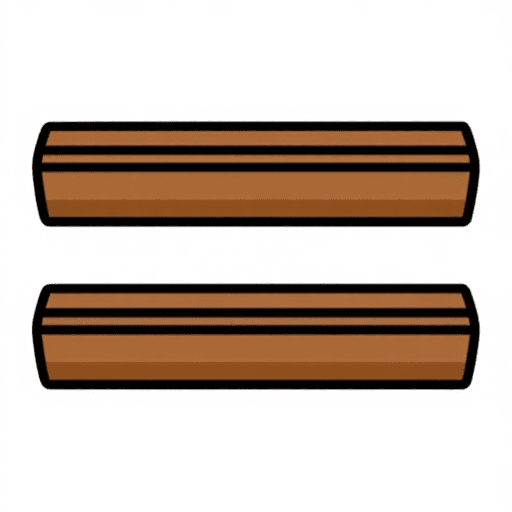
Two parallel wooden strips laid across a board to show twist (winding). Carpenters and joiners made their straightedges in pairs as winding strips: if two parallel strips still meet edge to edge when their edges and ends are swapped, three edges have been checked against each other and the strips are true.
Straight-grained mahogany is used for strips under three feet. The two are planed together, then tried against each other and reversed until no difference shows.
Source: J. H., 'Home-Made Tools', Work, 26 October 1889, pp. 499-500. Picture: Figs. 26-27.
Pertengahan
Unknown (the stuff is left to stand for days or weeks first)
Arahan
1
1
Read the source
Read the source
"Carpenters, joiners, pattern makers, and cabinet makers usually make their straightedges in pairs as 'winding strips;' and it is clear that if two winding strips are in the first place parallel, and then coincident when the positions of edges and ends are changed, there is obtained really the contact of three edges." (Work, 26 October 1889.)
2
2
Rough out and let stand
Rough out and let stand
Rough out two strips of well-seasoned, straight-grained mahogany (for strips under three feet; long ones are made of yellow pine). Jack them over and let them stand for a few days or even weeks, because fresh-cut strips curve and warp. Length, width and thickness are not given (unknown).
Bahan untuk langkah ini:
 Jalur kayu keras2 mahogany strips
Alatan diperlukan:
 Ketam tangan
 Dimensi tidak diketahui
3
3
Plane them together
Plane them together
Plane both to gauged thickness and width and square the ends. Screw the two side by side, then finish the edges together with a trying plane sharpened keenly and set very fine. Gauge to width with a fine-toothed gauge, check them parallel with calipers, and keep the edges square to the faces with a try square.
Alatan diperlukan:
 Skru kayuKetam tangan
 Perejang tanda
 Angkup
 Sesiku tetap
4
4
Test the edges
Test the edges
To test an edge without a straightedge, lay the strip on a board, scribe a fine line along the edge, turn the strip over and bring the opposite edge to the line: any error shows at twice its size. Plane off the high parts, still checking with calipers and square.
Alatan diperlukan:
 Papan Kayu Keras
 Pisau penandaKetam tanganAngkupSesiku tetap
5
5
Unfasten and try them against each other
Unfasten and try them against each other
Take the screws out. Lay the strips edge to edge by opposite edges in turn, then change ends and try the opposite edges again, correcting with the trying plane until no difference shows (woodworkers test by chalking the edges and laying them together). Most of the work should already have been done while they were joined.
Alatan diperlukan:
 Kapur penandaKetam tanganAngkupSesiku tetap
6
6
Varnish the faces
Varnish the faces
Protect the broad faces and the ends with shellac varnish, but not the edges, which are chalked in use. Chalking wears the edges hollow and wood always warps a little, so re-correct winding strips every few months, and keep them for testing winding only.
Bahan untuk langkah ini:
 Varnis selak1 faces and ends
Bahan
2- 2 mahogany stripsPemegang Tempat
- 1 faces and endsPemegang Tempat
Alatan Diperlukan
9- Pemegang Tempat
- Pemegang Tempat
- Pemegang Tempat
- Pemegang Tempat
- 1 vendor sell this, none ship to you yetPemegang Tempat
- Pemegang Tempat
- Pemegang Tempat
- Pemegang Tempat
- Pemegang Tempat
Blueprint ini membuat
CC0 Domain Awam
Blueprint ini dikeluarkan di bawah CC0. Anda bebas menyalin, mengubah, mengedar, dan menggunakan karya ini untuk sebarang tujuan, tanpa meminta kebenaran.
Sokong Pembuat dengan membeli produk melalui Blueprint mereka di mana mereka memperoleh Komisen Pembuat ditetapkan oleh Penjual, atau cipta iterasi baru Blueprint ini dan sertakan ia sebagai sambungan dalam Blueprint anda sendiri untuk berkongsi hasil.