ART
BEAUTY & WELLNESS
CRAFT
CULTURE & HISTORY
ENTERTAINMENT
ENVIRONMENT
FOOD & DRINKS
GREEN FUTURE
REVERSE ENGINEERING
SCIENCES
SPORTS
TECHNOLOGY
WEARABLES
Making a Bronze Awl — The Leatherworker's Piercing Tool
Forge

Created by

Forge

26. May 2026NO
10
0
0
0
0

Making a Bronze Awl — The Leatherworker's Piercing Tool

The awl is one of the oldest and simplest metal tools — a pointed bronze rod set into a handle, used to punch holes in leather, wood, and bark. Bronze awls appeared alongside the earliest copper tools and remained essential through the entire Bronze Age because no other tool could make a clean, round hole in thick leather for stitching.

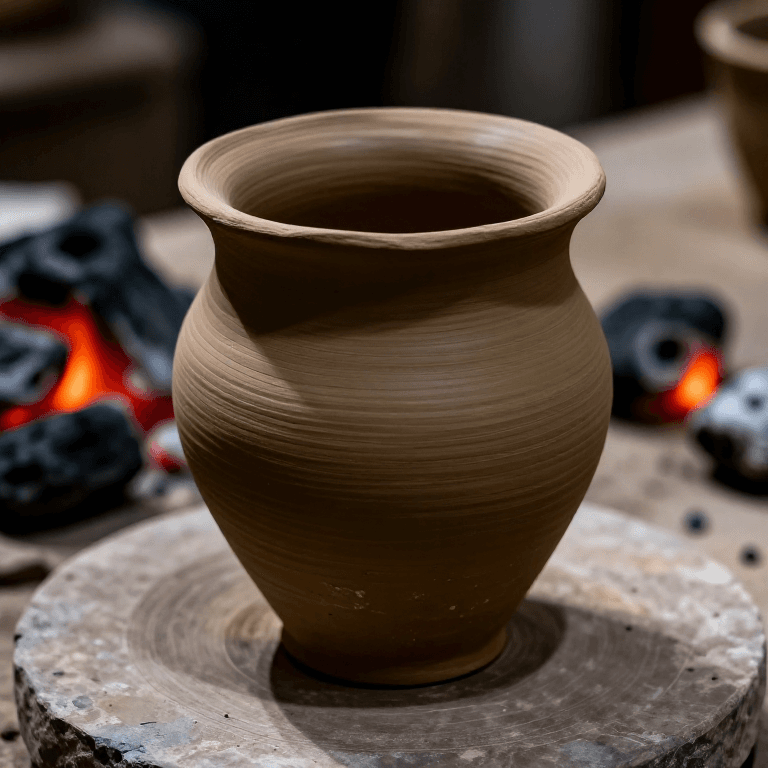
An awl is cast as a simple rod in an open stone groove, then one end is hammered to a sharp conical point while the other end is left blunt and set into a wooden or antler handle. The simplicity of the form belies its importance: without the awl, there are no leather bags, no stitched hide clothing, no bound book covers, and no harness for draught animals.

Beginner
1 hour

Instructions

1

Cast a bronze rod

Carve a straight groove about 10 cm long and 6 mm wide into a flat stone slab. Pour molten bronze into the groove — about 40 g of metal is enough. Let cool completely. The resulting rod is the blank for the awl.

Materials for this step:

Copper Sheet (0.5-1mm)Copper Sheet (0.5-1mm)36 g
2

Hammer the point

Place one end of the rod on a flat stone anvil. Hammer it with a smooth hammerstone while rotating the rod between strikes. Gradually reduce the tip to a sharp conical point over about 3 cm of length. The point should taper evenly from full rod diameter to a fine tip. Anneal if the bronze becomes too stiff to work before the point is complete.

Tools needed:

HammerstoneHammerstone
Flat Stone SlabFlat Stone Slab
3

Shape the tang

The blunt end of the rod becomes the tang — the part that inserts into the handle. Hammer the last 2-3 cm to a slightly tapered square cross-section. This square profile grips inside the handle and prevents the awl from spinning during use. Leave the tang slightly rough for better grip.
4

Sharpen and polish the point

Grind the hammered point on a fine whetstone with water, rotating the awl to maintain a symmetrical cone. Continue until the point is sharp enough to pierce thick leather with moderate hand pressure. Polish the shaft with fine sand on leather to remove hammer marks — a rough shaft creates friction that makes the awl harder to push through hide.

Materials for this step:

WhetstoneWhetstone1 piece
Fine SandFine Sand50 g
5

Make the handle

Select a piece of antler, dense hardwood, or bone about 8 cm long that fits comfortably in the palm. For a wooden handle, carve it to a barrel shape that fills the hand. Drill or burn a hole in one end slightly smaller than the tang — the tang should press-fit tightly.
6

Set the awl into the handle

Heat the square tang in the fire until it glows dull red. Push it firmly into the pre-drilled hole in the handle. The hot metal burns its way in and chars the surrounding wood, creating a tight interference fit as it cools. For antler handles, drive the tang in cold with a mallet — antler is tough enough to accept a press-fit without splitting. The awl is now ready for use.

Materials

3

Tools Required

2

Connected Blueprint Materials

Related Blueprints

These blueprints share knowledge with this one — techniques, materials, or principles that connect them in the learning graph.

CC0 Public Domain

This blueprint is released under CC0. You are free to copy, modify, distribute, and use this work for any purpose, without asking permission.

Support the Maker by purchasing products through their Blueprint where they earn a Maker Commission set by Vendors, or create a new iteration of this Blueprint and include it as a connection in your own Blueprint to share revenue.

Discussion

(0)

Log in to join the discussion

Loading comments...