Firing Clay Bricks in a Clamp Kiln — The Building Block of Civilization
The fired clay brick is arguably humanity's most consequential building material. Sun-dried mud bricks (adobe) appeared around 7500 BCE in the Fertile Crescent, but fired bricks — hardened by heat to resist water, frost, and time — emerged around 3500 BCE in Mesopotamia. The discovery that fire could transform soft clay into permanent stone gave rise to the first cities, aqueducts, granaries, and temples. The ziggurats of Ur, the Great Wall of China, and the Roman aqueducts were all built from fired bricks.
A clamp kiln is the simplest method for firing bricks and has been used with minimal variation for over 5,000 years. It requires no permanent kiln structure — the bricks themselves form the kiln. Green (unfired) bricks are stacked with fuel channels between them, the stack is sealed with mud plaster, and a fire is maintained for 2-4 days. The heat transforms the clay minerals through a series of chemical reactions: first water evaporates, then organic matter burns out, then the clay particles sinter (fuse together) at 900-1100°C, creating a hard, durable, weather-resistant building block.
A single person working with local clay can produce 200-500 bricks per clamp firing — enough for a small structure. This accessibility is why brick construction spread independently across every inhabited continent: if you have clay soil and firewood, you can make bricks.
Instructions
Dig and test the clay
Dig and test the clay
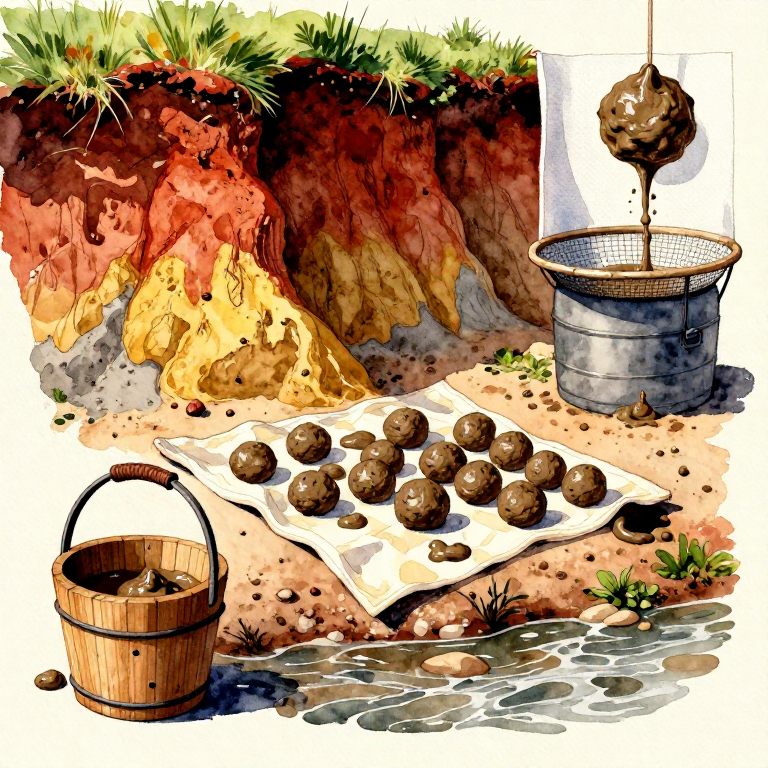
Good brick clay is found 30-60 cm below the topsoil layer in most river valleys and floodplains. Dig a test pit and collect a sample. To test suitability, form a ball of moist clay the size of a tennis ball and drop it from waist height onto a hard surface. If it flattens without cracking, the clay is too plastic (too much clay content); if it shatters, it's too sandy. Ideal brick clay deforms with minor surface cracks — it contains a natural balance of clay particles and sand.
A second test: roll a pencil-thick coil of clay and wrap it around your finger. If it wraps without cracking, the clay has good plasticity for brick-making. Collect approximately 200-300 kg of clay for a small batch of 100-200 bricks. Remove stones, roots, and organic debris by hand.
Materials for this step:
 Clay250 kg
Tools needed:
 Shovel
Temper and prepare the clay body
Temper and prepare the clay body
Pure clay shrinks 8-12% as it dries and fires, causing cracks. Adding sand (tempering) reduces shrinkage to 4-6% and prevents cracking. Mix the clay with clean, sharp sand at approximately 70% clay to 30% sand by volume. The exact ratio depends on the natural sand content of your clay — test with a small batch first.
Add water gradually and mix by treading (walking on the clay in a shallow pit) or kneading by hand until the mixture is uniformly smooth with no dry pockets or air bubbles. The consistency should be stiff enough to hold the shape of a brick mould without slumping, but wet enough to fill every corner of the mould when pressed. Allow the mixed clay to rest overnight — this tempering period lets water distribute evenly through the mass.
Materials for this step:
 Fine Sand80 kg
Build or acquire a brick mould
Build or acquire a brick mould
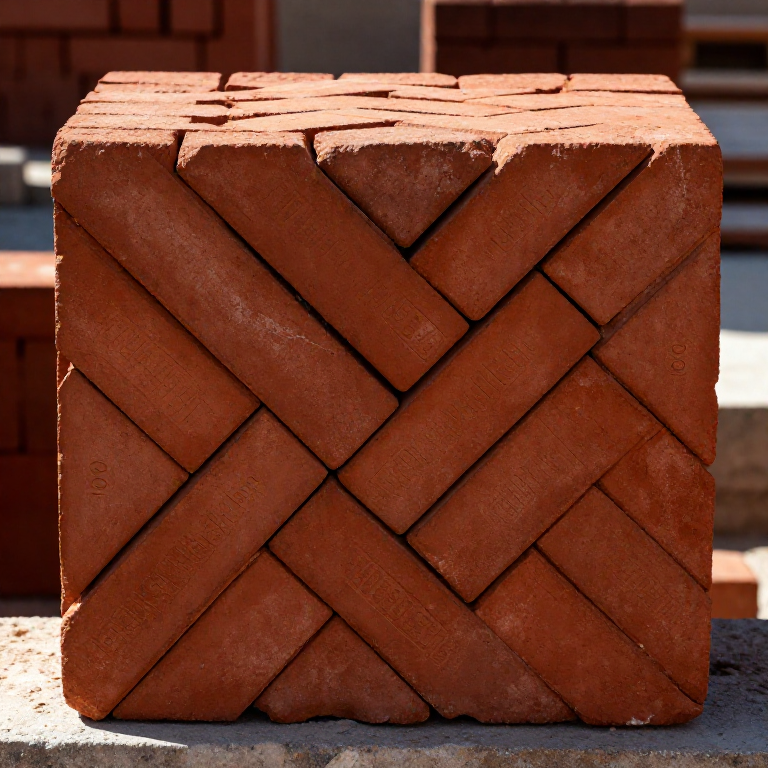
A brick mould is an open-topped rectangular box — essentially a bottomless frame. Traditional Mesopotamian bricks were approximately 30 × 15 × 7 cm; Roman bricks were flatter at 30 × 15 × 4 cm. Build a mould from smooth hardwood planks fastened at the corners. The interior surfaces must be smooth — any roughness prevents the clay from releasing cleanly.
For efficiency, build a gang mould that forms 2-4 bricks simultaneously. The mould should have no bottom — it sits on a flat surface (a board or hard-packed ground) and is lifted off after the brick is formed. Wet or sand the mould interior before each use to prevent sticking.
Materials for this step:
 Hardwood Block2 pieces
Tools needed:
 Hand Saw
 Iron Nails
Mould the green bricks
Mould the green bricks
Place the wetted mould on a flat, sanded surface. Take a lump of prepared clay slightly larger than the mould cavity and throw it forcefully into the mould — the impact drives the clay into every corner and expels air pockets. Press the clay firmly with your fists, then scrape the excess level with the top of the mould using a straight-edged stick or wire.
Lift the mould straight up to release the formed brick. The brick should hold its shape without slumping or cracking. If it slumps, the clay is too wet; if the edges crack, it's too dry. Place each formed brick on a flat drying area with 5-10 cm spacing for air circulation. A practiced brickmaker can mould 300-500 bricks per day.
Dry the green bricks
Dry the green bricks
Green bricks must dry slowly and completely before firing — any remaining moisture will turn to steam inside the brick during firing, causing it to explode. Dry the bricks in a sheltered area out of direct sun and rain for 7-14 days depending on weather. After 2-3 days, turn each brick on its side to expose the bottom surface.
A fully dry brick is noticeably lighter than a wet one, uniform in color (no dark wet patches), and rings with a dull tap rather than a soft thud. Test by breaking one: the interior should be the same color as the exterior, with no darker core. Attempting to fire bricks with a damp core is the most common cause of batch loss in traditional brick-making.
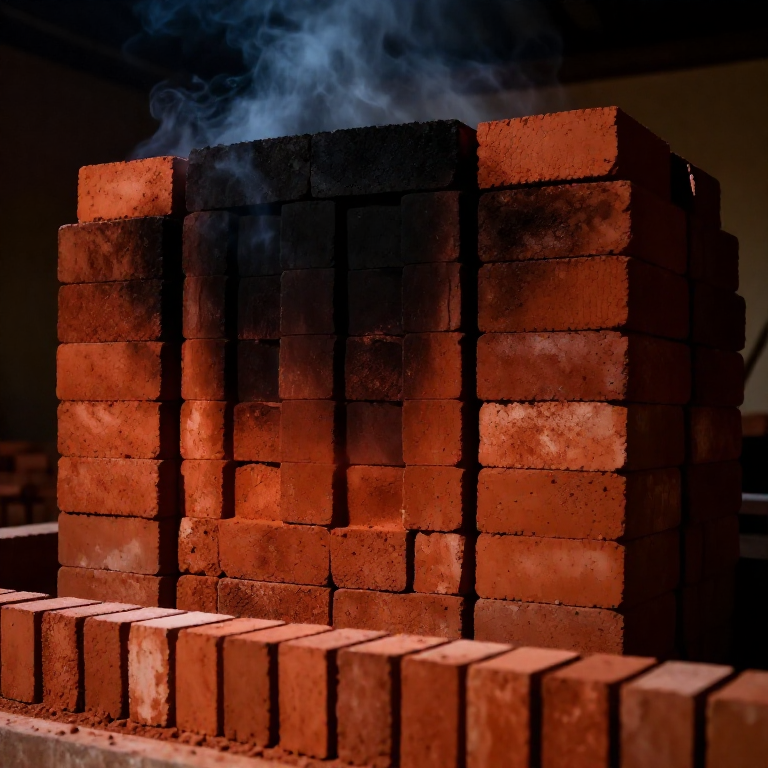
Stack the clamp kiln
Stack the clamp kiln
A clamp kiln uses the bricks themselves as the kiln structure. On a flat, well-drained site, lay a foundation of hard-fired bricks or flat stones. Build fire channels (tunnels) at ground level — leave gaps 15-20 cm wide running the length of the stack, spaced every 50 cm across the width. These channels are where fuel is loaded and lit.
Stack the green bricks above the fire channels in a herringbone or stretcher bond pattern, leaving 1-2 cm gaps between bricks for heat circulation. Build the stack 1-1.5 meters tall. Taper the sides inward slightly for stability. The outermost layer of bricks serves as insulation — these fire less evenly but protect the interior bricks from heat loss. Seal the exterior with a 5 cm layer of wet clay plaster, leaving air holes at the top for draught.
Materials for this step:
 Charcoal50 kg
Fire the clamp for 48-72 hours
Fire the clamp for 48-72 hours
Light fires in all the ground-level channels simultaneously using kindling and charcoal. For the first 12 hours, maintain a low, smoking fire — this drives out the last traces of moisture from the bricks without thermal shock. Gradually increase the fuel over the next 12 hours until the fire channels are burning intensely.
Maintain maximum temperature (visible red-orange glow through the air holes at the top of the stack) for 24-48 hours. The target temperature is 900-1100°C — at this range, the clay minerals undergo irreversible chemical changes (sintering and vitrification) that make the brick permanently hard. Feed fuel continuously through the channel openings. When the top of the stack glows dull red and smoke from the air holes turns from black to clear, the firing is complete.
Tools needed:
 Chemical Splash Goggles
Cool and sort the finished bricks
Cool and sort the finished bricks
Seal the fire channels and all air holes with clay plaster and allow the clamp to cool for 3-5 days. Do not dismantle while hot — rapid cooling causes thermal shock cracking in the finished bricks. When the exterior clay plaster is cool to the touch, begin carefully removing bricks from the outside in.
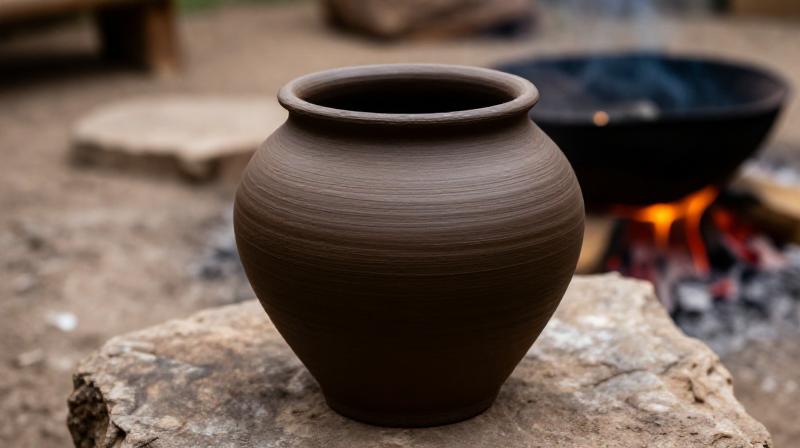
Sort the bricks into three grades: Grade 1 (inner bricks, fully fired, ring clearly when tapped, uniform red-brown color) are structural-quality bricks suitable for load-bearing walls. Grade 2 (partially fired, lighter color, slightly softer) can be used for interior partitions and non-structural walls. Grade 3 (under-fired outer bricks, still somewhat soft) can be crushed and recycled as grog for the next batch. A well-fired clamp typically produces 60-70% Grade 1 bricks.
Tools needed:
 Hammer (2 kg)
Materials
4- 2 piecesPlaceholder
Connected Blueprint Materials
Related Blueprints
These blueprints share knowledge with this one — techniques, materials, or principles that connect them in the learning graph.
Related blueprints
Other builds that share materials, tools, or techniques with this one.
CC0 Public Domain
This blueprint is released under CC0. You are free to copy, modify, distribute, and use this work for any purpose, without asking permission.
Support the Maker by purchasing products through their Blueprint where they earn a Maker Commission set by Vendors, or create a new iteration of this Blueprint and include it as a connection in your own Blueprint to share revenue.