IṢẸ́ ỌNÀ
ẸWÀ ÀTI ÌLERA
IṢẸ́ ỌWỌ́
ÀṢÀ ÀTI ÌTÀN
ÌṢERÉ
ÀYÍKÁ
OÚNJẸ ÀTI OHUN MÍMU
REVERSE ENGINEERING
SÁYẸ́ǸSÌ
ERÉ ÌDÁRAYÁ
ÌMỌ̀-Ẹ̀RỌ
ÀWỌN OHUN WÍWỌ̀
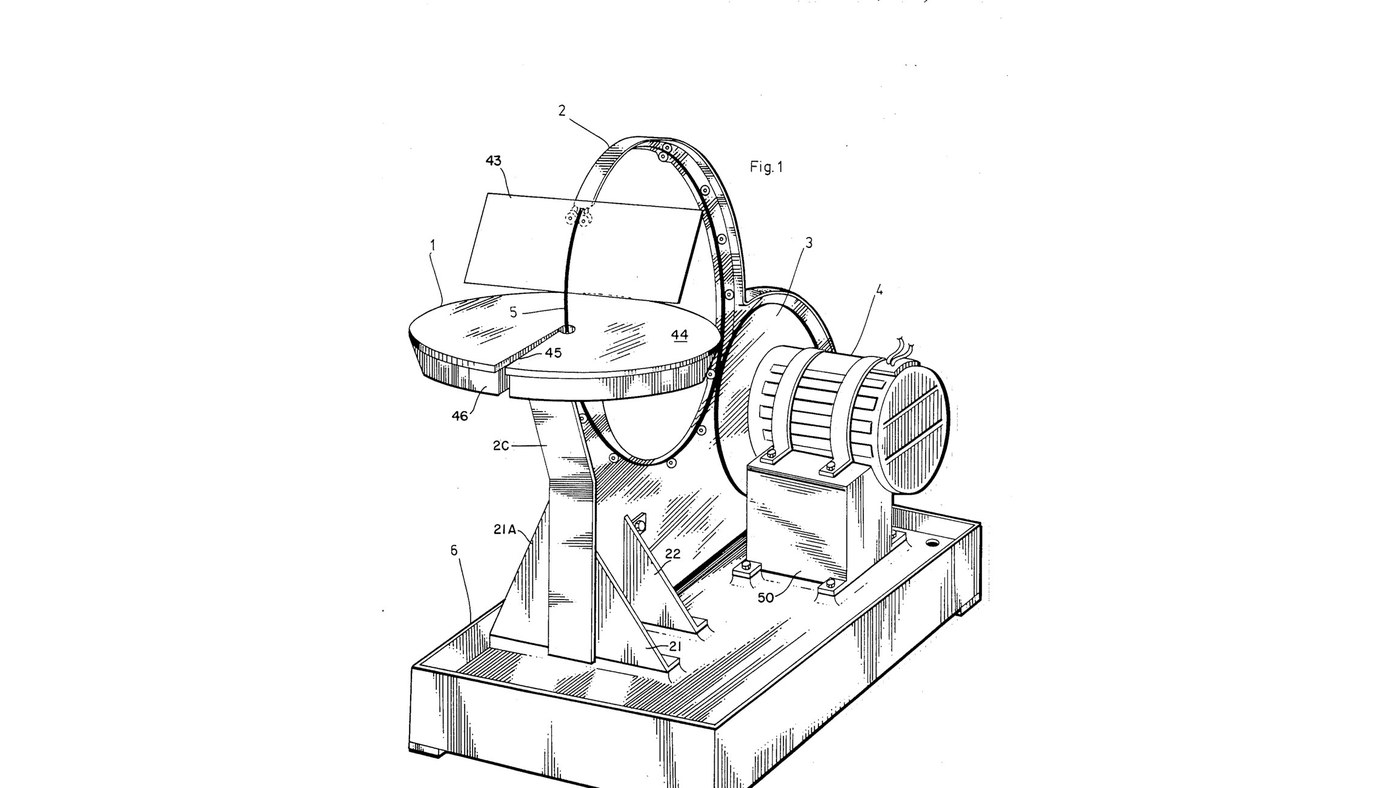


Glass Saw: Rigid Diamond Wire Ring Driven by Its Rim
Jesse Cogswell's ring saw (US 4,576,139, 1986) for glass, ceramics and stone. The blade is a rigid circle of wire coated with bonded diamond, standing upright through a cutting table. A rubber-tyred wheel on the motor drives it by friction round its own rim at 3000 ft/min or more, and twelve guide wheels on slots round an aluminium back-plate hold it true. Because it cuts with any part of its rim, the work can be turned freely for curves and inside shapes; a sponge in a water tray wets the wire.
The patent sizes the ring from the thickest work to be cut (8 in ring for 3/16 in); the notebook does the sums. The picture: the patent's Fig. 1.
Ilọsíwájú
3 days
Ìlànà
1
1
Cut and brace the back-plate
Cut and brace the back-plate
Cut the back-plate (2A) from aluminium plate, its upper part curved as an arc to shield the saw, stiffened by an angle (2B) along the top and a flat splatter strip (2C) at the front. Bolt on two front struts (21, 21A) and two side struts (22) and bolt them to the base. Ours: drill press.
Àwọn ohun èlò fún ìgbésẹ̀ yìí:
 Àwo Alumíníọ̀mù1 ẹyọ
 Igun aluminiomu1 ẹyọ
 Bọ́ọ̀tì onígun mẹ́fà - ìpele 8.81 ẹyọ
Àwọn irinṣẹ́ tí a nílò:
 Ẹ̀rọ Ìlùkòkò Onídúró
 Kọ́kọ́rọ́ tí a lè ṣàtúnṣe
2
2
Cut the wheel-slider apertures
Cut the wheel-slider apertures
Cut slots (32) through the back-plate's arc at 0, 30, 60, 90, 120, 210, 240, 270, 300 and 330° round the ring's centre: two slots at 90° and 210° for the guide pairs, one at each of the others. The slots let each guide wheel slide to the ring.
Àwọn irinṣẹ́ tí a nílò:
Ẹ̀rọ Ìlùkòkò Onídúró3
3
Assemble the guide wheels
Assemble the guide wheels
For each of the twelve guide wheels, stretch two rubber O-rings (27) into the grooves of a bearing wheel (26) with sealed roller bearings, and mount it on a shoulder bolt (28) with a washer, lockwasher and nut.
Àwọn ohun èlò fún ìgbésẹ̀ yìí:
 Rọ́là atọ́nà12 ẹyọ
 Òrùka O rọ́bà24 ẹyọ
 Bọ́ọ̀tù Oníhà12 ẹyọ
 Wáṣà Pẹrẹsẹ12 ẹyọ
 Spring Washer12 ẹyọ
 Nọ́ọ̀tì Onígun Mẹ́fà12 ẹyọ
Àwọn irinṣẹ́ tí a nílò:
Kọ́kọ́rọ́ tí a lè ṣàtúnṣe4
4
Turn the drive wheel
Turn the drive wheel
Turn an aluminium disk with a hub, a bored axle hole and a deep groove round its rim, and seat a large rubber O-ring (23) in the groove as its driving tyre. Ours: lathe.
Àwọn ohun èlò fún ìgbésẹ̀ yìí:
Àwo Alumíníọ̀mù1 ẹyọÒrùka O rọ́bà1 ẹyọÀwọn irinṣẹ́ tí a nílò:
 Ẹ̀rọ Ìyí Irin
5
5
Mount the motor and drive axle
Mount the motor and drive axle
Strap the electric motor (51) onto its pillow block (50) with fastening bands (52) and bolt the block to the base. Fix the drive wheel on the motor's axle (24) and carry the axle's end in an axle pillow block (24A, 24B).
Àwọn ohun èlò fún ìgbésẹ̀ yìí:
 Mọ́tò iná mànàmáná1 ẹyọ
 Ìgbànú ìdè mọ́tò2 ẹyọ
 Ìdìmú bííyárìn2 ẹyọ
 Ọ̀pá irin agbéǹkẹ́kẹ́1 ẹyọBọ́ọ̀tì onígun mẹ́fà - ìpele 8.81 ẹyọ
Àwọn irinṣẹ́ tí a nílò:
Kọ́kọ́rọ́ tí a lè ṣàtúnṣe6
6
Fit the ring and its guides
Fit the ring and its guides
Stand the ring saw on the drive wheel's tyre. Bolt the guide wheels through their slots: each pair with a tension spring between its two wheels, each single with a spring to the back-plate's lower rim, the one at 330° pressing the ring onto the drive wheel. Set them against the ring, then tighten the nuts. Fit two horizontal roller-guides (17) at 150°, sprung together, just before the cut.
Àwọn ohun èlò fún ìgbésẹ̀ yìí:
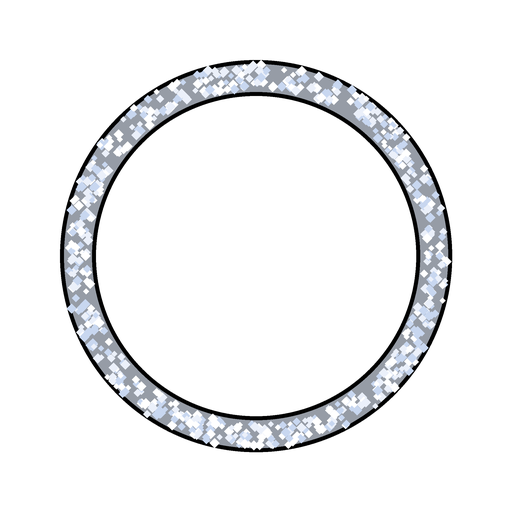 Abẹ ayùn òrùka dáyámọ́ǹdì1 ẹyọ
 Orísun ìfà11 ẹyọRọ́là atọ́nà2 ẹyọ
Àwọn irinṣẹ́ tí a nílò:
Kọ́kọ́rọ́ tí a lè ṣàtúnṣe7
7
Fit the table, tray and sponge
Fit the table, tray and sponge
Bolt the water tray (46) on four bracket supports (19, 20) by its four studs; put a ring-shaped sponge (47) in it and the cutting table (44) over it, the ring passing through centre holes reached by slots offset half an inch from a radius. Set the table top below the ring's centre line by the thickest work you will cut. Add water to the tray.
Àwọn ohun èlò fún ìgbésẹ̀ yìí:
 Àwo1 ẹyọ
 Kànìnkànìn1 ẹyọÀwo Alumíníọ̀mù1 ẹyọ
 Omi1 batch
Àwọn irinṣẹ́ tí a nílò:
Kọ́kọ́rọ́ tí a lè ṣàtúnṣe8
8
Fit the face shield and drip pan
Fit the face shield and drip pan
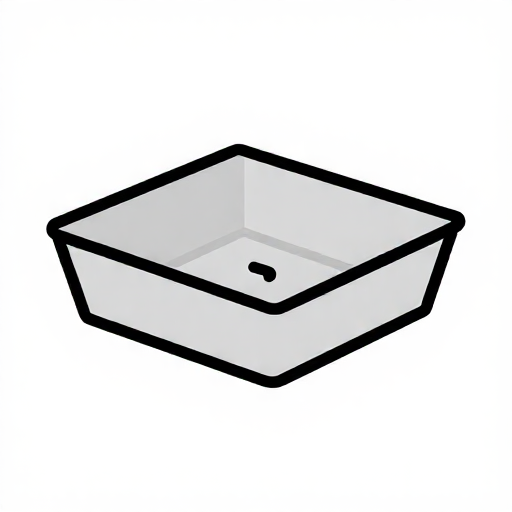
Bolt the shield arm (41) to the back-plate and pivot a clear acrylic face shield (43) in its holder (42) on a locking screw. The base is a catchment for the coolant with a drain hole in one corner.
Àwọn ohun èlò fún ìgbésẹ̀ yìí:
 Pẹlẹbẹ Akrílíìkì1 ẹyọÀwo Alumíníọ̀mù1 ẹyọ
 Àwo ìkán1 ẹyọ
Àwọn irinṣẹ́ tí a nílò:
Kọ́kọ́rọ́ tí a lè ṣàtúnṣe9
9
Ring size and drive speed
Ring size and drive speed
Ń ṣí ìwé Jupyter…
Àwọn ohun-èlò
20- 1 ẹyọÀyè
- 1 ẹyọÀyè
- Àyè
- 12 ẹyọÀyè
- 25 ẹyọÀyè
- 12 ẹyọÀyè
- 12 ẹyọÀyè
- 12 ẹyọÀyè
- 12 ẹyọÀyè
- 1 ẹyọÀyè
- 2 ẹyọÀyè
- 2 ẹyọÀyè
- Àyè
- Àyè
- 11 ẹyọÀyè
- 1 ẹyọÀyè
- 1 ẹyọÀyè
- 1 batchÀyè
- 1 ẹyọÀyè
- 1 ẹyọÀyè
Ìtọ́nisọ́nà yìí ń ṣe

CC0 Àgbègbè Gbogbogbò
Blueprint yìí ti jáde lábẹ́ CC0. O lè ṣe àdàkọ, yí padà, pín, àti lò láìsí ìyọ̀ǹda.
Ṣàtìlẹ́yìn Olùṣẹ́dá nípa rírà àwọn ọjà nipasẹ̀ Blueprint wọn Ẹ̀san Olùṣẹ́dá tí àwọn Olùtajà gbé kalẹ̀, tàbí ṣẹ̀dá àtúnṣe tuntun ti Blueprint yìí kí o sì fi sínú Blueprint rẹ gẹ́gẹ́ bí ìsopọ̀ láti pín owó-wíwọlé.