IṢẸ́ ỌNÀ
ẸWÀ ÀTI ÌLERA
IṢẸ́ ỌWỌ́
ÀṢÀ ÀTI ÌTÀN
ÌṢERÉ
ÀYÍKÁ
OÚNJẸ ÀTI OHUN MÍMU
REVERSE ENGINEERING
SÁYẸ́ǸSÌ
ERÉ ÌDÁRAYÁ
ÌMỌ̀-Ẹ̀RỌ
ÀWỌN OHUN WÍWỌ̀
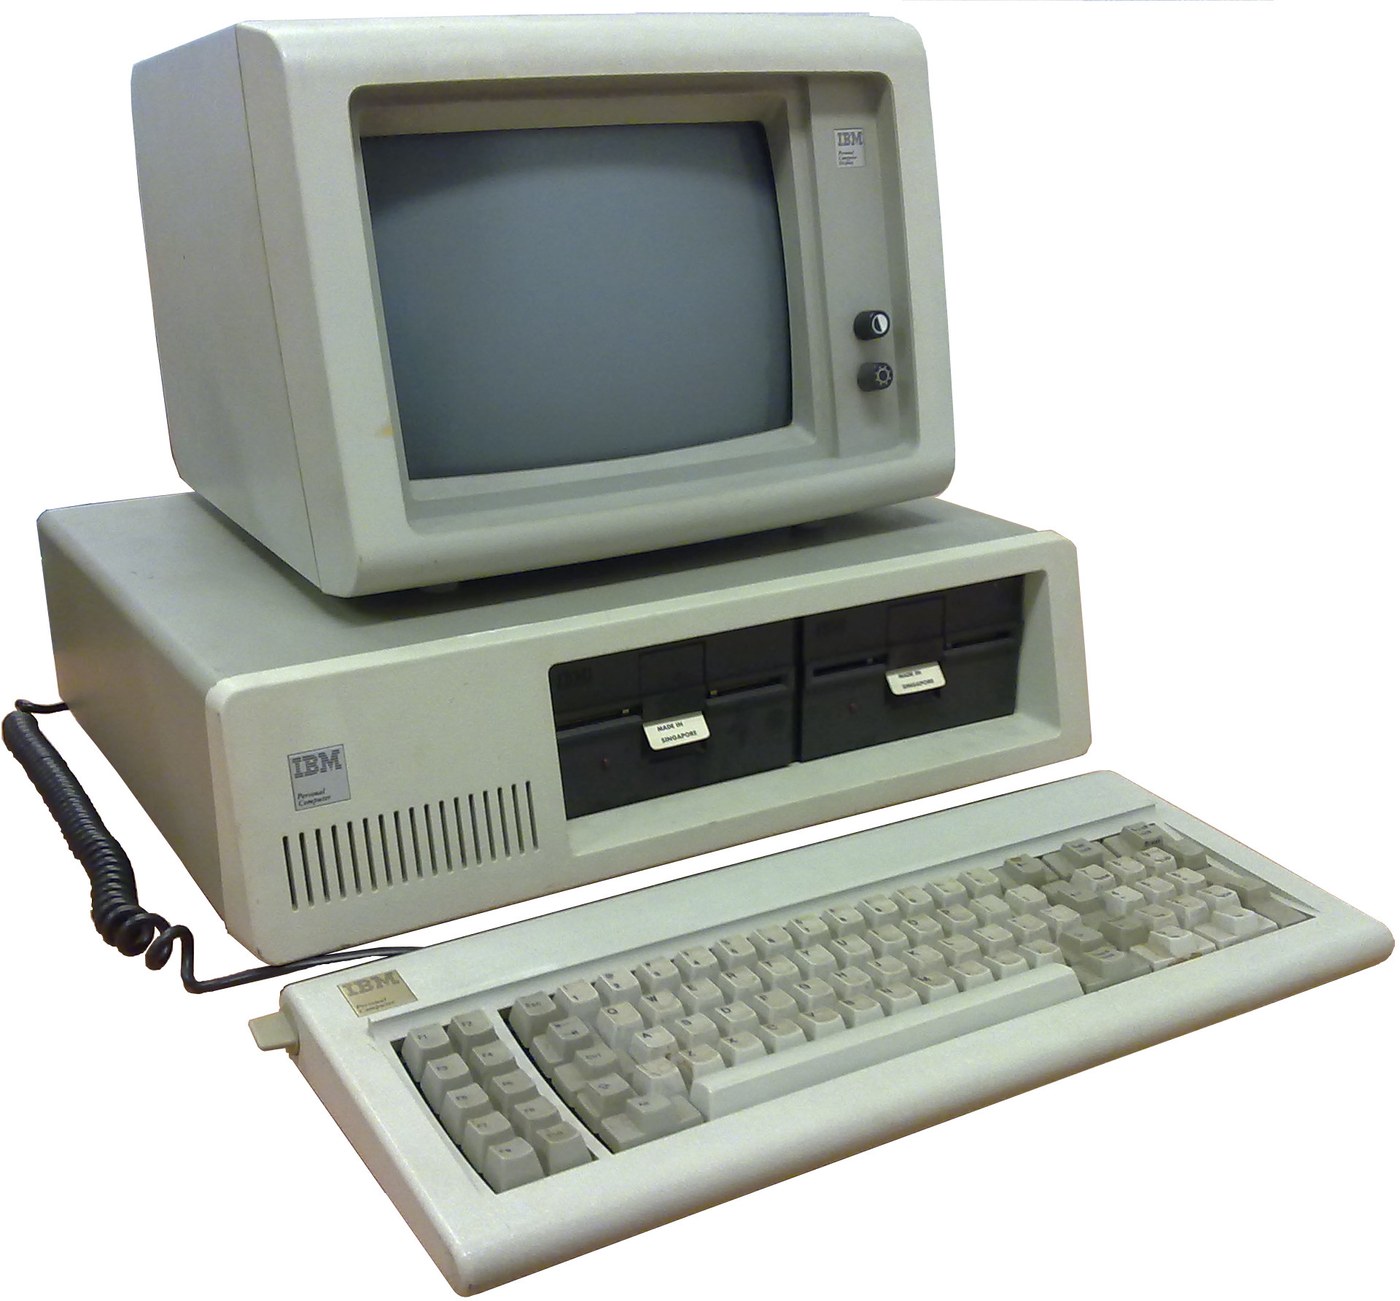


IBM Personal Computer (5150): System Unit, Keyboard and Display (IBM Technical Reference, 1981)
IBM's first personal computer, the machine today's desktop PCs descend from. One system unit holds an Intel 8088 system board, a power supply and five expansion slots. A keyboard, a display and 5-1/4 inch diskette drives complete it. IBM published its whole design, down to the BIOS program, in the Technical Reference.
Result: an IBM PC that tests itself at power-on and starts an operating system from diskette.
Source: IBM Personal Computer Technical Reference (1981; edition of April 1984). Unknown: the chassis and its sizes, the display and diskette adapter cards (described in IBM's separate Options and Adapters volumes), and how each part is made. Ours: the assembly order. Picture: Wikimedia Commons.
Ilọsíwájú
1 week
Ìlànà
1
1
Populate the system board
Populate the system board
On the system board, fit the Intel 8088 processor. It runs at 4.77 MHz, taken from a 14.31818 MHz crystal divided by 3; divided by 4, the same crystal gives the 3.58 MHz colour-burst signal for colour TVs. Fit its support chips: the 8237A-5 DMA controller, 8259A interrupt controller, 8253-5 timer and 8255A-5 peripheral interface. Add the ROM holding the BIOS, the read/write memory, the speaker circuit, five expansion slots, and 5-pin DIN sockets for the keyboard and a cassette recorder. The 8088 runs in maximum mode, so a coprocessor can be added later. Set switch SW1 to tell the machine what it has: whether to start from a 5-1/4 inch diskette drive, how much read/write memory is on the board, which display adapter is fitted, and how many diskette drives there are. Not given here: the board layout.
Àwọn ohun èlò fún ìgbésẹ̀ yìí:
 Àwo PCB1 system board
 IC1 8088, 8237A-5, 8259A, 8253-5, 8255A-5, ROM, RAM
 Kírísítà quartz1 14.31818 MHz
 BIOS ti IBM PC1 in ROM
 Àwọ̀n DIP1 SW1
 Wáyà Sọ́ldà1 as needed
Àwọn irinṣẹ́ tí a nílò:
 Irin ìsúdì
2
2
Fit the board and power supply in the chassis
Fit the board and power supply in the chassis
Screw the system board into the system-unit chassis. Fit the power supply at the right rear; its housing supports the rear panel and its fan cools the whole machine. It is rated for 63.5 W continuous, from a fused 120 V or 220/240 V input. Its four protected outputs are +5 V at 7 A, +12 V at 2 A, -5 V at 0.3 A and -12 V at 0.25 A, bussed to all five slots. It also has a power-good signal, a switched mains socket for the monochrome display and two drive power plugs. Not given: the chassis metal and sizes.
Àwọn ohun èlò fún ìgbésẹ̀ yìí:
 Irin tí a kò mọ̀1 chassis
 Ẹ̀rọ agbára kọ̀ǹpútà1 63.5 W
 Skurú ẹ̀rọ1 ìtò
Àwọn irinṣẹ́ tí a nílò:
 Ìṣù àwọn ohun ìyí skurú
 Ìwọ̀n tí a kò mọ̀
 Òǹwọ̀n iná mànàmáná onírúurú
3
3
Add the drives and adapter cards
Add the drives and adapter cards
Fit up to two 5-1/4 inch diskette drives, each powered from its own plug on the supply. Only one drive runs at a time. Plug a diskette drive adapter and a display adapter (monochrome or colour/graphics) into expansion slots, and cable the drives to their adapter. Not given here: the adapter cards and cables, which IBM describes in its separate Options and Adapters volumes.
Àwọn ohun èlò fún ìgbésẹ̀ yìí:
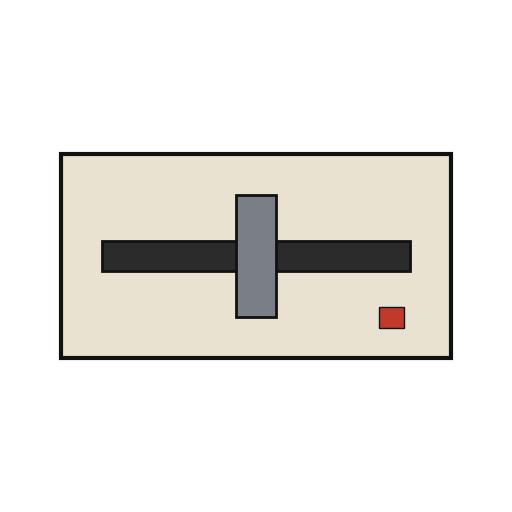 Ẹ̀rọ diskẹ́ẹ̀tì 5¼ ínṣì2 up to two
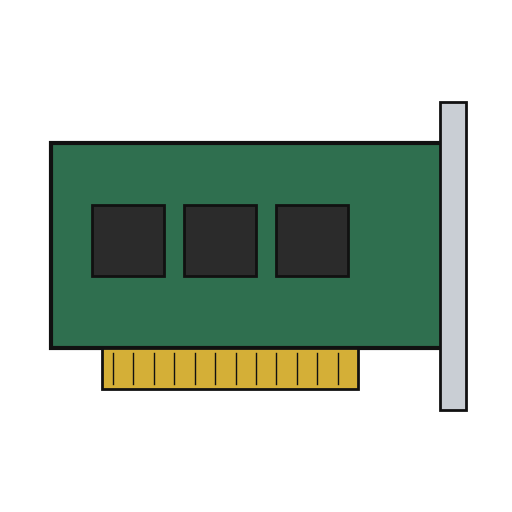 Káàdì ìfẹ̀sí2 diskette adapter, display adapter
 Okùn pẹlẹbẹ1 drive cable
Àwọn irinṣẹ́ tí a nílò:
Ìṣù àwọn ohun ìyí skurú4
4
Connect keyboard and display, and power on
Connect keyboard and display, and power on
Plug in the keyboard: 83 keys, with the typewriter keys in the middle, 10 function keys on the left and a 15-key pad on the right. It sends scan codes, not letters, so the software decides what each key does. Connect the display to its adapter and to the switched socket. Switch on: the power-on self-test in the BIOS checks the machine, sets up its interrupt vectors, and looks for extra ROM on the adapter cards. The bootstrap loader then starts the operating system from a diskette.
Àwọn ohun èlò fún ìgbésẹ̀ yìí:
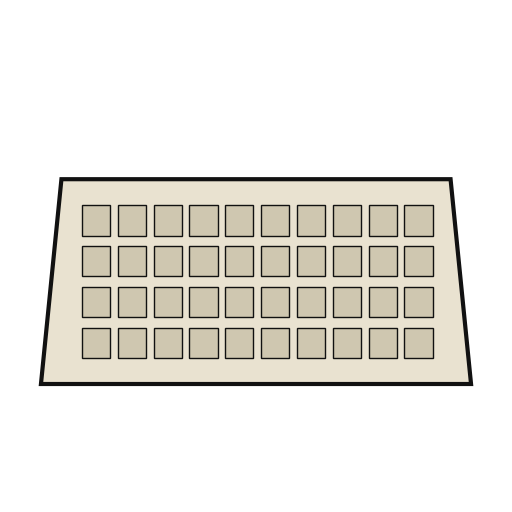 Àtẹ bọ́tìnnì kọ̀ǹpútà1 83 keys
 Ojú ìfihàn kọ̀ǹpútà1 ẹyọ
Àwọn irinṣẹ́ tí a nílò:
 Dísíkì rírọ̀
Àwọn ohun-èlò
14- 1 system boardÀyè
- 1 8088, 8237A-5, 8259A, 8253-5, 8255A-5, ROM, RAMÀyè
- 1 14.31818 MHzÀyè
- 1 in ROMÀyè
- Àyè
- 1 as neededÀyè
- 1 chassisÀyè
- 1 63.5 WÀyè
- 1 ìtòÀyè
- 2 up to twoÀyè
- 2 diskette adapter, display adapterÀyè
- Àyè
- 1 83 keysÀyè
- 1 ẹyọÀyè
Àwọn irinṣẹ́ tó nílò
5- 2 vendors sell this, none ship to you yetÀyè
- Àyè
Àwọn Ohun Èlò Ìtọ́nisọ́nà Tí A So Pọ̀
Ìtọ́nisọ́nà yìí ń ṣe
CC0 Àgbègbè Gbogbogbò
Blueprint yìí ti jáde lábẹ́ CC0. O lè ṣe àdàkọ, yí padà, pín, àti lò láìsí ìyọ̀ǹda.
Ṣàtìlẹ́yìn Olùṣẹ́dá nípa rírà àwọn ọjà nipasẹ̀ Blueprint wọn Ẹ̀san Olùṣẹ́dá tí àwọn Olùtajà gbé kalẹ̀, tàbí ṣẹ̀dá àtúnṣe tuntun ti Blueprint yìí kí o sì fi sínú Blueprint rẹ gẹ́gẹ́ bí ìsopọ̀ láti pín owó-wíwọlé.