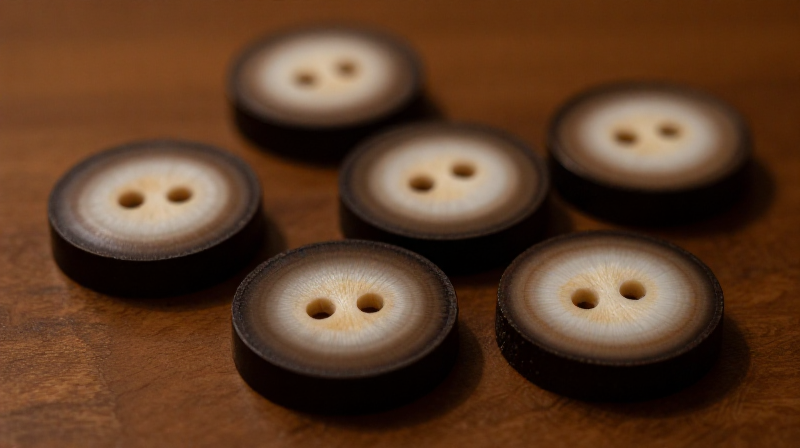


Making Deer Antler Buttons — Cross-Section Slices with Sewing Holes
Antler buttons were widely used from the Stone Age through the 19th century before plastic replaced them. Each cross-section slice is unique — the dark cortex ring, lighter spongy centre, and natural colour gradients make every button one of a kind. Deer antler is hard enough to hold up to daily wear and washing, and the material is completely renewable since male deer shed and regrow their antlers every year.
This blueprint covers making a set of two-hole or four-hole sewing buttons from a single deer antler section: sawing thin rounds, sanding flat, drilling sewing holes, and sealing with beeswax.
Ìlànà
Select a beam or thick tine section
Select a beam or thick tine section
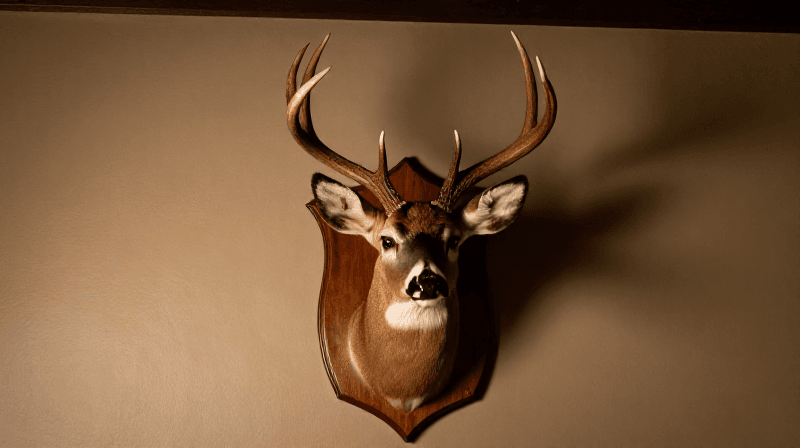
Choose a section of the main beam or a thick tine where the diameter matches the button size you want — typically 20-35 mm across. The lower beam produces larger buttons. The natural colour variation in cross-section (dark cortex ring, lighter spongy centre) gives each button a unique appearance.
Àwọn ohun èlò fún ìgbésẹ̀ yìí:
 Ege ìwo àgbọ̀nrín1 ẹyọ
 Àgbọ̀nrín1 ẹyọ
Saw cross-section slices
Saw cross-section slices
Clamp the antler in a bench vise with protective jaw pads. Cut slices 4-5 mm thick using a fine-toothed hacksaw (32 TPI for the smoothest cut). Saw slowly and let the blade do the work — forcing it produces angled cuts. Mark each cut line with a pencil to keep slices uniform. One 15 cm beam section yields 20-25 buttons.
Àwọn irinṣẹ́ tí a nílò:
 Ìdìmú Tábìlì
 Ayùn Irin
Sand both faces flat
Sand both faces flat
Lay sandpaper (120 grit) flat on a hard surface and sand each button face by rubbing it in small circles. This flattens the hacksaw marks and ensures both faces are parallel. Progress through 220, then 400 grit. The cortex ring becomes glossy and the spongy centre takes on a creamy texture.
Àwọn ohun èlò fún ìgbésẹ̀ yìí:
 Bébà Ìfá1 ewéBébà Ìfá1 ewéBébà Ìfá1 ewé
Drill sewing holes
Drill sewing holes
Mark two or four holes evenly spaced, 3-4 mm from the centre. Clamp the slice flat on a scrap board and drill through with a 1.5-2 mm bit at low speed. The slice is thin and can crack if forced, so use light pressure and let the bit cut at its own pace.
Àwọn irinṣẹ́ tí a nílò:
 Ẹ̀rọ Ìlùkòkò Aláìlókùn
 Àkójọ Orí Ìlùkòkò
Seal with beeswax
Seal with beeswax
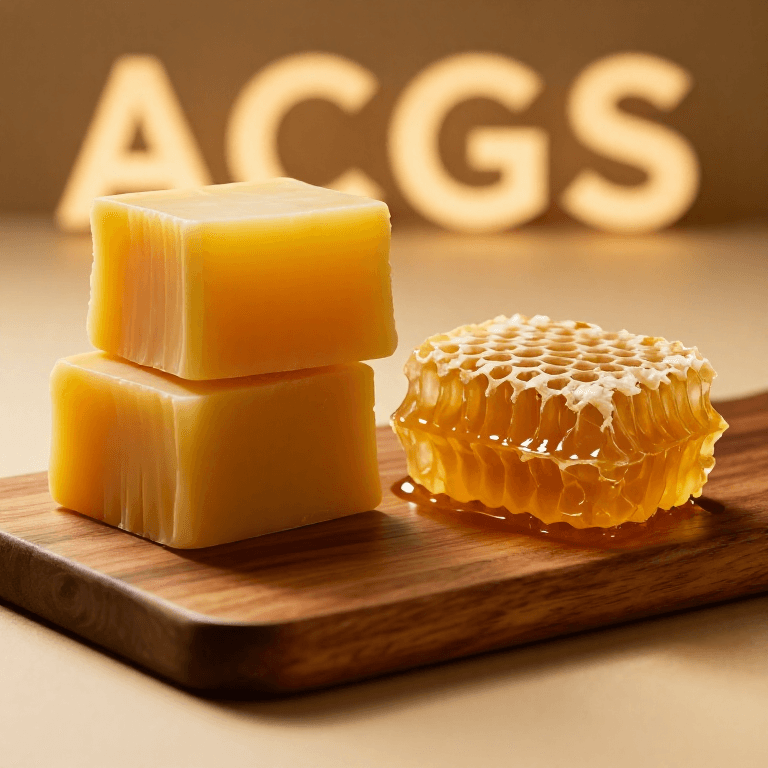
Rub a thin coat of melted beeswax over each button and buff with a soft cloth. This seals the porous spongy centre and adds a subtle sheen. Buttons sewn onto garments need no re-finishing — body oils keep them conditioned naturally over time.
Àwọn ohun èlò fún ìgbésẹ̀ yìí:
 Èròjà Ìdí Oyin20 g
Àwọn ohun-èlò
6- 1 ẹyọÀyè
- 1 ẹyọÀyè
- 1 ewéÀyè
- 1 ewéÀyè
- 1 ewéÀyè
- 20 gÀyè
Àwọn irinṣẹ́ tó nílò
4- Àyè
- Àyè
- 1 vendor sell this, none ship to you yetÀyè
Àwọn Ohun Èlò Ìtọ́nisọ́nà Tí A So Pọ̀

Ìtọ́nisọ́nà yìí ń ṣe

Blueprint tó jọra
Àwọn blueprint wọ̀nyí pín ìmọ̀ — ọ̀nà, ohun-èlò tàbí ìlànà
CC0 Àgbègbè Gbogbogbò
Blueprint yìí ti jáde lábẹ́ CC0. O lè ṣe àdàkọ, yí padà, pín, àti lò láìsí ìyọ̀ǹda.
Ṣàtìlẹ́yìn Olùṣẹ́dá nípa rírà àwọn ọjà nipasẹ̀ Blueprint wọn Ẹ̀san Olùṣẹ́dá tí àwọn Olùtajà gbé kalẹ̀, tàbí ṣẹ̀dá àtúnṣe tuntun ti Blueprint yìí kí o sì fi sínú Blueprint rẹ gẹ́gẹ́ bí ìsopọ̀ láti pín owó-wíwọlé.