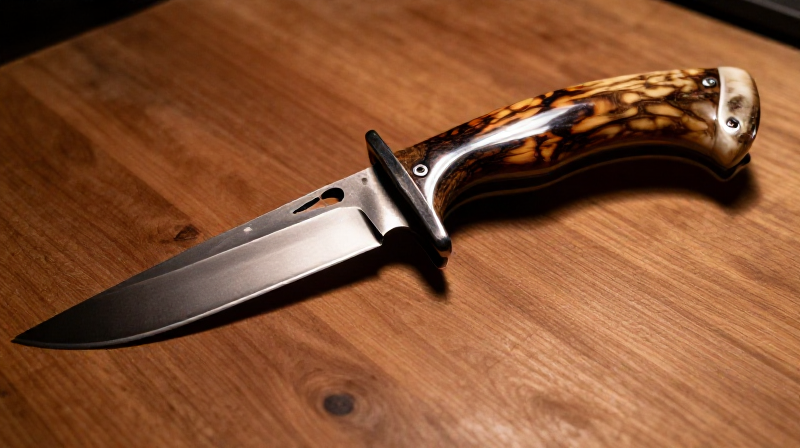

Making a Deer Antler Knife Handle — Drill, Shape, and Epoxy a Hidden-Tang Grip
Deer antler is harder and more durable than most woods, with a natural grip texture and moisture resistance that improves with age. The dense outer cortex resists scratching while the spongy inner core locks epoxy around the tang for a permanent bond. Antler handles have been used from the Stone Age through to modern custom knifemaking.
This blueprint covers making a hidden-tang knife handle from a single deer antler beam section: sawing, drilling, shaping, sanding, epoxying the blade in place, and finishing with beeswax and linseed oil.
Ìlànà
Select a dense beam section
Select a dense beam section
Choose a straight section of the lower main beam — this has the thickest cortex and smallest spongy core. You need about 12-13 cm of length. Avoid sun-bleached or cracked antler. Fresh antler or recently shed (under one season old) is best.
Àwọn ohun èlò fún ìgbésẹ̀ yìí:
 Ege ìwo àgbọ̀nrín1 ẹyọ
 Àgbọ̀nrín1 ẹyọ
Saw the beam section to length
Saw the beam section to length
Clamp the antler in a bench vise with protective jaw pads. Cut to length with a fine-toothed hacksaw (24-32 TPI). Saw slowly — antler dust is unpleasant to inhale, so work outdoors or wear a mask. Square off the butt end with a second cut if needed.
Àwọn irinṣẹ́ tí a nílò:
 Ìdìmú Tábìlì
 Ayùn Irin
Drill the tang hole
Drill the tang hole
Clamp the blank upright, find the centre of the spongy core, and drill with a bit matching the tang width (6-8 mm). Drill slowly at low speed, clearing chips every 10-15 mm. Drill to tang depth, usually 7-9 cm. Test-fit — the tang should slide in snugly without wobble.
Àwọn irinṣẹ́ tí a nílò:
 Ẹ̀rọ Ìlùkòkò Aláìlókùn
 Àkójọ Orí Ìlùkòkò
Shape with rasp and file
Shape with rasp and file
Rough-shape with a coarse wood rasp, then refine curves with a half-round hand file. Aim for a comfortable grip: slightly swollen in the middle, tapered at both ends, with a gentle palm swell. Check the feel in your hand frequently — comfort matters more than symmetry.
Àwọn irinṣẹ́ tí a nílò:
 Rásípù igi
 Àwọn Ìfá (Ìfá Ọwọ́)
Sand through progressive grits
Sand through progressive grits
Sand through 120, 220, then 400 grit. The dense cortex polishes to a glossy finish with visible grain lines. Sand in one direction along the length. Wipe with a damp cloth between grits to reveal remaining tool marks.
Àwọn ohun èlò fún ìgbésẹ̀ yìí:
 Bébà Ìfá1 ewéBébà Ìfá1 ewéBébà Ìfá1 ewé
Epoxy the tang into the handle
Epoxy the tang into the handle
Roughen the tang with sandpaper. Mix two-part epoxy, apply to tang and hole, push the tang in firmly. Stand upright with blade pointing up and check alignment before the epoxy sets. The spongy core absorbs epoxy and creates a mechanical lock stronger than the antler itself.
Àwọn ohun èlò fún ìgbésẹ̀ yìí:
 Epoxy ìṣẹ́jú 301 ẹyọ
Finish with beeswax and linseed oil
Finish with beeswax and linseed oil
Mix melted beeswax with boiled linseed oil (1:3 ratio). Warm the handle, rub the finish in with a soft cloth, and buff after 15 minutes. The oil prevents the bone from drying out; the wax seals the surface. Reapply once or twice a year for handles in regular use.
Àwọn ohun èlò fún ìgbésẹ̀ yìí:
 Èròjà Ìdí Oyin30 g
 Òróró Ọ̀gbọ̀ Tí A Sè50 ml
Àwọn ohun-èlò
8- 1 ẹyọÀyè
- 1 ẹyọÀyè
- 1 ewéÀyè
- 1 ewéÀyè
- 1 ewéÀyè
- 1 ẹyọÀyè
- 30 gÀyè
- 50 mlÀyè
Àwọn irinṣẹ́ tó nílò
6- Àyè
- Àyè
- 1 vendor sell this, none ship to you yetÀyè
- Àyè
Àwọn Ohun Èlò Ìtọ́nisọ́nà Tí A So Pọ̀
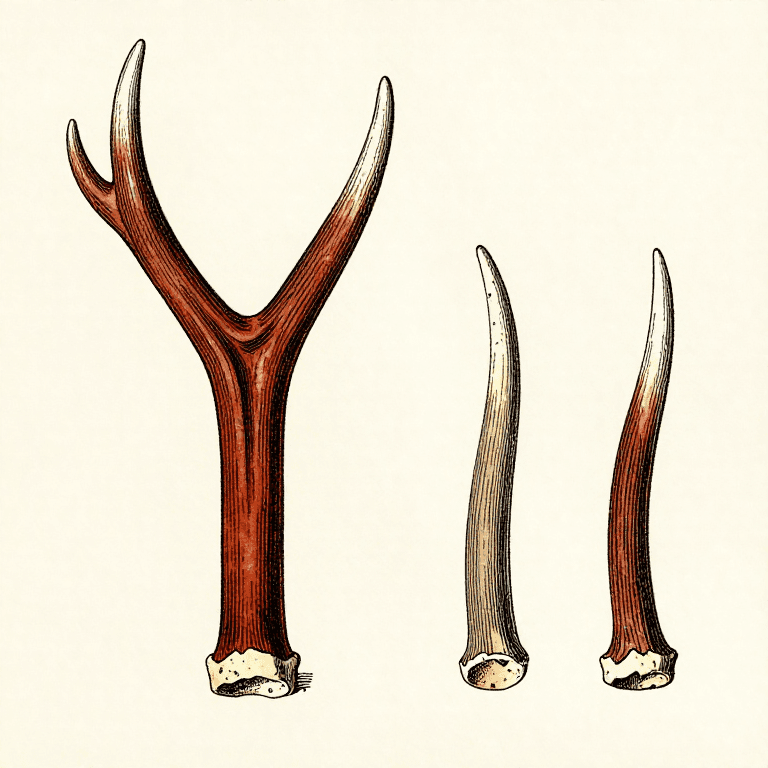
Shaping an Antler Mining Pick — Red Deer Antler Tool
láti ọwọ́ Forge
Àwọn Irinṣẹ́ Irin
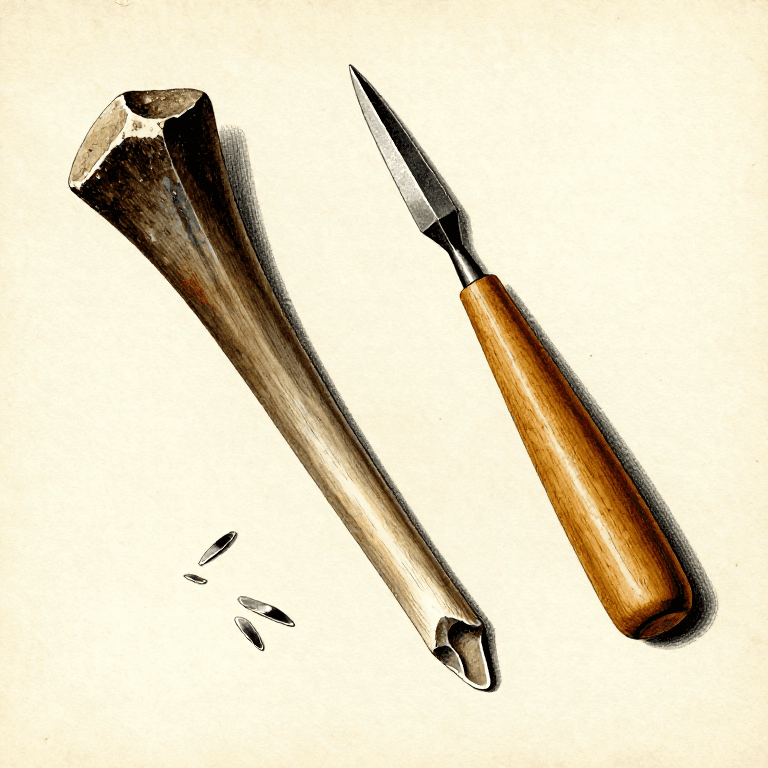
Making an Antler Pressure Flaker — Precision Flint-Knapping Tool
láti ọwọ́ Mary
Iṣẹ́ Òkúta
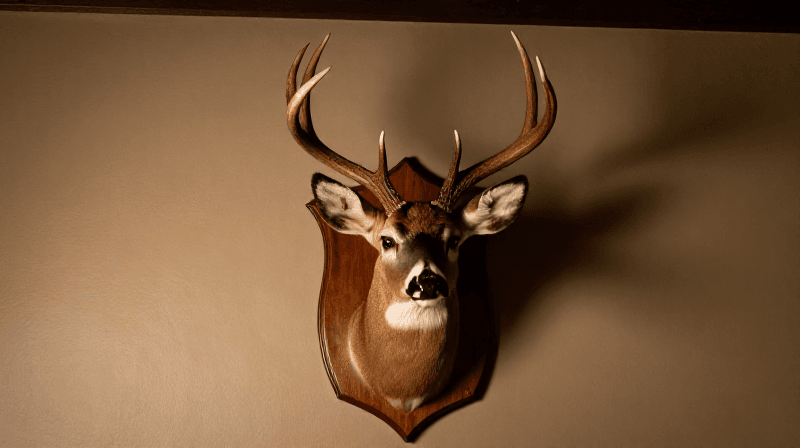
Mounting a Deer Head Trophy — Wall-Mount Taxidermy on a Wooden Shield
láti ọwọ́ Bob
Iṣẹ́ Igi
Ìtọ́nisọ́nà yìí ń ṣe
Blueprint tó jọra
Àwọn blueprint wọ̀nyí pín ìmọ̀ — ọ̀nà, ohun-èlò tàbí ìlànà
CC0 Àgbègbè Gbogbogbò
Blueprint yìí ti jáde lábẹ́ CC0. O lè ṣe àdàkọ, yí padà, pín, àti lò láìsí ìyọ̀ǹda.
Ṣàtìlẹ́yìn Olùṣẹ́dá nípa rírà àwọn ọjà nipasẹ̀ Blueprint wọn Ẹ̀san Olùṣẹ́dá tí àwọn Olùtajà gbé kalẹ̀, tàbí ṣẹ̀dá àtúnṣe tuntun ti Blueprint yìí kí o sì fi sínú Blueprint rẹ gẹ́gẹ́ bí ìsopọ̀ láti pín owó-wíwọlé.