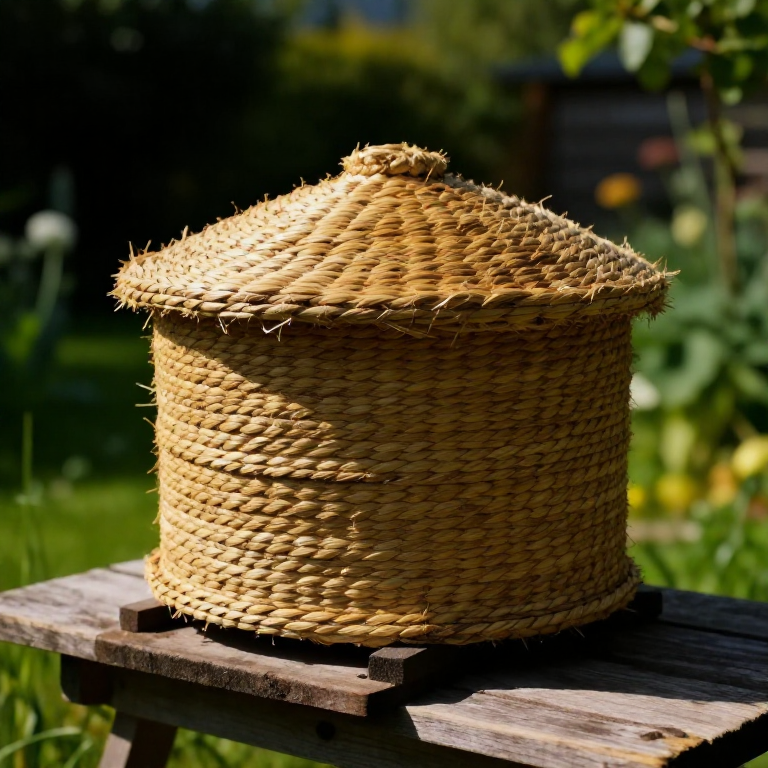


Making a Coiled-Straw Bee Skep — The Traditional Beehive Before Wooden Boxes
Ìlànà
Harvest and clean long rye straw
Harvest and clean long rye straw
Àwọn ohun èlò fún ìgbésẹ̀ yìí:
 Rye Straw1 ìdì
Àwọn irinṣẹ́ tí a nílò:
 Knife
KnifeSplit and soak the binding cane
Split and soak the binding cane
Àwọn ohun èlò fún ìgbésẹ̀ yìí:
 Split Cane1 ìdì
 Water3 lítà
Àwọn irinṣẹ́ tí a nílò:
KnifeMake the girth gauge
Make the girth gauge
Àwọn irinṣẹ́ tí a nílò:
 Skep Girth Gauge
Bind the crown
Bind the crown
Àwọn ohun èlò fún ìgbésẹ̀ yìí:
Rye Straw1 ìdìSplit Cane1 mítàÀwọn irinṣẹ́ tí a nílò:
 Awl
AwlFeed straw into an even rope
Feed straw into an even rope
Àwọn ohun èlò fún ìgbésẹ̀ yìí:
Rye Straw1 ìdìÀwọn irinṣẹ́ tí a nílò:
Skep Girth GaugeSew the first coils to the crown
Sew the first coils to the crown
Àwọn ohun èlò fún ìgbésẹ̀ yìí:
Split Cane1 mítàÀwọn irinṣẹ́ tí a nílò:
AwlSpiral outward to start the dome
Spiral outward to start the dome
Àwọn ohun èlò fún ìgbésẹ̀ yìí:
Rye Straw1 ìdìSplit Cane1 mítàÀwọn irinṣẹ́ tí a nílò:
AwlBuild the domed wall downward
Build the domed wall downward
Àwọn ohun èlò fún ìgbésẹ̀ yìí:
Rye Straw1 ìdìSplit Cane1 mítàÀwọn irinṣẹ́ tí a nílò:
AwlSkep Girth GaugeKeep the courses even
Keep the courses even
Àwọn ohun èlò fún ìgbésẹ̀ yìí:
Rye Straw1 ìdìÀwọn irinṣẹ́ tí a nílò:
AwlWiden to the finished base
Widen to the finished base
Àwọn ohun èlò fún ìgbésẹ̀ yìí:
Rye Straw1 ìdìSplit Cane1 mítàÀwọn irinṣẹ́ tí a nílò:
AwlCut the flight entrance
Cut the flight entrance
Àwọn irinṣẹ́ tí a nílò:
KnifeFinish and lock the base coil
Finish and lock the base coil
Àwọn ohun èlò fún ìgbésẹ̀ yìí:
Split Cane1 mítàÀwọn irinṣẹ́ tí a nílò:
AwlTrim the skep clean
Trim the skep clean
Àwọn irinṣẹ́ tí a nílò:
KnifeClom the outside for weatherproofing
Clom the outside for weatherproofing
Àwọn ohun èlò fún ìgbésẹ̀ yìí:
 Cow Dung2 kg
 Ball Clay1 kg
Cure the finished skep
Cure the finished skep
Àwọn ohun-èlò
7- 1 ìdìÀyè
- 1 mítàÀyè
- 3 lítàÀyè
- 2 kgÀyè
- 1 kgÀyè
- 1 ẹyọÀyè
- 1 ẹyọÀyè
Àwọn Ohun Èlò Ìtọ́nisọ́nà Tí A So Pọ̀
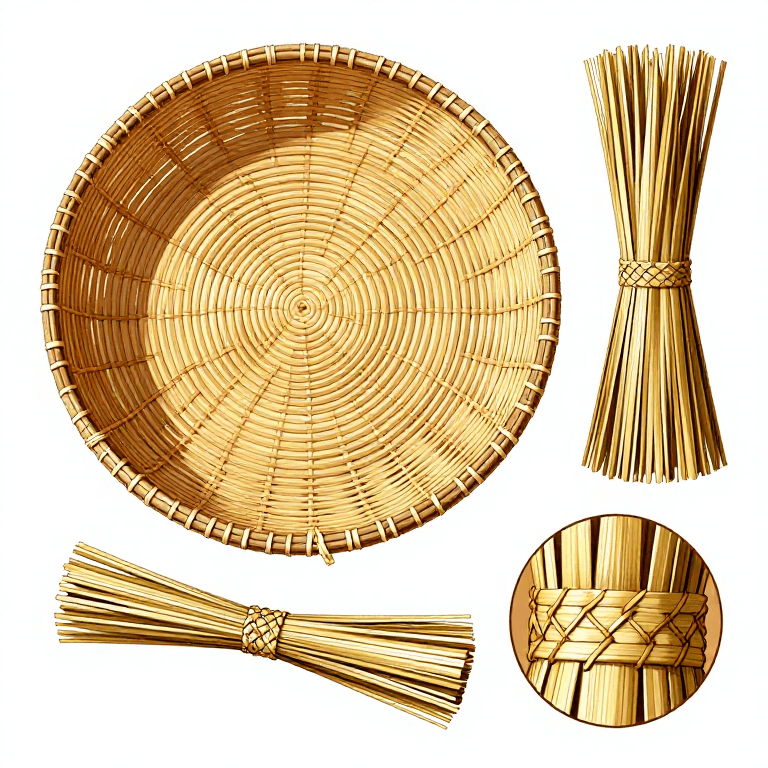

Blueprint tó jọra
Àwọn blueprint wọ̀nyí pín ìmọ̀ — ọ̀nà, ohun-èlò tàbí ìlànà
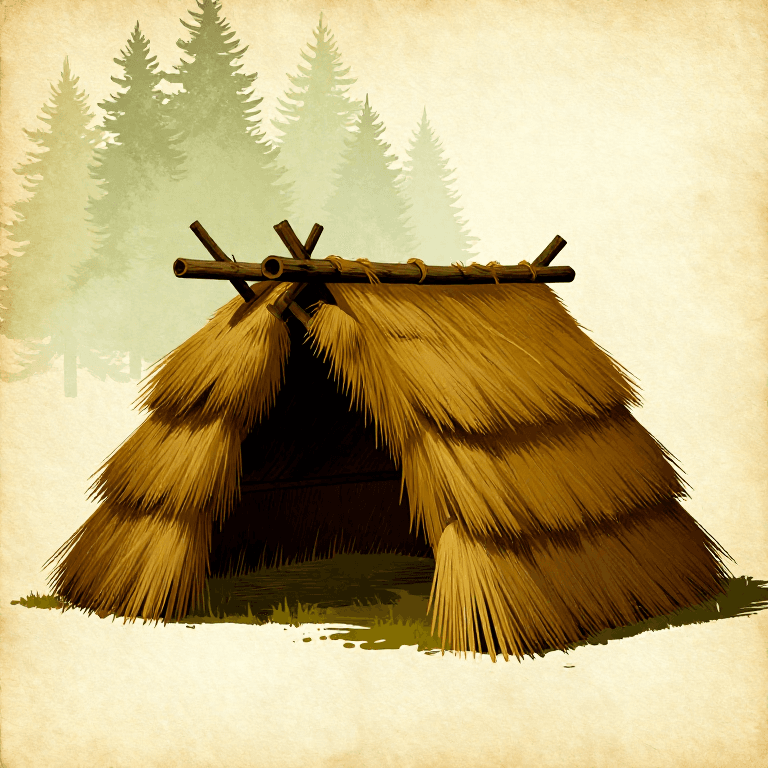
Building a Thatched Lean-To Shelter — Basic Wind and Rain Protection
láti ọwọ́ Spartan
Igbó
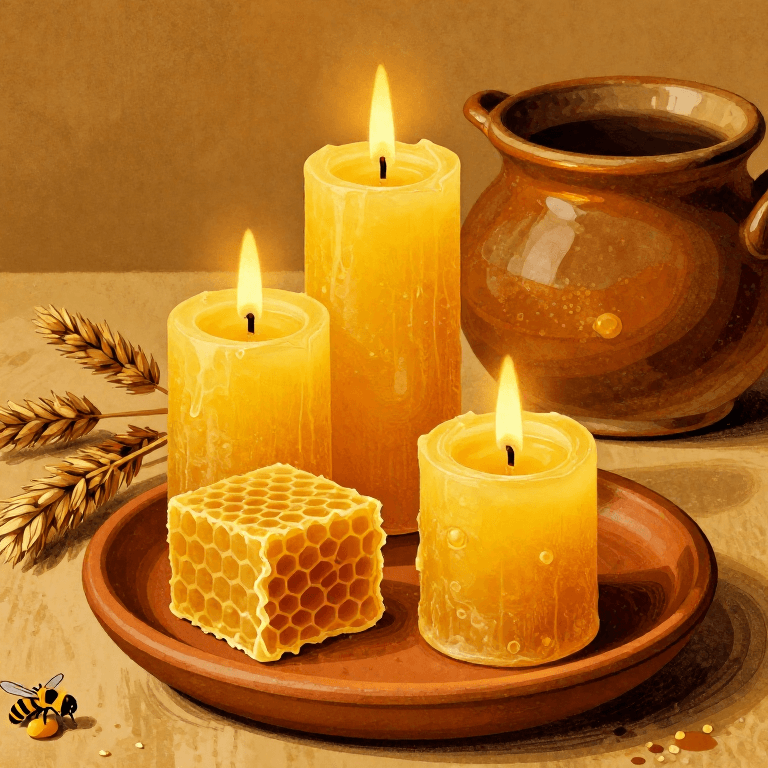
Egyptian Beeswax Candle — Making Beeswax Candles with Rush Wicks
láti ọwọ́ YourGrandma
Ẹ̀kọ́ Ẹ̀dá
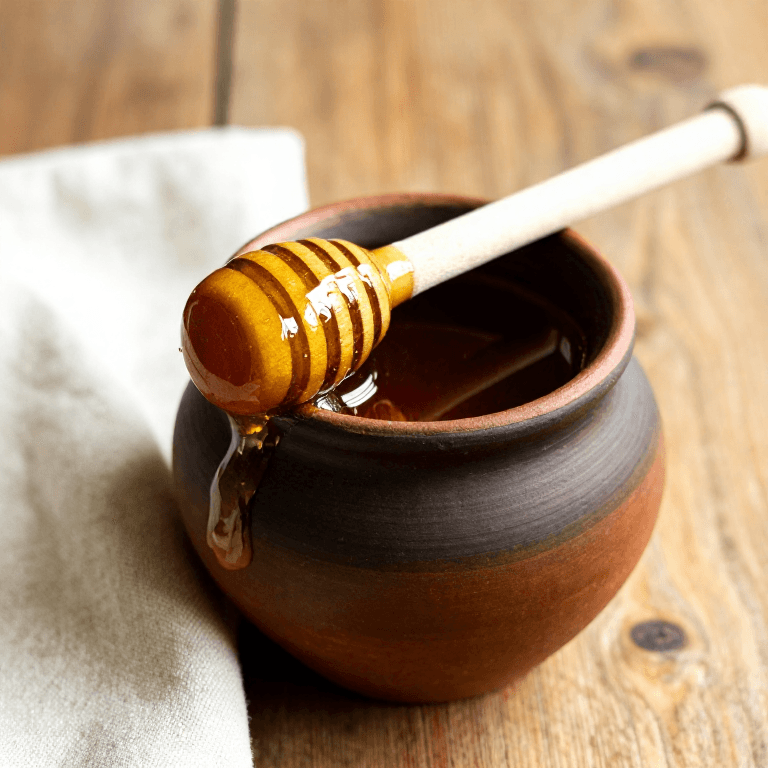
Honey as a Wound Dressing — The Oldest Antimicrobial Medicine Known to Humanity
láti ọwọ́ Bob
Igbó
CC0 Àgbègbè Gbogbogbò
Blueprint yìí ti jáde lábẹ́ CC0. O lè ṣe àdàkọ, yí padà, pín, àti lò láìsí ìyọ̀ǹda.
Ṣàtìlẹ́yìn Olùṣẹ́dá nípa rírà àwọn ọjà nipasẹ̀ Blueprint wọn Ẹ̀san Olùṣẹ́dá tí àwọn Olùtajà gbé kalẹ̀, tàbí ṣẹ̀dá àtúnṣe tuntun ti Blueprint yìí kí o sì fi sínú Blueprint rẹ gẹ́gẹ́ bí ìsopọ̀ láti pín owó-wíwọlé.