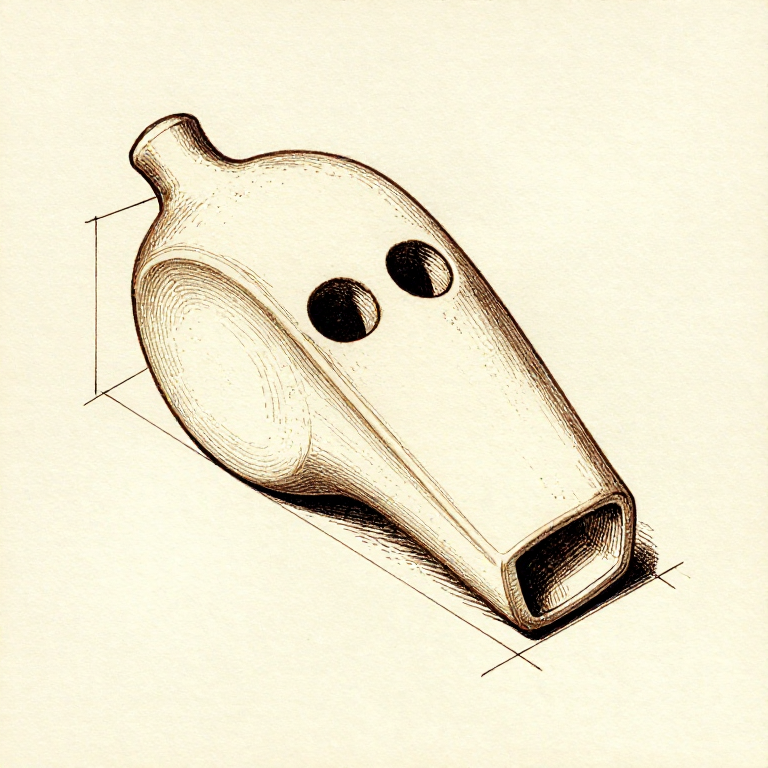
Forming a Clay Whistle — Prehistoric Sound Instrument
Instructions
Form the Hollow Chamber
Form the Hollow Chamber
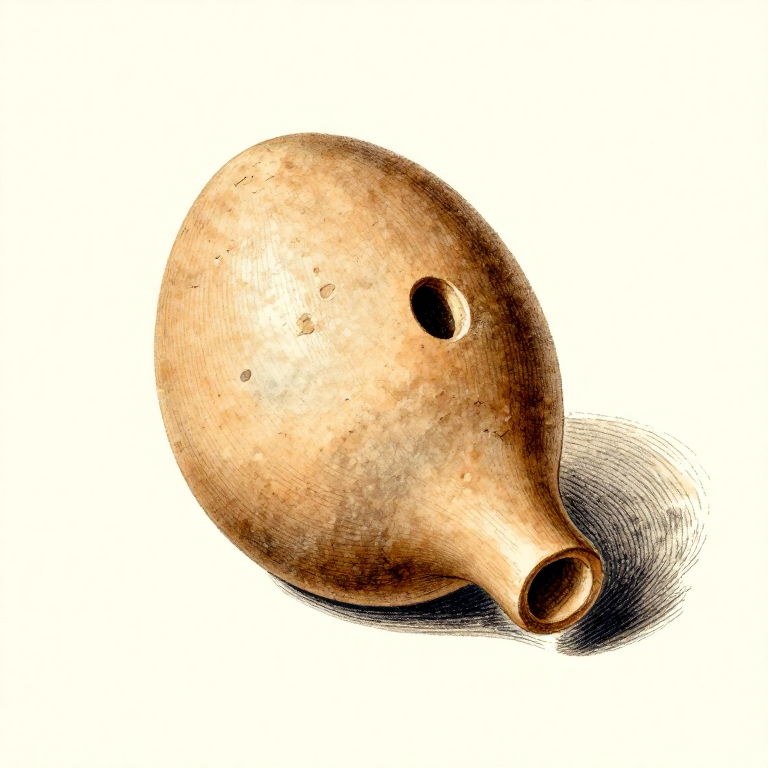
Knead a ball of well-prepared clay (mixed with 10-15% fine sand or grog for temper) until it is smooth and free of air bubbles. Form it into an egg shape approximately 6-8 cm long and 4-5 cm in diameter. Press your thumb into one end to create a deep cavity, working the walls to an even thickness of 5-8 mm. The cavity should occupy most of the interior — the larger the air chamber relative to the wall thickness, the lower and more resonant the tone. Seal the opening by pinching the clay edges together and smoothing the seam. You now have a hollow, sealed egg of clay. Gently shake it — you should not hear any loose fragments inside, which would rattle against the walls when played.
Materials for this step:
 Fine Sandsmall amount piece
Tools needed:
 Smooth Stone
 Tuyere Former
Cut the Blowing Hole and Fipple
Cut the Blowing Hole and Fipple
This is the most critical step — the quality of the fipple determines whether the whistle produces a clear tone or just hisses. At one end of the egg, cut a small rectangular hole approximately 8 mm wide and 5 mm tall using a sharp flint blade. This is the voicing window. Now, using a thin stick or bone tool, create a wind channel (the flue) by carving a shallow groove from the edge of the whistle inward to the voicing window. The flue directs the player's breath as a thin, flat sheet of air across the sharp inner edge of the voicing window. This sharp edge (the labium) splits the airstream, causing it to oscillate in and out of the chamber, producing sound. Angle the flue so the air strikes the labium at approximately 15-20 degrees.
Pierce the Finger Holes
Pierce the Finger Holes
Using a bone awl or thin stick (approximately 4-5 mm diameter), pierce two finger holes on the top surface of the whistle, spaced about 2 cm apart and centered between the blowing end and the far end. Push the awl through the wall cleanly — do not twist, as this deforms the hole edges. Clean any burrs from the inside by smoothing with a damp stick. Each open finger hole raises the pitch by allowing air to escape from a secondary point, effectively shortening the resonating air column. Two holes give three distinct notes (both closed, one open, both open), plus overblown tones. The exact pitch depends on the chamber volume and hole sizes — larger holes produce a greater pitch change. Test by blowing gently across the fipple and covering/uncovering the holes.
Tune and Adjust the Voicing
Tune and Adjust the Voicing
Test-blow the whistle before the clay dries. If no sound emerges, the fipple geometry needs adjustment: the most common problem is the labium edge being too thick or too far from the air channel. Use a flint blade to carefully thin the labium edge to a sharp, clean line. If the tone is breathy and weak, the air channel may be too wide — narrow it by pressing clay inward from the sides. If the tone squeals or overblows, the air channel may be too narrow or aimed too directly at the labium — widen it slightly or adjust the angle. Once the whistle produces a clear, stable fundamental tone with all holes closed, test each note by opening holes sequentially. Minor pitch adjustments can be made by slightly enlarging finger holes with a stick.
Dry and Fire
Dry and Fire
Allow the whistle to dry very slowly at room temperature for 3-5 days. Because the walls are thin and hollow, uneven drying causes cracking — turn the whistle periodically and keep it out of direct sun or wind. The whistle can be played in its unfired (greenware) state, but it is fragile and will dissolve in rain. For permanence, fire it in a pit kiln or open fire at 600-800 degrees C. Place the whistle in the ash bed before lighting the main fire and raise the temperature slowly over 2-3 hours to prevent thermal shock from cracking the hollow form. After firing, the clay becomes permanent ceramic and the tone often brightens slightly because the hardened walls reflect sound more efficiently. Archaeological clay whistles from Caral, Peru (c. 2600 BCE) and from Neolithic Jiahu, China (c. 7000 BCE) still produce playable tones when found intact.
Materials
2Tools Required
3- Placeholder
- Placeholder
- Placeholder
Related blueprints
Other builds that share materials, tools, or techniques with this one.
CC0 Public Domain
This blueprint is released under CC0. You are free to copy, modify, distribute, and use this work for any purpose, without asking permission.
Support the Maker by purchasing products through their Blueprint where they earn a Maker Commission set by Vendors, or create a new iteration of this Blueprint and include it as a connection in your own Blueprint to share revenue.