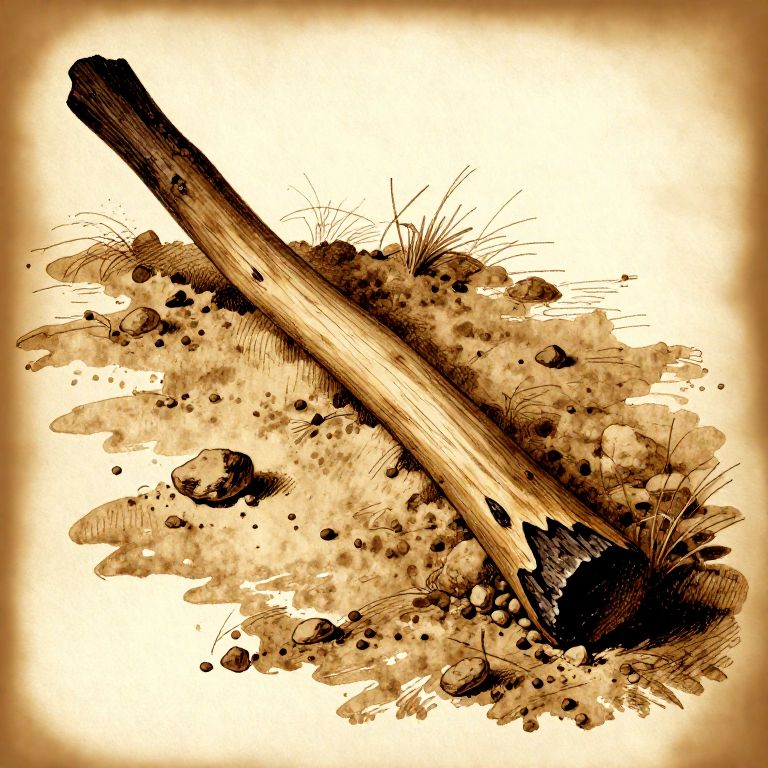


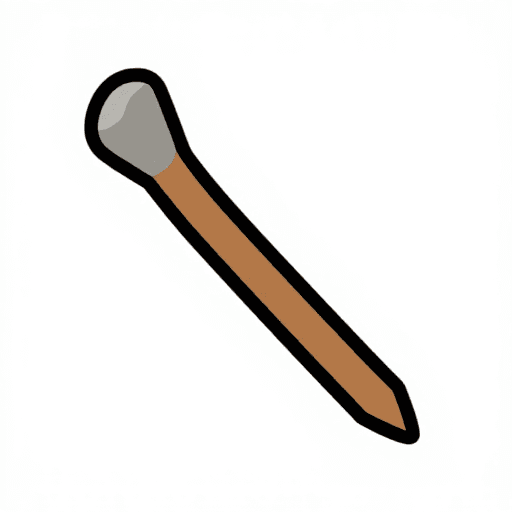
Making a Fire-Hardened Digging Stick — The First Farming Tool
Ìlànà
Select Hardwood
Select Hardwood
Select a straight hardwood sapling — oak, ash, hazel, or birch — 4-5 cm in diameter and 120-150 cm long
Àwọn ohun èlò fún ìgbésẹ̀ yìí:
 Ọ̀pá Igi Líle Kékeré1 ẹyọ
Strip Bark
Strip Bark
Strip all bark from the shaft using the back edge of a knife or a sharp stone flake
Àwọn irinṣẹ́ tí a nílò:
 Ọ̀bẹ
Trim Branches
Trim Branches
Trim any side branches flush with the main shaft so the surface is smooth
Àwọn irinṣẹ́ tí a nílò:
Ọ̀bẹMark Working End
Mark Working End
Mark a line 30 cm from one end — everything below this line is the working tip zone
Carve Chisel Point
Carve Chisel Point
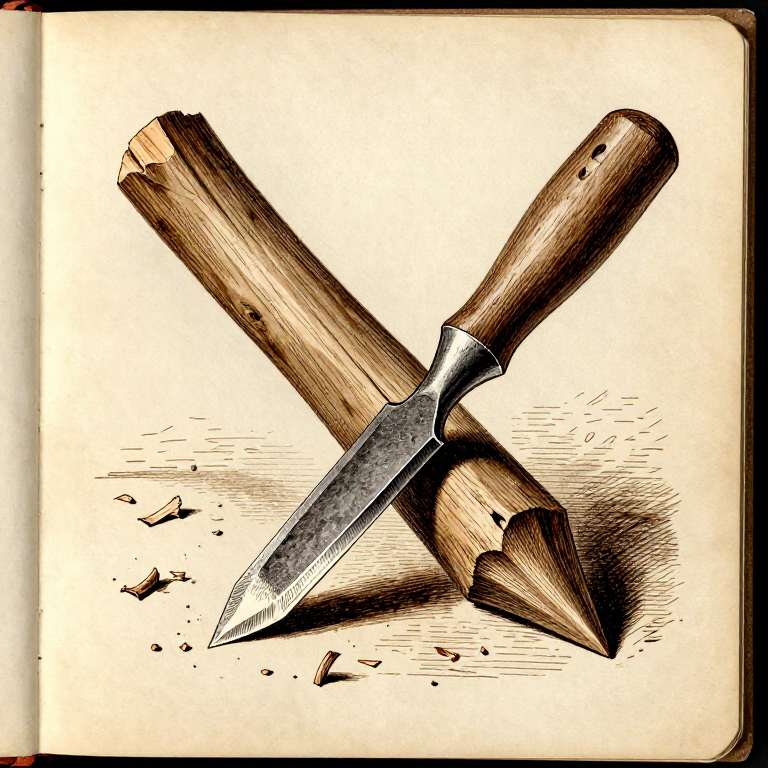
Carve the working end to a symmetrical chisel-point, removing wood evenly from both sides
Àwọn irinṣẹ́ tí a nílò:
Ọ̀bẹShape Wedge Edge
Shape Wedge Edge
Shave the tip to a flat wedge shape, 2-3 cm wide at the cutting edge
Àwọn irinṣẹ́ tí a nílò:
Ọ̀bẹSmooth Surfaces
Smooth Surfaces
Smooth all carved surfaces with a sandstone block, working along the grain
Àwọn irinṣẹ́ tí a nílò:
 Òkúta Iyanrìn (Ohun Ìfá)
Build Fire
Build Fire
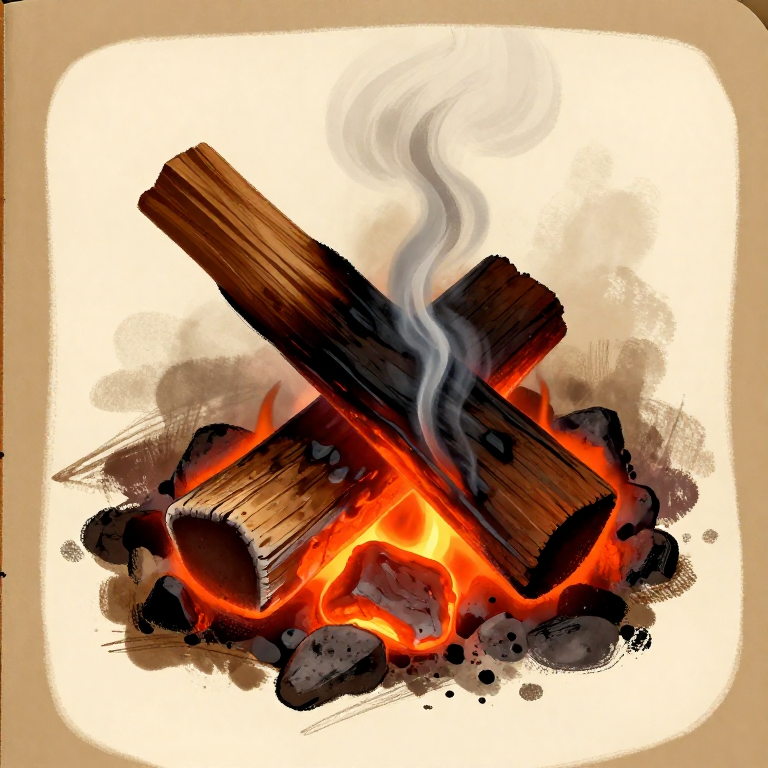
Build a small fire and allow it to burn down to a bed of glowing coals with no open flame
Àwọn ohun èlò fún ìgbésẹ̀ yìí:
 Igi Ìdáná1 ìdì
First Charring Pass
First Charring Pass
Hold the carved tip 10 cm above the coals, rotating the shaft slowly and steadily
Monitor Colour
Monitor Colour
Continue rotating until the surface chars evenly to a deep chestnut brown — not black ash
Scrape First Char
Scrape First Char
Remove from heat and scrape off the thin charred layer with the edge of a hammerstone
Àwọn irinṣẹ́ tí a nílò:
 Òkúta Ìlù
Second Hardening Pass
Second Hardening Pass
Return the tip to the coals for a second charring pass, rotating as before
Scrape Second Char
Scrape Second Char
Scrape off the second char layer — the wood beneath is now noticeably harder, dense, and glassy
Àwọn irinṣẹ́ tí a nílò:
Òkúta ÌlùTest Hardness
Test Hardness
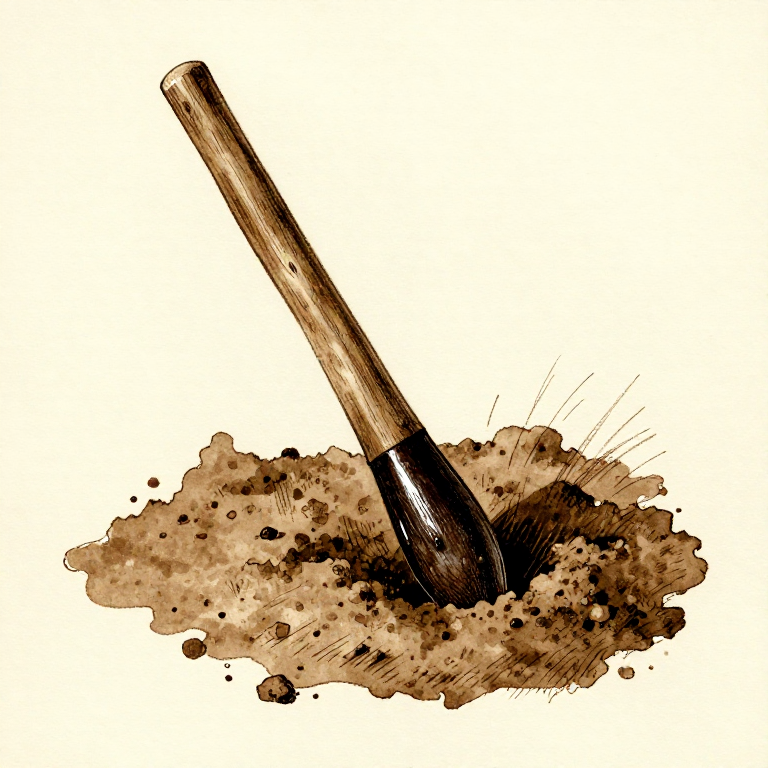
Test the hardened tip by pressing it firmly into packed earth — it should resist deformation
Carve Grip Notch
Carve Grip Notch
Carve a shallow grip notch 20 cm from the upper end for a secure handhold
Àwọn irinṣẹ́ tí a nílò:
Ọ̀bẹFinal Smoothing
Final Smoothing
Smooth the full shaft with fine sandstone to remove any rough fibres or splinters
Àwọn irinṣẹ́ tí a nílò:
Òkúta Iyanrìn (Ohun Ìfá)Seal with Fat
Seal with Fat
Rub a generous coat of rendered animal fat (tallow) into the entire wood surface to seal the grain
Àwọn ohun èlò fún ìgbésẹ̀ yìí:
 Ọ̀rá Ẹranko1 ṣíbí ńlá
Test in Soil
Test in Soil
Test the finished digging stick in loose soil — push the tip in at 45° and lever upward to break the earth
Àwọn ohun-èlò
3- 1 ẹyọÀyè
- 1 ìdìÀyè
- 1 ṣíbí ńláÀyè
Ìtọ́nisọ́nà yìí ń ṣe

CC0 Àgbègbè Gbogbogbò
Blueprint yìí ti jáde lábẹ́ CC0. O lè ṣe àdàkọ, yí padà, pín, àti lò láìsí ìyọ̀ǹda.
Ṣàtìlẹ́yìn Olùṣẹ́dá nípa rírà àwọn ọjà nipasẹ̀ Blueprint wọn Ẹ̀san Olùṣẹ́dá tí àwọn Olùtajà gbé kalẹ̀, tàbí ṣẹ̀dá àtúnṣe tuntun ti Blueprint yìí kí o sì fi sínú Blueprint rẹ gẹ́gẹ́ bí ìsopọ̀ láti pín owó-wíwọlé.