IṢẸ́ ỌNÀ
ẸWÀ ÀTI ÌLERA
IṢẸ́ ỌWỌ́
ÀṢÀ ÀTI ÌTÀN
ÌṢERÉ
ÀYÍKÁ
OÚNJẸ ÀTI OHUN MÍMU
REVERSE ENGINEERING
SÁYẸ́ǸSÌ
ERÉ ÌDÁRAYÁ
ÌMỌ̀-Ẹ̀RỌ
ÀWỌN OHUN WÍWỌ̀
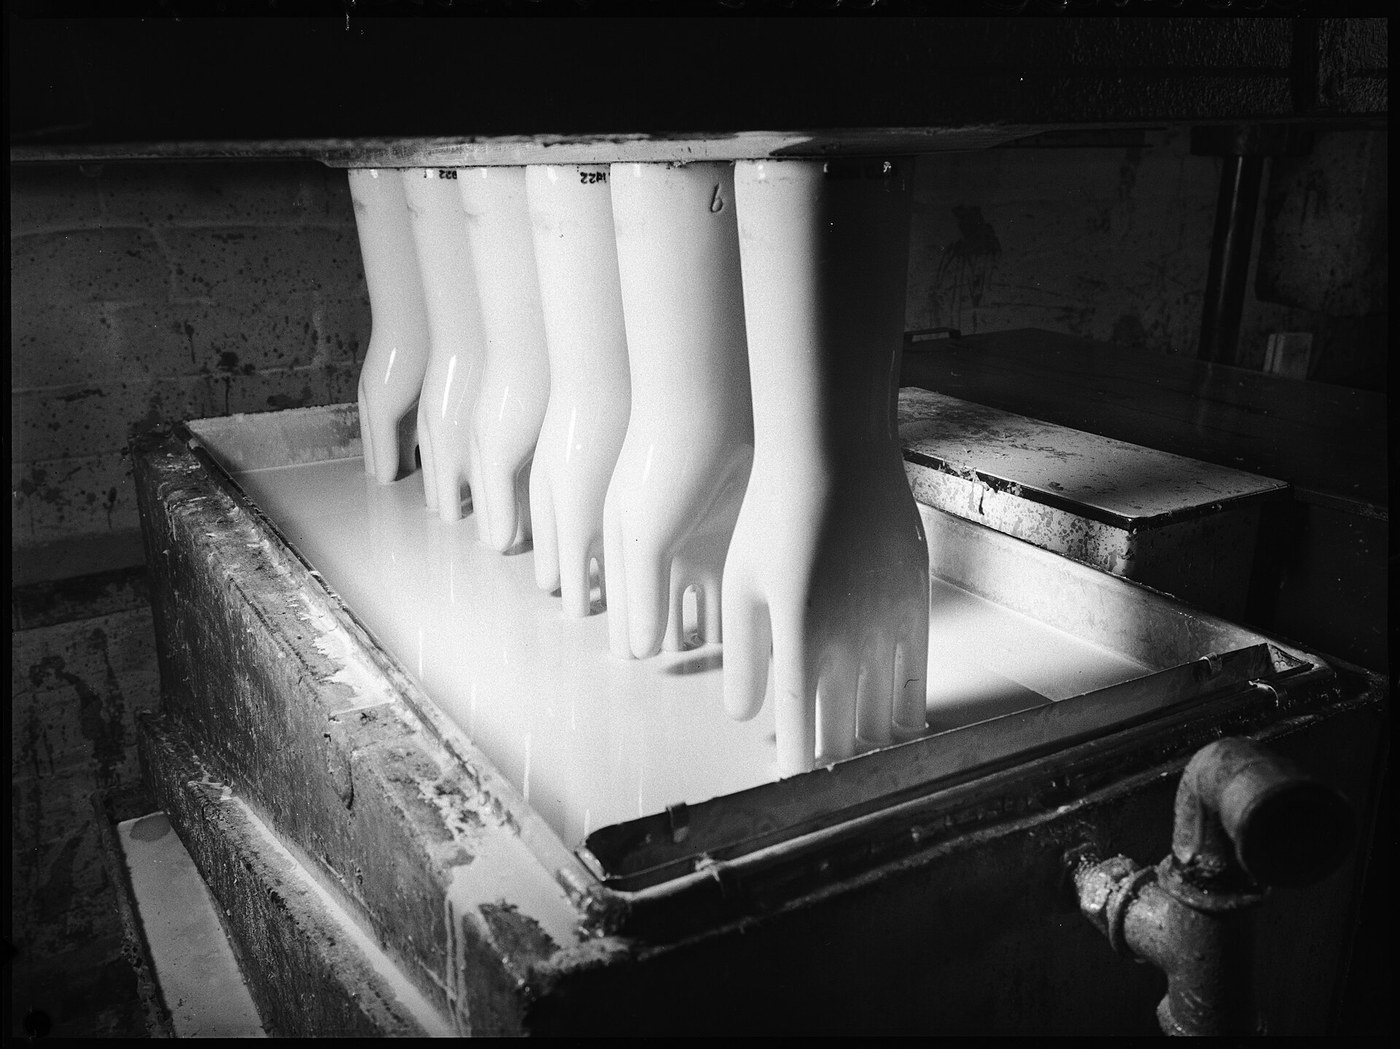


Rubber Gloves: Dipped on a Form, Lined and Turned Inside Out (Miller, 1915)
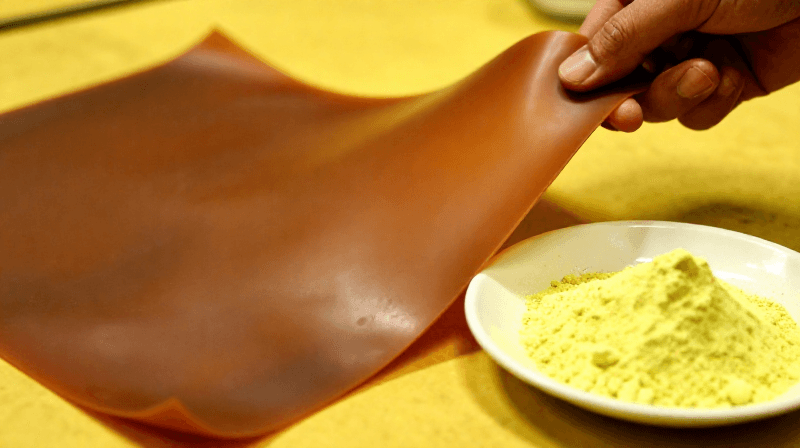
Seamless rubber gloves are made by dipping a hand-shaped form into a rubber solution, coat after coat. Thomas Miller of the Faultless Rubber Company added a cloth lining. After the glove is cured on the form, fabric is fixed to its outside. Peeling the glove off turns it inside out, so the lining ends up inside and the wrist trim outside.
Result: seamless rubber gloves lined with soft knitted fabric, whole or in parts, with a neat finishing strip at the wrist.
Source: T. W. Miller (Faultless Rubber Co.), US Patent 1,146,638 (1915). Unknown: the rubber solution and its solvent, how many dips, the drying and curing conditions, and sizes. Ours: the curing oven and the knife. Picture: Wikimedia Commons (glove forms, 1938).
Àárín
2 days
Ìlànà
1
1
Put the finishing strip on the form
Put the finishing strip on the form
Around the wrist of a glove form, put the finishing strip that will show on the outside of the finished glove. It can be a strip of rubber, a band of india ink stamped on, or a transfer, in a contrasting colour. A rubber strip also reinforces the wrist.
Àwọn ohun èlò fún ìgbésẹ̀ yìí:
 Àdàlù rọ́bà1 finishing strip
Àwọn irinṣẹ́ tí a nílò:
 Àwòṣe ìbọ̀wọ́
2
2
Dip, dry and trim
Dip, dry and trim
Dip the form into the rubber solution, coat after coat, until the glove is as thick as you want, letting it dry in the usual way. Take each dip a little above the finishing strip. Then cut away the surplus beyond the strip, so the strip ends the glove at the wrist. Not given: the solution recipe and solvent, the number of dips and the drying time.
Àwọn ohun èlò fún ìgbésẹ̀ yìí:
Àdàlù rọ́bà1 dipping solution Ohun èlò tí a kò mọ̀1 solvent
Àwọn irinṣẹ́ tí a nílò:
Àwòṣe ìbọ̀wọ́ Ọ̀bẹ Iṣẹ́ Ọwọ́
 Ìwọ̀n tí a kò mọ̀
3
3
Vulcanize on the form
Vulcanize on the form
Vulcanize the glove while it is still on the form. Not given: the temperature and time. Ours: a curing oven.
Àwọn irinṣẹ́ tí a nílò:
Àwòṣe ìbọ̀wọ́ Ààrò ìjinná
4
4
Fix the lining
Fix the lining
Cover the outside of the glove with a somewhat elastic fabric such as stockinet. Fix it with rubber cement, or by frictioning one face of the fabric so it grips the rubber. You can line the whole glove or only parts: the wrist, the finger crotches or the finger tips. Fabric put on before vulcanizing holds most firmly; put on after, it can be given a short extra cure.
Àwọn ohun èlò fún ìgbésẹ̀ yìí:
 Aṣọ tí a kò mọ̀1 stockinetÀdàlù rọ́bà1 as cement
Àwọn irinṣẹ́ tí a nílò:
Àwòṣe ìbọ̀wọ́5
5
Strip and turn
Strip and turn
Peel the glove off the form. Stripping turns it inside out, so the fabric is now the lining and the finishing strip is on the outside of the wrist.
Àwọn irinṣẹ́ tí a nílò:
Àwòṣe ìbọ̀wọ́Àwọn ohun-èlò
3- 1 as cementÀyè
- 1 solventÀyè
- 1 stockinetÀyè
Àwọn irinṣẹ́ tó nílò
4- Àyè
Àwọn Ohun Èlò Ìtọ́nisọ́nà Tí A So Pọ̀
Ìtọ́nisọ́nà yìí ń ṣe

CC0 Àgbègbè Gbogbogbò
Blueprint yìí ti jáde lábẹ́ CC0. O lè ṣe àdàkọ, yí padà, pín, àti lò láìsí ìyọ̀ǹda.
Ṣàtìlẹ́yìn Olùṣẹ́dá nípa rírà àwọn ọjà nipasẹ̀ Blueprint wọn Ẹ̀san Olùṣẹ́dá tí àwọn Olùtajà gbé kalẹ̀, tàbí ṣẹ̀dá àtúnṣe tuntun ti Blueprint yìí kí o sì fi sínú Blueprint rẹ gẹ́gẹ́ bí ìsopọ̀ láti pín owó-wíwọlé.