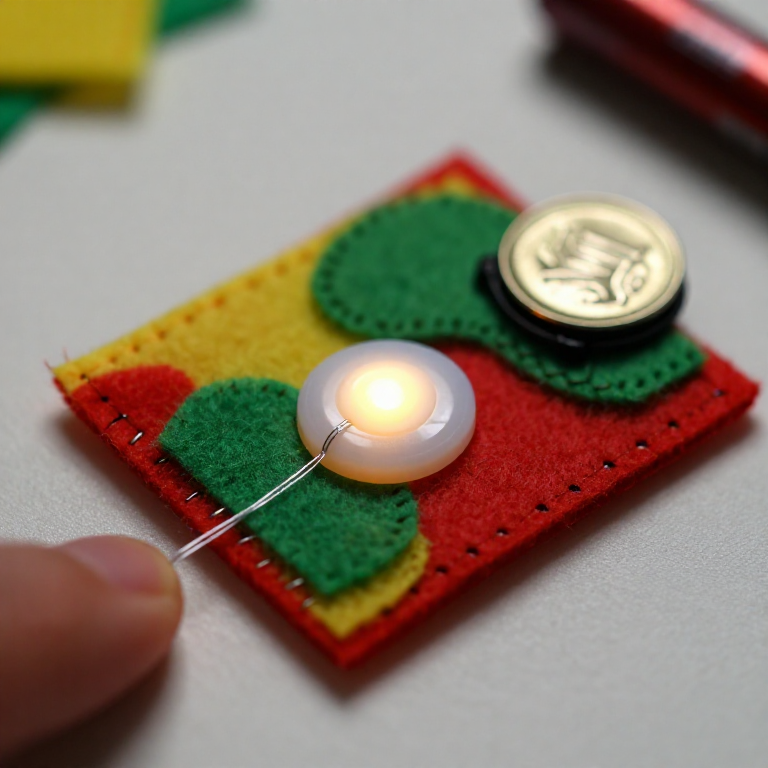


Sewing a LilyPad Button Circuit
Add a switch you can sew: a LilyPad button placed in the circuit lights your LED only while it's pressed. Same e-textile rules as before — + to + and - to -, no crossing lines — but now the button sits in the + line, so current flows only when you press it. A press-to-light patch for a bag, badge or costume.
Ìlànà
Plan the circuit with a button
Plan the circuit with a button
Arrange a LilyPad LED, a LilyPad button and a coin-cell battery holder on felt. The button goes in the + line, between the battery's + tab and the LED's + tab, so pressing it completes the circuit.
Àwọn ohun èlò fún ìgbésẹ̀ yìí:
 LilyPad LED - 5 pcs1 àkópọ̀
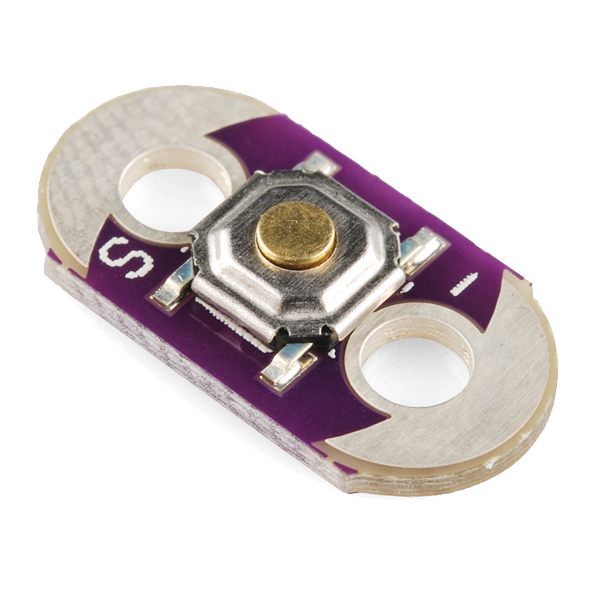 LilyPad Button Board1 ẹyọ
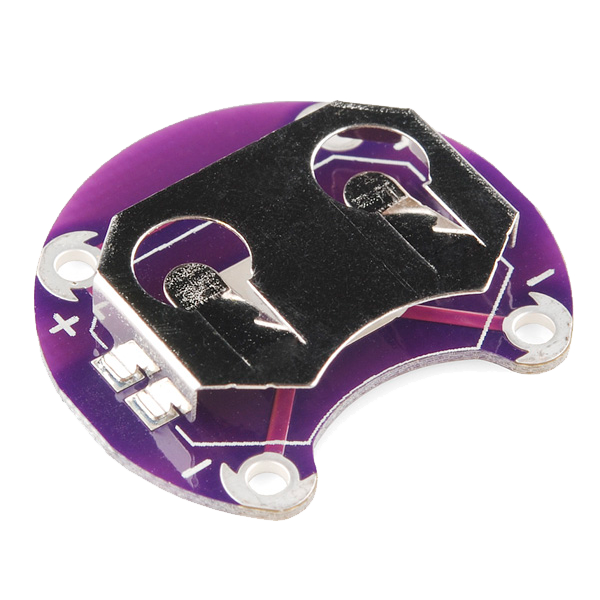 LilyPad Coin Cell Battery Holder - 20mm1 ẹyọ
 Àwo aṣọ irun àgùtàn1 ewé
Sew the positive line through the button
Sew the positive line through the button
With conductive thread, stitch from the battery + tab to one tab of the button, then knot and cut; start fresh and stitch from the button's other tab to the LED + tab. Loop 3–4 times through each hole for firm contact and trim the tails short.
Àwọn ohun èlò fún ìgbésẹ̀ yìí:
 Conductive Thread - 60g (Stainless Steel)1 ìkẹ́kẹ́ okùn
 Abẹ́rẹ́ ìránṣọ ọwọ́1 àkópọ̀
Sew the negative line
Sew the negative line
With a fresh thread, stitch the LED - tab straight to the battery - tab. Keep this line well away from the + line and the button — anywhere the two conductive paths touch, the circuit shorts.
Press to test
Press to test
Slot in a CR2032 (+ side up). Press the button — the LED lights; release — it goes out. If it stays dark, check that both button tabs are stitched into the line and that no threads are touching across the two sides.
Àwọn ohun èlò fún ìgbésẹ̀ yìí:
 Bátìrì owó ẹyọ CR20321 ẹyọ
Secure and use
Secure and use
Seal each knot with a dab of clear nail polish or fabric glue so it can't loosen. Sew the felt onto a bag, badge or costume — you've made a press-to-light patch.
Àwọn ohun-èlò
7- LilyPad LED - 5 pcsìdá 10%1 àkópọ̀$4.10
- LilyPad Button Boardìdá 10%1 ẹyọ$2.18
- 1 ẹyọ$4.10
- 1 ewéÀyè
- 1 ìkẹ́kẹ́ okùn$39.24
- 1 àkópọ̀Àyè
- Àyè
Àwọn irinṣẹ́ tó nílò
1Blueprint tó jọra
Àwọn blueprint wọ̀nyí pín ìmọ̀ — ọ̀nà, ohun-èlò tàbí ìlànà

CC0 Àgbègbè Gbogbogbò
Blueprint yìí ti jáde lábẹ́ CC0. O lè ṣe àdàkọ, yí padà, pín, àti lò láìsí ìyọ̀ǹda.
Ṣàtìlẹ́yìn Olùṣẹ́dá nípa rírà àwọn ọjà nipasẹ̀ Blueprint wọn Ẹ̀san Olùṣẹ́dá tí àwọn Olùtajà gbé kalẹ̀, tàbí ṣẹ̀dá àtúnṣe tuntun ti Blueprint yìí kí o sì fi sínú Blueprint rẹ gẹ́gẹ́ bí ìsopọ̀ láti pín owó-wíwọlé.