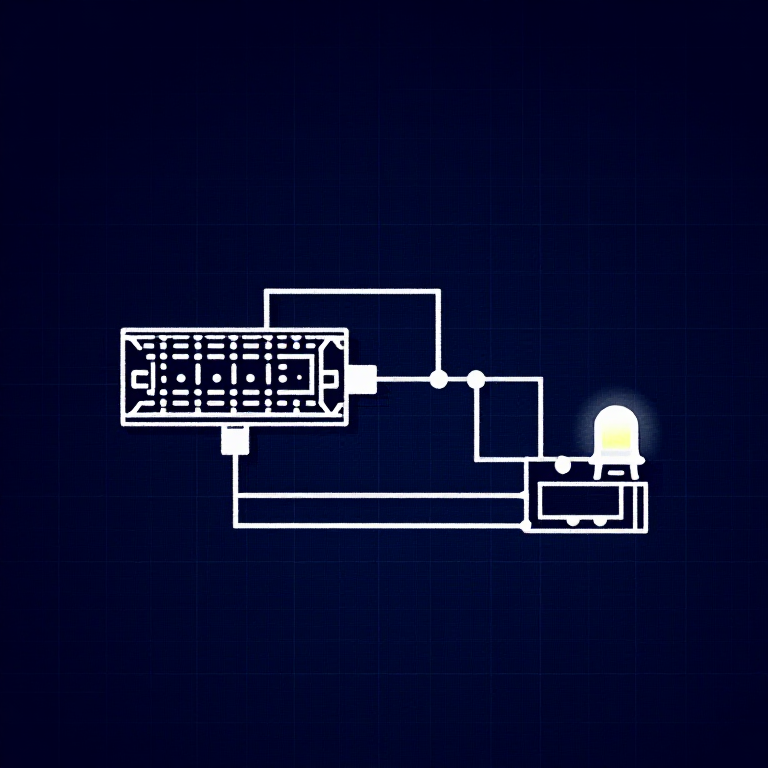


Reading a Photoresistor — SIK Circuit 6
Ìlànà
Parts & Introduction
Parts & Introduction
A photoresistor (or LDR — Light Dependent Resistor) changes resistance based on light levels. Combined with a fixed resistor, it forms a voltage divider that the Arduino can read as an analog value. You'll use this to control LED brightness automatically.
Parts Needed
- 1x Arduino Uno + USB cable
- 1x Breadboard
- 1x Photoresistor
- 1x LED (any color)
- 1x 330Ω Resistor
- 1x 10KΩ Resistor (for voltage divider)
- 6x Jumper Wires
Àwọn ohun èlò fún ìgbésẹ̀ yìí:
 SparkFun Inventor's Kit - V3.21 ohun èlò
Àwọn irinṣẹ́ tí a nílò:
 Kọ̀ǹpútà Tí Ó Ní Arduino IDE
Hardware Hookup
Hardware Hookup
Wiring Instructions
- Connect one side of the photoresistor to 5V.
- Connect the other side to Analog Pin A0.
- Connect a 10K resistor from Analog Pin A0 to GND (this completes the voltage divider).
- Connect the LED positive leg to Digital Pin 9 (PWM-capable).
- Connect the LED negative leg through a 330Ω resistor to GND.
The voltage divider produces a voltage proportional to light level, which the Arduino reads as 0-1023.
Àwọn ohun èlò fún ìgbésẹ̀ yìí:
 Pátákó Àdánwò1 ẹyọ
 Okùn Ìsopọ̀5 ẹyọ
Arduino Code
Arduino Code
Open the Arduino IDE and upload the following sketch to your Arduino board.
Àwọn ohun èlò fún ìgbésẹ̀ yìí:
 Arduino Uno R31 ẹyọ
Àwọn irinṣẹ́ tí a nílò:
Kọ̀ǹpútà Tí Ó Ní Arduino IDETest & Experiment
Test & Experiment
What You Should See
The LED brightness changes based on ambient light. Cover the photoresistor to dim or brighten the LED (depending on orientation).
Troubleshooting
- LED stays dark: Check LED polarity. Also verify the photoresistor is in the circuit correctly.
- Not responding to light: The photoresistor spacing is non-standard — make sure both legs are making good contact.
- Subtle changes: Try using a flashlight or covering the sensor completely for more dramatic results.
Experiments to Try
- Uncomment
autoTune()to let the Arduino automatically calibrate to your lighting conditions. - Use the sensor to trigger actions at specific light thresholds (e.g., turn on a "night light" when dark).
Àwọn ohun-èlò
8- 1 ohun èlò$104.50
- Àyè
- Àyè
- Àyè
- 1 ẹyọÀyè
- Àyè
- 1 ẹyọÀyè
- Àyè
Àwọn irinṣẹ́ tó nílò
1CC0 Àgbègbè Gbogbogbò
Blueprint yìí ti jáde lábẹ́ CC0. O lè ṣe àdàkọ, yí padà, pín, àti lò láìsí ìyọ̀ǹda.
Ṣàtìlẹ́yìn Olùṣẹ́dá nípa rírà àwọn ọjà nipasẹ̀ Blueprint wọn Ẹ̀san Olùṣẹ́dá tí àwọn Olùtajà gbé kalẹ̀, tàbí ṣẹ̀dá àtúnṣe tuntun ti Blueprint yìí kí o sì fi sínú Blueprint rẹ gẹ́gẹ́ bí ìsopọ̀ láti pín owó-wíwọlé.