IṢẸ́ ỌNÀ
ẸWÀ ÀTI ÌLERA
IṢẸ́ ỌWỌ́
ÀṢÀ ÀTI ÌTÀN
ÌṢERÉ
ÀYÍKÁ
OÚNJẸ ÀTI OHUN MÍMU
REVERSE ENGINEERING
SÁYẸ́ǸSÌ
ERÉ ÌDÁRAYÁ
ÌMỌ̀-Ẹ̀RỌ
ÀWỌN OHUN WÍWỌ̀
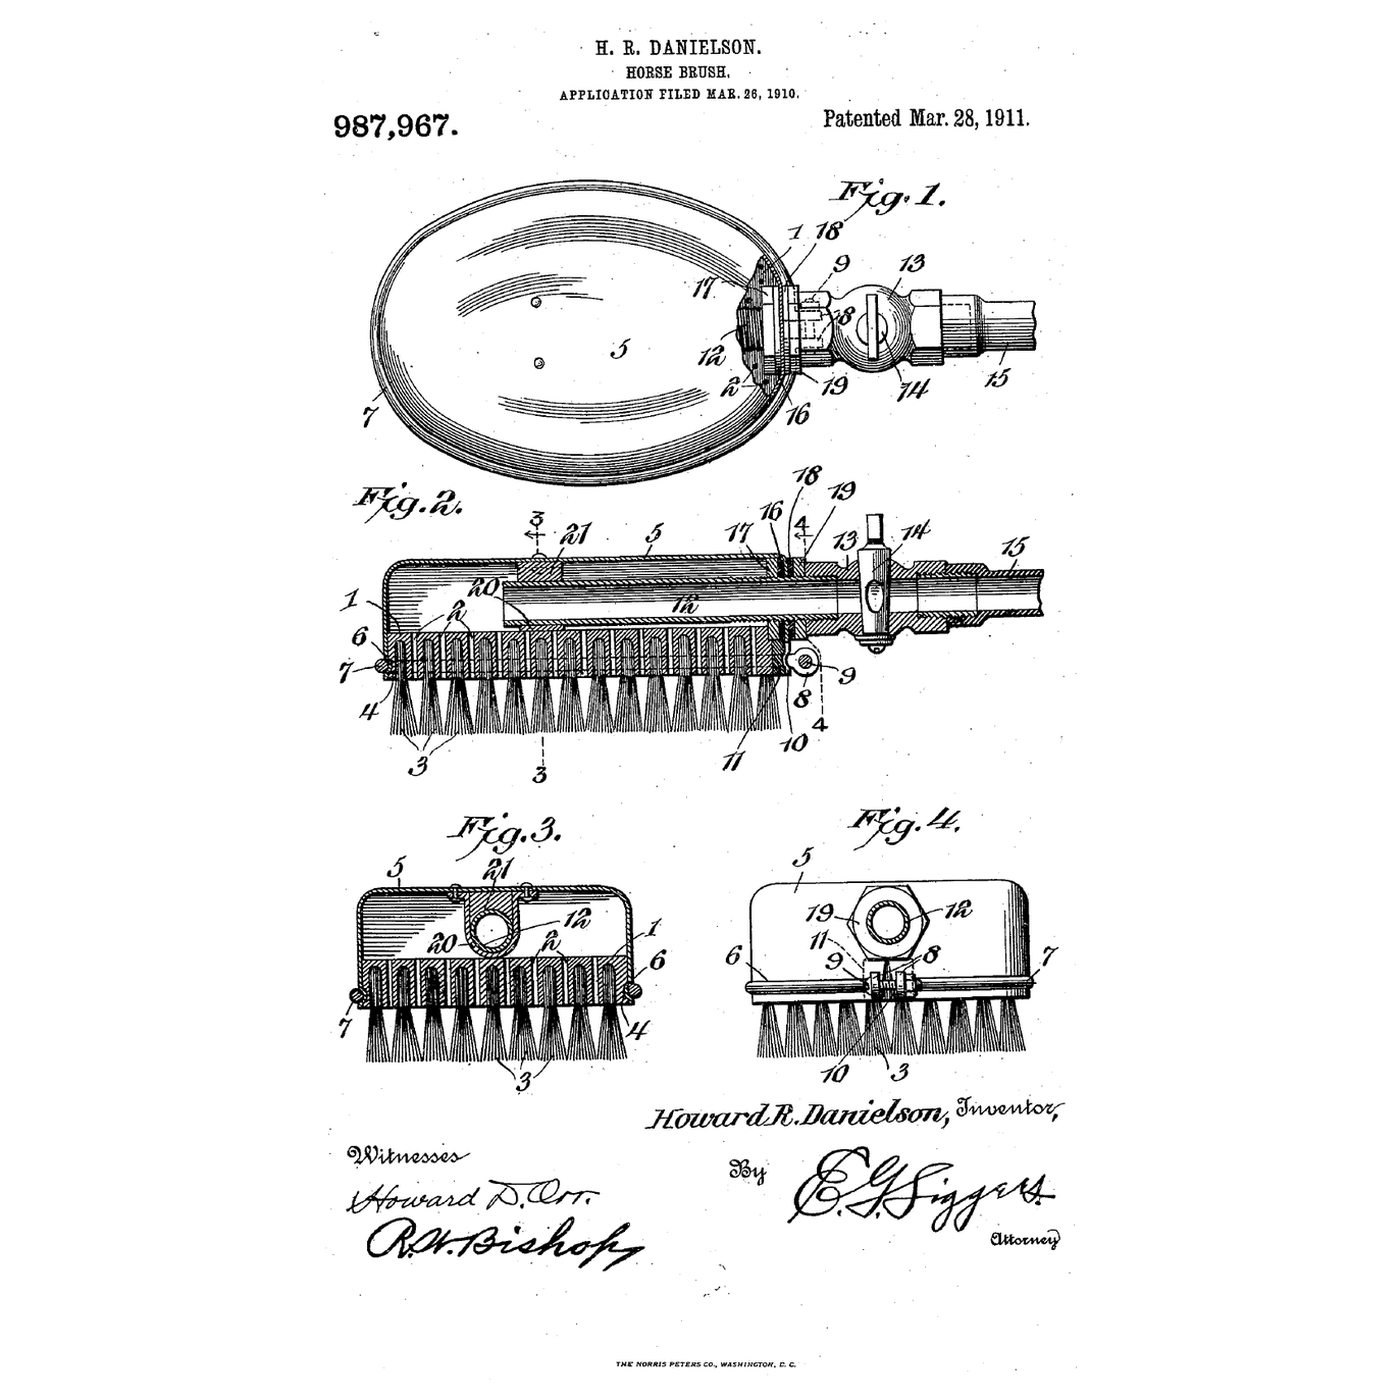


The Capped Fountain Horse Brush: Water Out Only Through the Bristles
A horse caked in mud is slow to clean with a dry brush, and a hose alone soaks the handler.
Howard R. Danielson of Crookston, Minnesota, received US 987,967, patented 28 March 1911, for a horse brush "so constructed as to avoid leakage, and to provide no outlet for the water except through the bristles": a perforated wooden back under a steel cap whose bead sits in a groove round the back, held by a clamping wire and bolt, with a pipe clamped through the cap by washers and nuts; loosening the wire lets a worn brush be replaced.
This rung shows why the valve sets the water use, then caps a scrub brush in aluminium, plumbs it and measures the water a grooming takes.
Àárín
About 4 hours
Ìlànà
1
1
Water per grooming
Water per grooming
Ń ṣí ìwé Jupyter…
2
2
A horse brush before it
A horse brush before it
The embedded blueprint cleans the coat dry with rubber ridges. Danielson brings water to the bristles and lets it out nowhere else.
3
3
Read US 987,967
Read US 987,967
"A clamping wire 7 is placed around the cap and body within the groove in the cap presented by the said bead 6, and the ends of this clamping wire are formed into perforated lugs or ears 8 through which a securing bolt or screw 9 is inserted."
"The brush is moved over the body of the horse and the water permitted to flow through the pipe to the interior of the cap, whence it will escape through the perforations in the body or back of the brush and escape through the bristles to the animal. The flow of water may be regulated according to the condition of the animal's skin so that mud or other matter may be quickly and easily removed and the horse quickly cleaned."
4
4
Perforate the back
Perforate the back
Drill ten 4 mm holes through the scrub brush's back between the tufts, from the top.
Àwọn ohun èlò fún ìgbésẹ̀ yìí:
 Búrọ́ọ̀ṣì ìfọ̀1 ẹyọ
Àwọn irinṣẹ́ tí a nílò:
 Ìdìmú Tábìlì
 Ẹ̀rọ Ìlùkòkò Aláìlókùn
 Àkójọ Orí Ìlùkòkò
 Ààmì Tí Kò Ní Parẹ́
 Gílásì Ààbò Tí Ó Mọ́
5
5
Groove the edge
Groove the edge
Rout a 3 mm groove 3 mm deep round the back's edge, 8 mm above the bristle face.
Àwọn irinṣẹ́ tí a nílò:
 Ẹ̀rọ ìgbẹ́ igi
 Àkójọ orí ẹ̀rọ ìgbẹ́Gílásì Ààbò Tí Ó Mọ́
6
6
Shape the cap
Shape the cap
Cut aluminium sheet to the back's outline plus 25 mm all round. Snip the margin into 15 mm tabs, fold them down over the sides, and press their edges into the groove. Seal the tab gaps with silicone.
Àwọn ohun èlò fún ìgbésẹ̀ yìí:
 Àwo aluminiọ̀mù1 ẹyọ
 Ìdílẹ̀ Silikoni1 ẹyọ
Àwọn irinṣẹ́ tí a nílò:
 Ìlàǹkàn irin
 Ẹmú Ẹnu Pẹrẹsẹ
 Òòlù
Òòlù Ìbọ̀wọ́ Iṣẹ́ Awọ
7
7
Wire it on
Wire it on
Lay a strip of rubber sheet across the cap's joint. Lay galvanised wire in the groove over the tabs, bend its ends into eyes, and draw them together with an M4 screw and nut.
Àwọn ohun èlò fún ìgbésẹ̀ yìí:
 Àwo rọ́bà1 ẹyọ
 Okùn Irin Tí A Fi Sinkì Bò1 ẹyọ
 Skurú ẹ̀rọ1 ẹyọ
 Nọ́ọ̀tì Onígun Mẹ́fà1 ẹyọ
Àwọn irinṣẹ́ tí a nílò:
Ẹmú Ẹnu Pẹrẹsẹ Ìṣù àwọn ohun ìyí skurú
 Kọ́kọ́rọ́ tí a lè ṣàtúnṣe
8
8
Plumb the cap
Plumb the cap
Drill the cap's end for a threaded brass connector from the fittings. Clamp it with a flat washer, a rubber washer and a nut each side. Fit the ball valve and a hose connector to it.
Àwọn ohun èlò fún ìgbésẹ̀ yìí:
 Ohun ìsopọ̀ idẹ1 ẹyọ
 Wáṣà Pẹrẹsẹ1 ẹyọÀwo rọ́bà1 ẹyọ
 Fáàlù bọ́ọ̀lù1 ẹyọ
 Okùn PTFE ìdí ìṣàn1 ẹyọ
Àwọn irinṣẹ́ tí a nílò:
Ẹ̀rọ Ìlùkòkò AláìlókùnÀkójọ Orí ÌlùkòkòKọ́kọ́rọ́ tí a lè ṣàtúnṣe9
9
The build in 3D
The build in 3D
FreeCAD model of this build, not of the patent: a 190 × 90 × 24 mm elliptical back with ten 4 mm holes and a groove, the cap and clamping wire, and the connector, valve and hose tail.
10
10
Test it
Test it
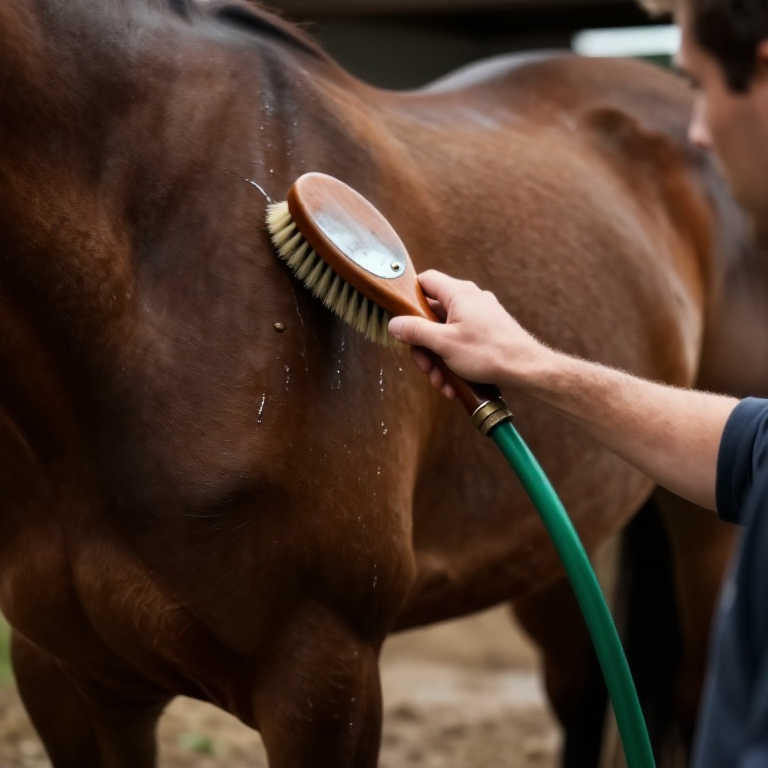
Connect the garden hose. Set the valve to fill the jug in one minute and note the litres; look for water anywhere but the bristles. Time how long it takes to loosen the wire and lift the cap off.
Àwọn ohun èlò fún ìgbésẹ̀ yìí:
 Òpó omi ọgbà1 ẹyọ
 Omi1 ẹyọ
Àwọn irinṣẹ́ tí a nílò:
 Ìgò ìwọ̀n
 Aago Ìdúró
11
11
A brush that leaks, floods or will not come apart
A brush that leaks, floods or will not come apart
Capped fountain horse brush troubleshooting.
Flow
Loading...
12
12
History and honest limits
History and honest limits
**Howard R. Danielson** of Crookston, Minnesota, filed US 987,967 on 26 March 1910; it was patented 28 March 1911. The back is preferably a wooden block of elliptical outline; the cap preferably a single piece of steel. A slit lets the cap spring over the back, sealed by a rubber block behind it. Inside, a clamping band riveted to the cap supports the pipe's inner end. He wrote that its life "is practically limitless, as the wear will all be on the bristles."
**Honest limits.** Our tabbed aluminium cap needs silicone where his pressed steel cap did not, and a bought scrub brush stands in for his. Your water use is the result.
Àwọn ohun-èlò
13- 1 ẹyọÀyè
- 1 ẹyọÀyè
- 1 ẹyọÀyè
- 1 ẹyọÀyè
- Àyè
- 1 ẹyọÀyè
- 1 ẹyọÀyè
- 1 ẹyọÀyè
- 1 ẹyọÀyè
- 1 ẹyọÀyè
- 1 ẹyọÀyè
- Òpó omi ọgbàìdá 10%1 ẹyọÀyè
- 1 ẹyọÀyè
Àwọn irinṣẹ́ tó nílò
15- Àyè
- 1 vendor sell this, none ship to you yetÀyè
- 1 vendor sell this, none ship to you yetÀyè
- Àyè
- Àyè
- Àyè
- Àyè
Àwọn fáìlì àpẹrẹ
1Blueprint tó jọra
Àwọn blueprint wọ̀nyí pín ìmọ̀ — ọ̀nà, ohun-èlò tàbí ìlànà
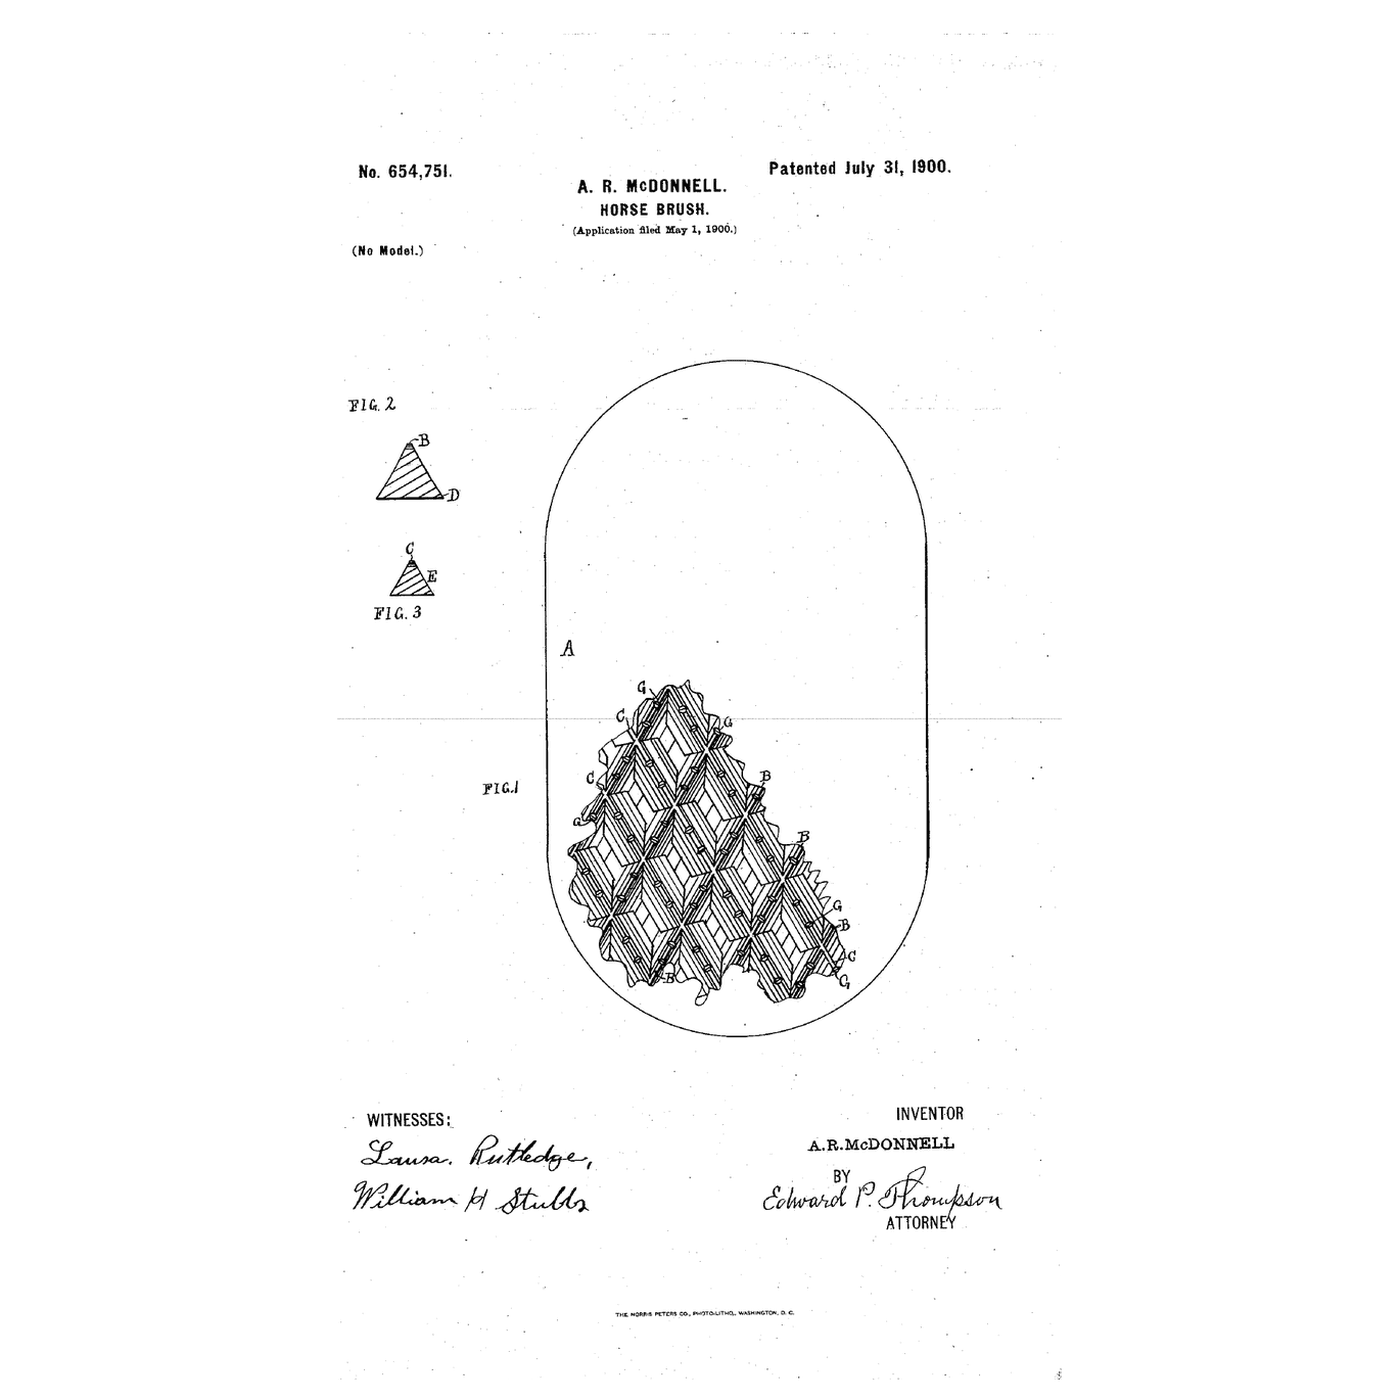
The Rubber Horse Brush: Crossed, Notched Ridges on a Leather Plate
láti ọwọ́ Mary
Ìtọ́jú Ẹranko
22
0
0
0
0
0
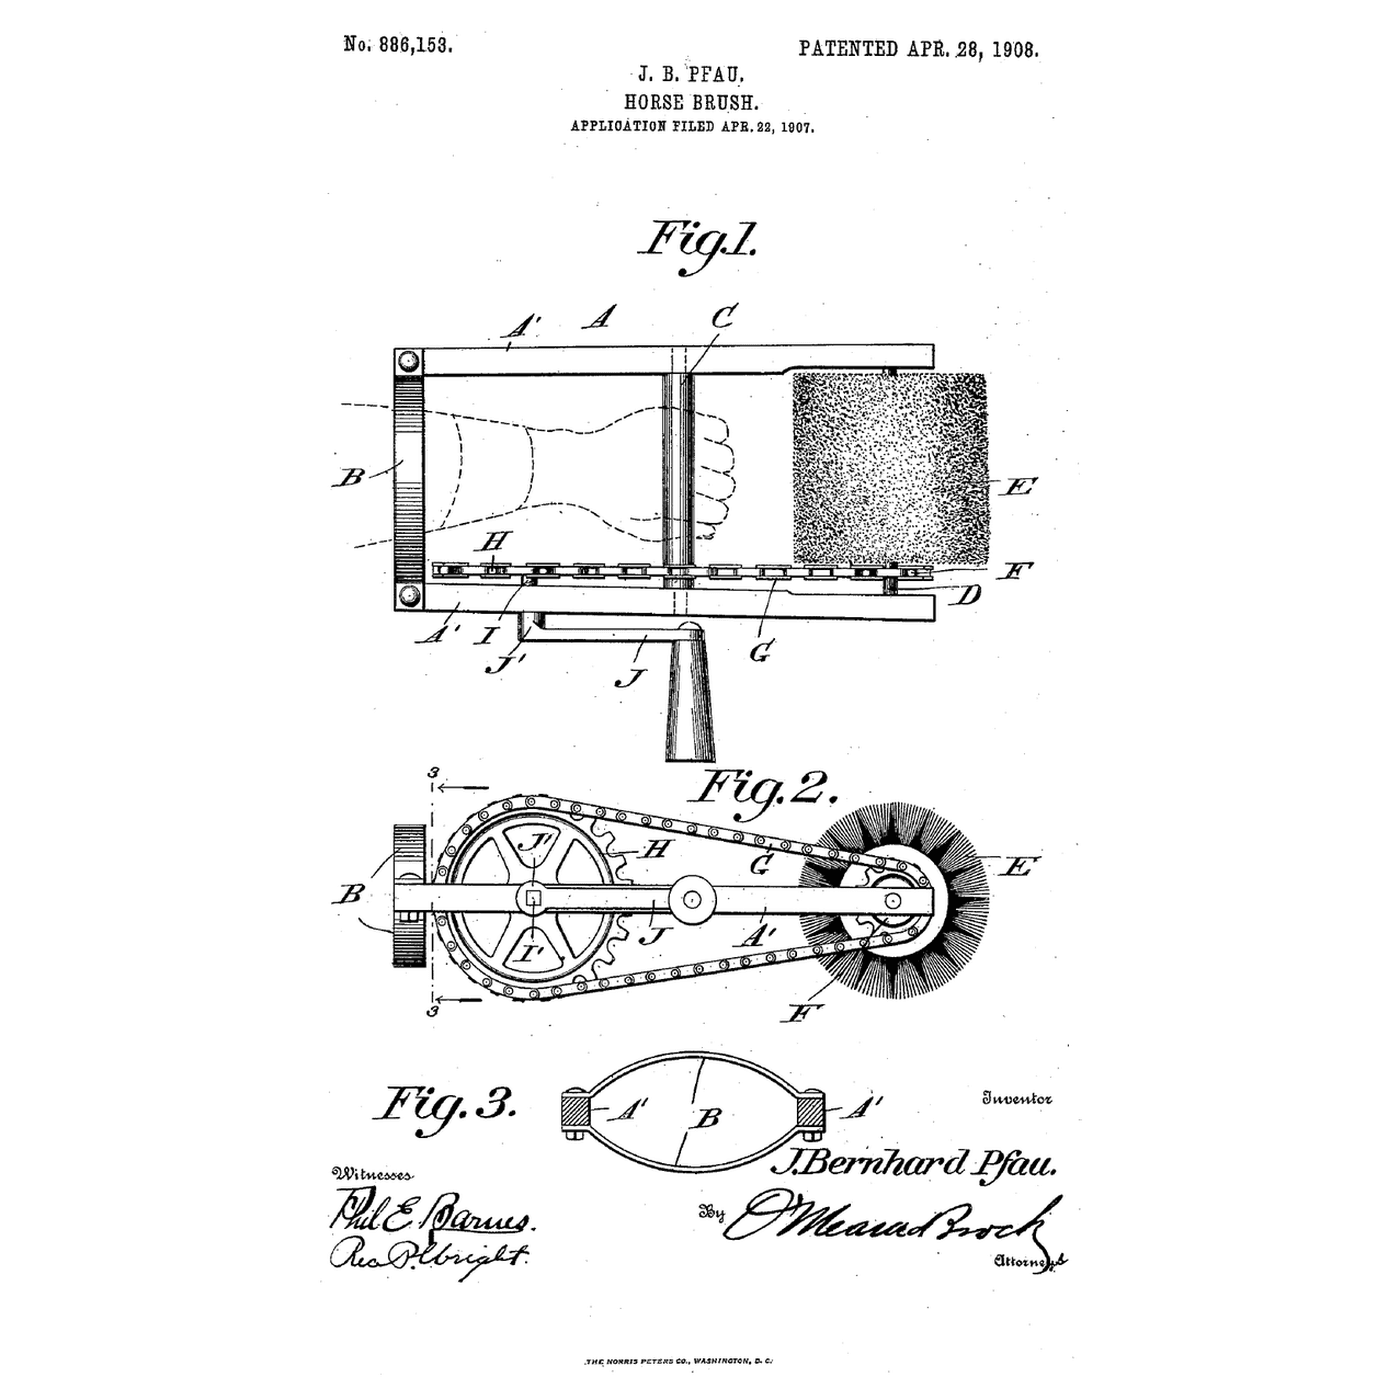
The Crank-Driven Rotary Horse Brush: Worn on the Forearm, Spun by a Sprocket Chain
láti ọwọ́ Martin
Ìtọ́jú Ẹranko
26
0
0
0
0
0
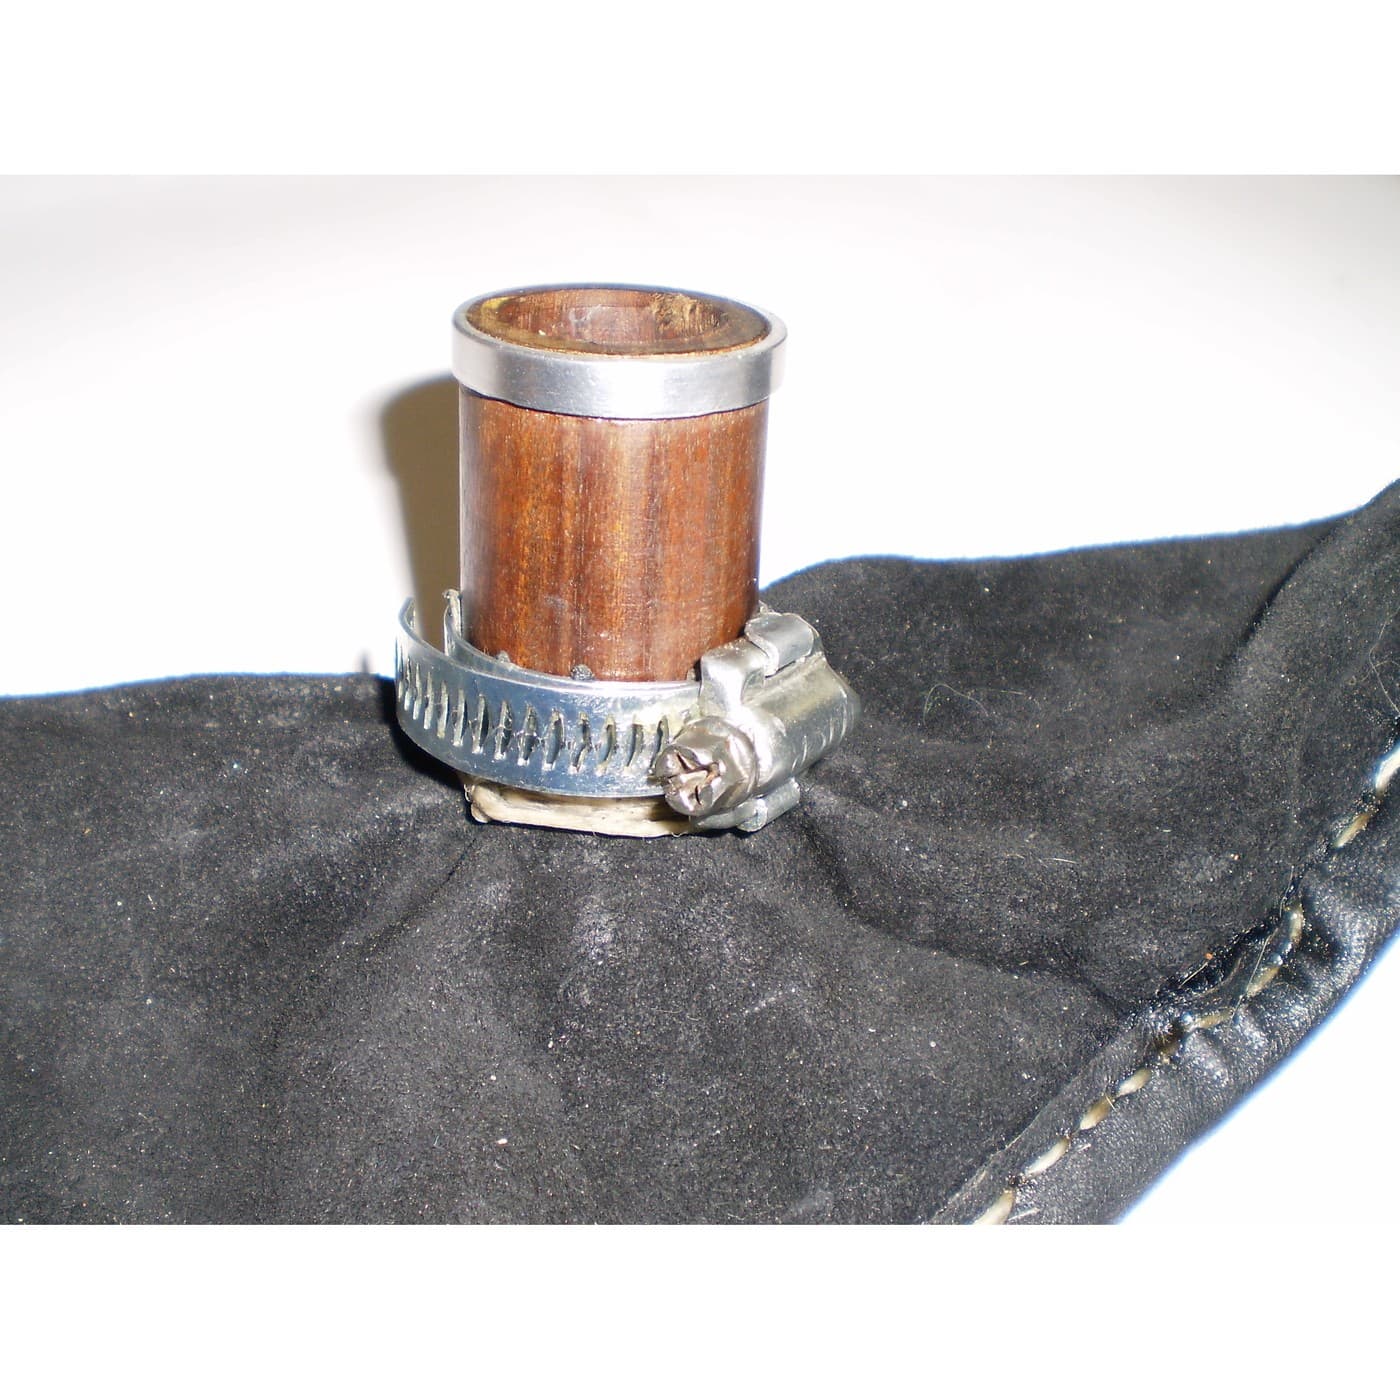
The Hose and Its Clip: Why It Was Tight When You Fitted It
láti ọwọ́ Martin
Àwọn Irinṣẹ́
26
0
0
0
0
0
CC0 Àgbègbè Gbogbogbò
Blueprint yìí ti jáde lábẹ́ CC0. O lè ṣe àdàkọ, yí padà, pín, àti lò láìsí ìyọ̀ǹda.
Ṣàtìlẹ́yìn Olùṣẹ́dá nípa rírà àwọn ọjà nipasẹ̀ Blueprint wọn Ẹ̀san Olùṣẹ́dá tí àwọn Olùtajà gbé kalẹ̀, tàbí ṣẹ̀dá àtúnṣe tuntun ti Blueprint yìí kí o sì fi sínú Blueprint rẹ gẹ́gẹ́ bí ìsopọ̀ láti pín owó-wíwọlé.