IṢẸ́ ỌNÀ
ẸWÀ ÀTI ÌLERA
IṢẸ́ ỌWỌ́
ÀṢÀ ÀTI ÌTÀN
ÌṢERÉ
ÀYÍKÁ
OÚNJẸ ÀTI OHUN MÍMU
REVERSE ENGINEERING
SÁYẸ́ǸSÌ
ERÉ ÌDÁRAYÁ
ÌMỌ̀-Ẹ̀RỌ
ÀWỌN OHUN WÍWỌ̀


Tolerance and Clearance: Printed Holes Come Out Small, Every Time
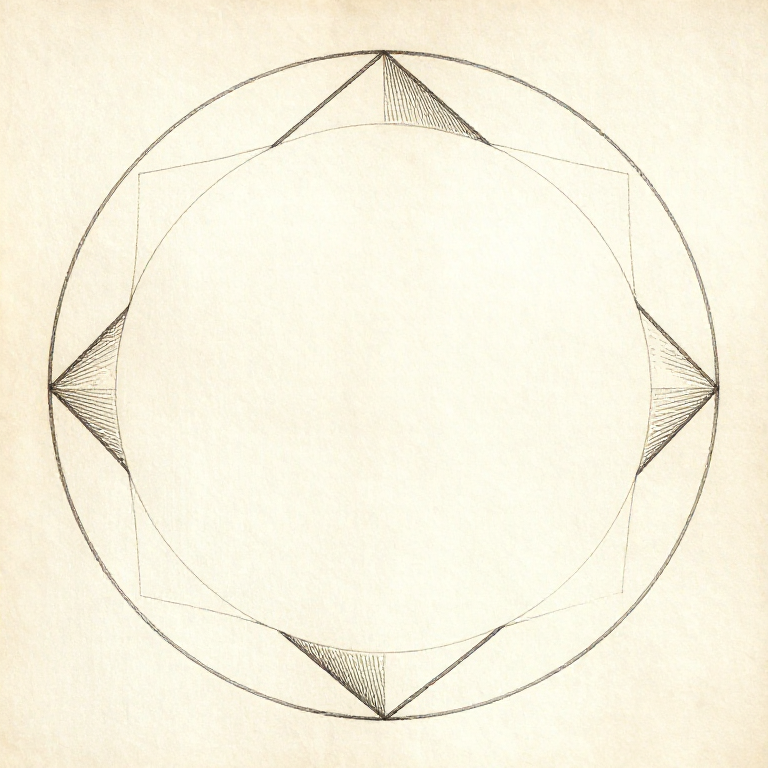
Model a 5 mm hole, print it, and a 5 mm pin will not go in. That is not a fault in the printer: it is what happens when a round hole is approximated by straight line segments laid inside its circumference, and when hot plastic shrinks as it cools.
Both effects run the same way, so printed holes come out SMALL and printed pegs come out LARGE. The error is a few tenths of a millimetre, consistently, in a predictable direction — which makes it correctable rather than annoying.
Which is the whole point: measure your printer's error once, on a test piece, and then design every hole and peg with it already allowed for.
Àárín
3 hours
Ìlànà
1
1
Why it happens, and which way
Why it happens, and which way
A circular hole is printed as a many-sided polygon whose corners touch the circle, so the flats fall INSIDE it. The smaller the hole, the fewer segments and the worse the effect.
On top of that the nozzle pushes a line of plastic that spreads slightly, and the plastic shrinks as it cools. Both add material where the hole should be and remove it from outside surfaces — so holes shrink and pegs grow.
That means an interference fit and a clearance fit are not symmetrical on a printer, unlike on a lathe. A peg and hole modelled the same size will always be an interference fit, and usually a very tight one.
Àwọn ohun èlò fún ìgbésẹ̀ yìí:
 Okùn ìtẹ̀wé 3D (PLA)1 ẹyọ
Àwọn irinṣẹ́ tí a nílò:
 Òṣùwọ̀n Kálípà Díjítà Ìnṣì 6
 Lúpù Ìgbéga
2
2
Measure your own printer's offset
Measure your own printer's offset
Ń ṣí ìwé Jupyter…
Àwọn ohun èlò fún ìgbésẹ̀ yìí:
Okùn ìtẹ̀wé 3D (PLA)1 ẹyọ Okùn ABS1 ẹyọ
Àwọn irinṣẹ́ tí a nílò:
Òṣùwọ̀n Kálípà Díjítà Ìnṣì 6 Kọ̀ǹpútà Tábìlì
 Ẹ̀rọ ìtẹ̀ 3D oníwàyà (FDM)
3
3
Measure the same way every time
Measure the same way every time
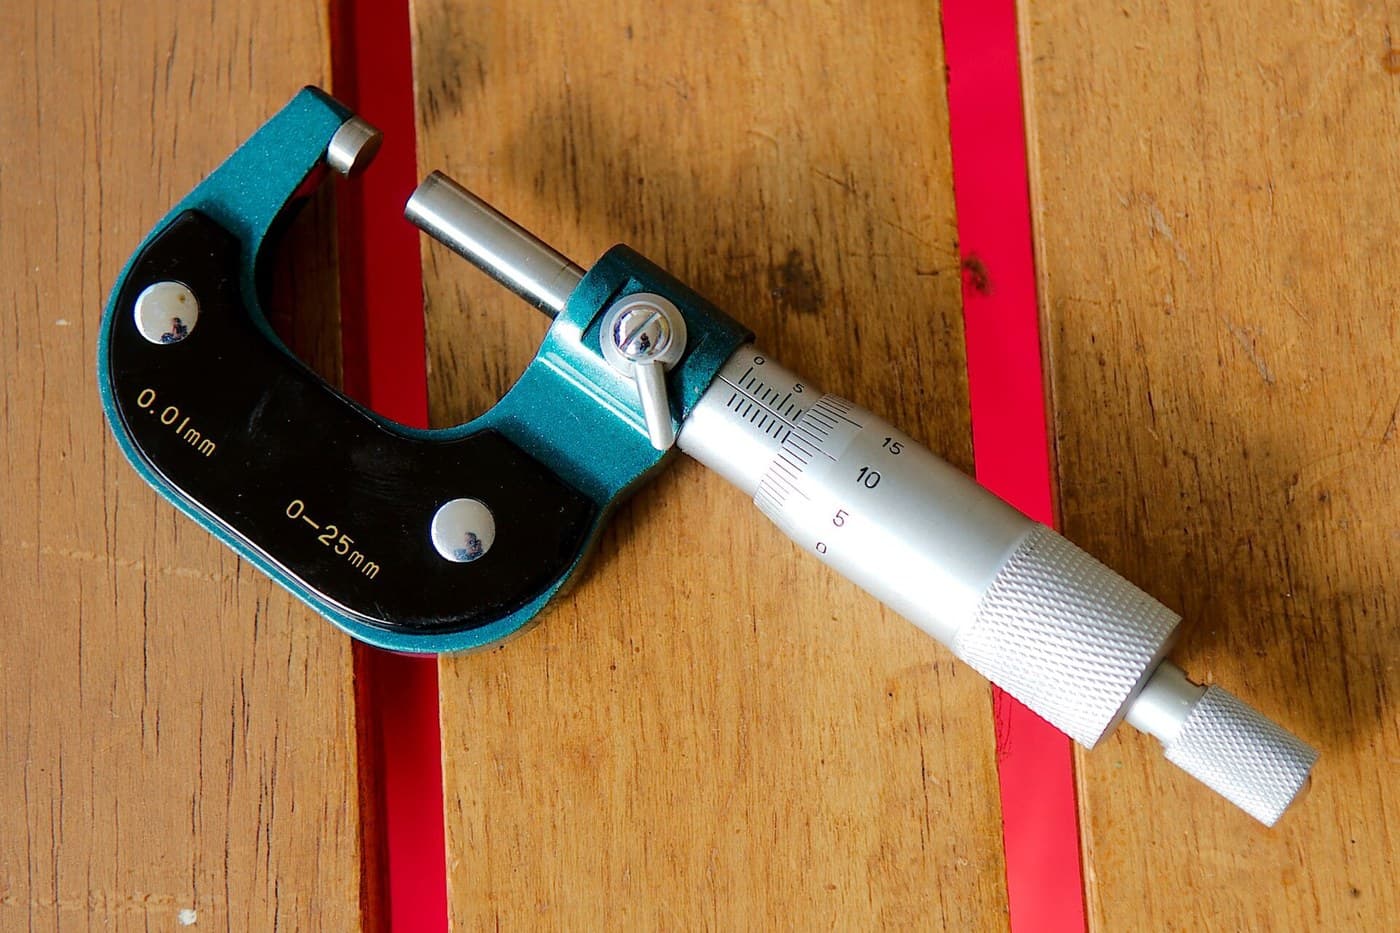
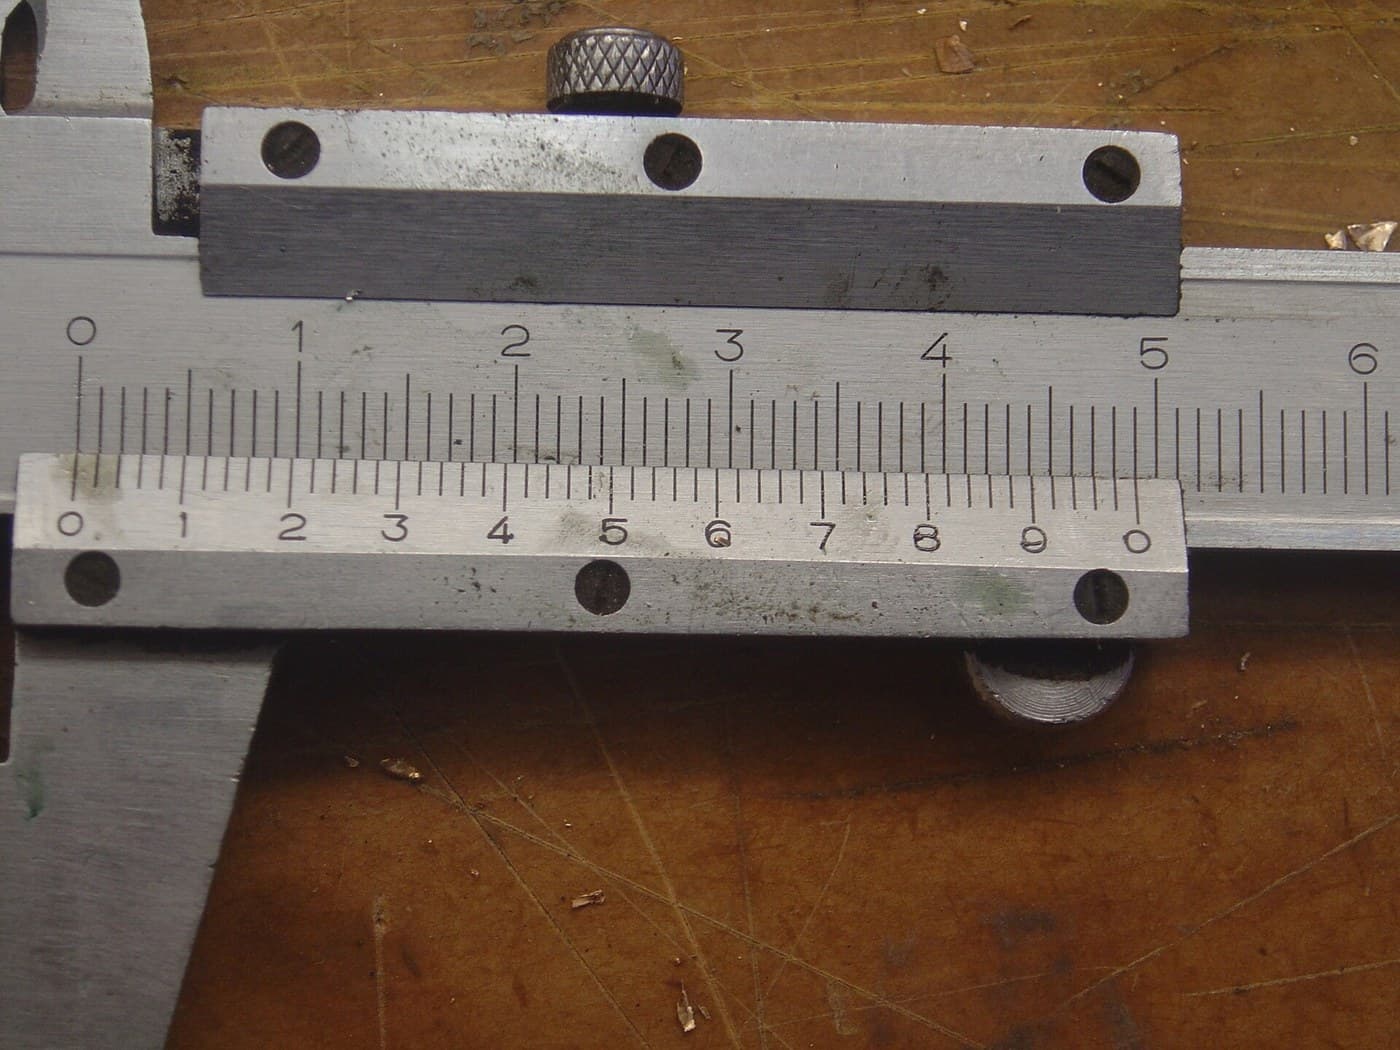
Measure across several diameters and at several heights. A printed hole is not round and not the same size top to bottom — the first layers are squashed wider and the seam where each layer starts leaves a small bump.
Take the smallest reading for a hole and the largest for a peg. Those are what actually decide whether the parts go together, and averaging hides exactly the feature that will stop them.
Deburr before measuring. The small ridge left where each layer starts, and the elephant-foot bulge on the bottom layers, both read as material that is not really in the way — and both come off in seconds with a deburring tool.
Àwọn ohun èlò fún ìgbésẹ̀ yìí:
Okùn ìtẹ̀wé 3D (PLA)1 ẹyọÀwọn irinṣẹ́ tí a nílò:
Òṣùwọ̀n Kálípà Díjítà Ìnṣì 6 Ohun èlò ìmúkúrò èèpoLúpù Ìgbéga
4
4
Design so the fit does not have to be perfect
Design so the fit does not have to be perfect
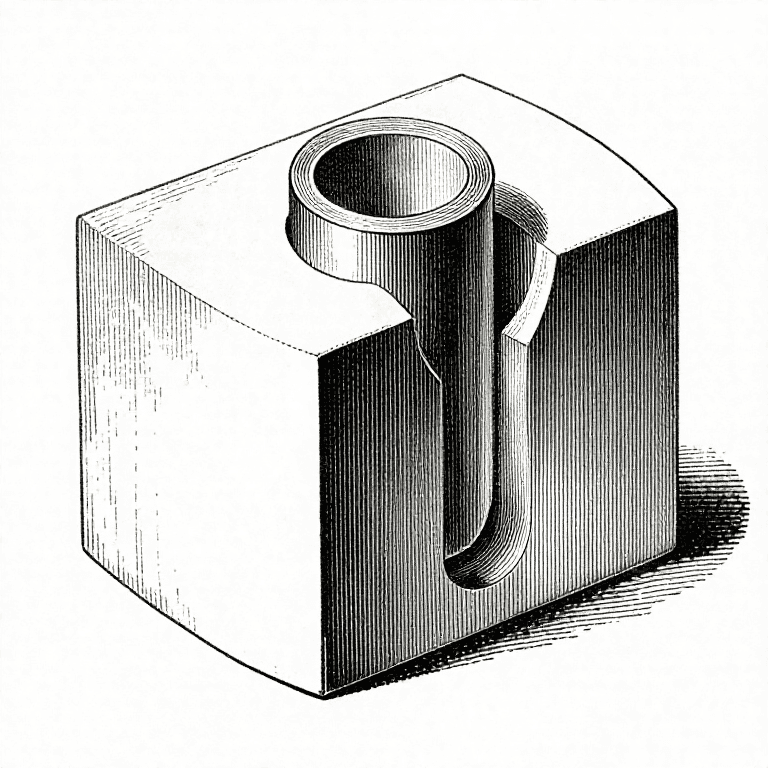
The best answer to a tight tolerance is usually to remove the need for it. A slot instead of a hole, a chamfer at the entry, a split collar with a screw, a deliberate flexure — all of them turn a precise dimension into an adjustable one.
A CHAMFER on every hole and peg entry is nearly free and makes an imperfect fit assemble anyway. It also prints better, because the chamfer at the bottom removes the elephant-foot problem from the part that has to enter.
And where a real fit is needed, use a real part: a brass insert for a thread, a steel pin in a printed housing, a bearing pressed into a printed seat. Printing everything is a constraint nobody imposed.
Àwọn ohun èlò fún ìgbésẹ̀ yìí:
Okùn ìtẹ̀wé 3D (PLA)1 ẹyọÀwọn irinṣẹ́ tí a nílò:
Kọ̀ǹpútà TábìlìÒṣùwọ̀n Kálípà Díjítà Ìnṣì 6Ohun èlò ìmúkúrò èèpoBlueprint tó jọra
Àwọn blueprint wọ̀nyí pín ìmọ̀ — ọ̀nà, ohun-èlò tàbí ìlànà


CC0 Àgbègbè Gbogbogbò
Blueprint yìí ti jáde lábẹ́ CC0. O lè ṣe àdàkọ, yí padà, pín, àti lò láìsí ìyọ̀ǹda.
Ṣàtìlẹ́yìn Olùṣẹ́dá nípa rírà àwọn ọjà nipasẹ̀ Blueprint wọn Ẹ̀san Olùṣẹ́dá tí àwọn Olùtajà gbé kalẹ̀, tàbí ṣẹ̀dá àtúnṣe tuntun ti Blueprint yìí kí o sì fi sínú Blueprint rẹ gẹ́gẹ́ bí ìsopọ̀ láti pín owó-wíwọlé.