Collaboration
ART
BEAUTY & WELLNESS
CRAFT
CULTURE & HISTORY
ENTERTAINMENT
ENVIRONMENT
FOOD & DRINKS
REVERSE ENGINEERING
SCIENCES
SPORTS
TECHNOLOGY
WEARABLES
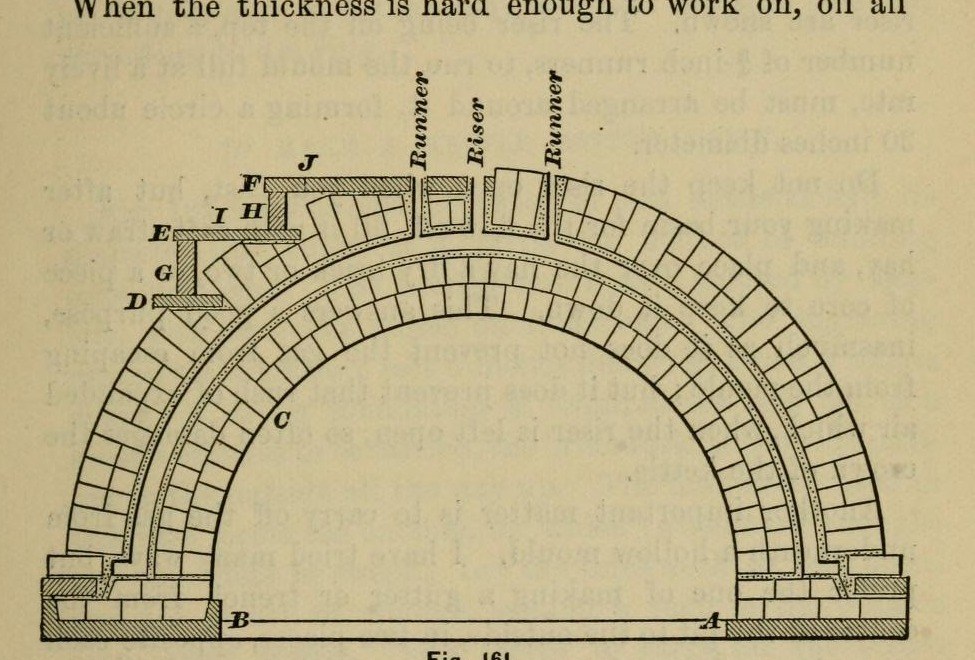

Cast Iron Pot: a Kettle Moulded in Loam, Bottom Up (Bolland, The Iron-Founder, 1892)
How a founder moulds an iron kettle or pot without a pattern: a brick core is built and coated with loam, swept to the inside shape with a turning board; a layer of sand swept on top stands for the metal's thickness; the cope is built over it, and the space the sand stood for is filled with iron. Bolland's example is an 8 ft kettle 1 3/4 in thick; the same steps serve any size.
Variable: the size and wall thickness, set by the sweeps.
Source: S. Bolland, The Iron-Founder (1892), pp. 180-183. Unknown: the loam mix and drying. Picture: Fig. 161 of the book.
Expert
Unknown
Instructions
1
1
Build and sweep the core
Build and sweep the core
Set the core on a foundation plate strong enough to lift it without springing: a plain plate at least 3 in thick, or a ribbed one 2 in thick. Build the core of bricks in open, coarse mud, bricks well apart so air passes, with half-bricks crossing the joints on the top course and a tie-course here and there. Scrape the joints, rub on soft loam and sweep it to shape as you go round; the first sweep also strikes the flange, the guide and the seat for the cope ring. Finish with a skimming coat of the same loam sifted fine. Ours: sand and clay for the loam. Not given: the loam mix, the size.
Tools needed:
 Iron Castings
 Fired Clay Bricks
 Sand
 Raw Clay from Deposit
 Timber Plank
 Trowel
 Unknown Dimensions
2
2
Strike on the thickness
Strike on the thickness
When the loam is hard enough, change to the thickness sweep. Ram fine-sifted old sand at green-sand temper on by hand from the bottom up, sweeping carefully, dampen and slick it, leaving it about 1/16 in clear of the sweep, and press the flange corner sharp with the trowel. Have all the skinning loam ready first; it must be done in one pass. When it is hard, oil it all over and throw on parting sand. Ours: linseed oil.
Tools needed:
Sand Linseed Oil
 Parting DustTrowel
3
3
Build the cope and gates
Build the cope and gates
Set on the cope ring and build the cope over the thickness, best with building rings and packing so it can be bound down under a cross at once. Bed plates on the sand and bind them down with the cross or binders. Put the riser at the top and enough 3/4 in runners round it, in a circle about 30 in across, to fill the mould quickly. The sand thickness stands for the metal. Not given in these pages: lifting the cope to take the thickness off before closing.
Tools needed:
Fired Clay BricksIron CastingsSandTrowel4
4
Vent and pour
Vent and pour
Cut two gutters from the centre of the pit to the outside, sloping gently to the centre, and just before casting pour a little iron down to warm the air so the core gas draws off. Do not fill the trench with shavings and wood, which flash and crack the core. Fill the riser basin with soft straw or hay held down by a dry brick, so gas escapes but no rush of air damages the crown. Pour the iron through the runners. Ours: pig iron melted in a cupola.
Materials for this step:
 Pig Iron Ingots1 the kettle
Tools needed:
 Straw
 Cupola Furnace
 Foundry Ladle
Materials
1- 1 the kettlePlaceholder
Tools Required
12- Placeholder
- Placeholder
- Placeholder
- Placeholder
- Placeholder
- Placeholder
- Placeholder
- Placeholder
- Placeholder
- Placeholder
- Placeholder
- Placeholder
Connected Blueprint Materials

10% Attribution
Smelting Pig Iron in a Coke Blast Furnace — Molten Iron at Industrial Scale
by Elrond
Metalworking
64
0
0
0
5
0

10% Attribution
Casting Iron in a Cupola Furnace — Re-Melting Pig Iron into Finished Castings
by Piett
Metalworking
51
0
0
0
6
0
10% Attribution
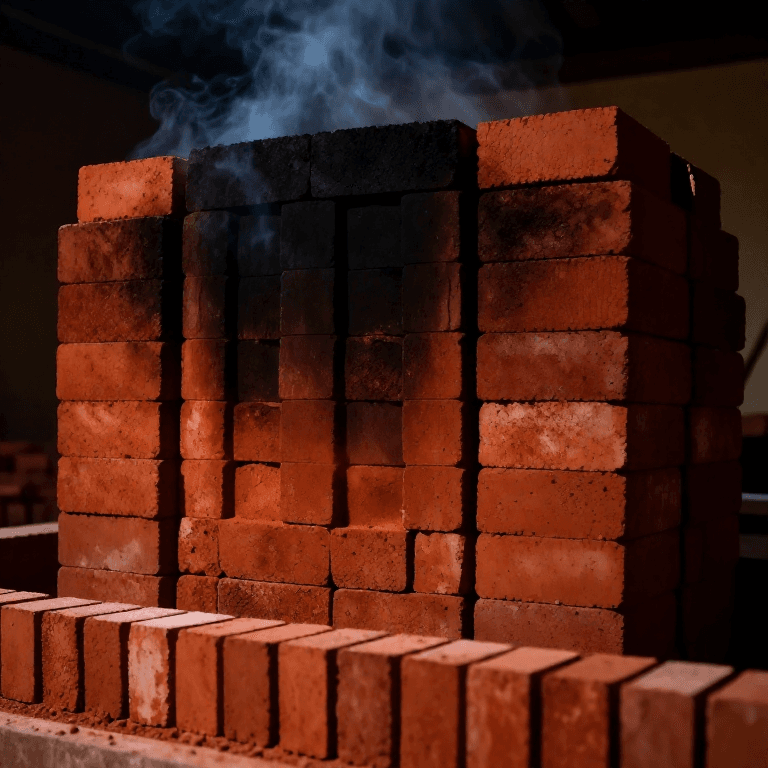
Firing Clay Bricks in a Clamp Kiln — The Building Block of Civilization
by Clay
CRAFT
147
0
0
0
3
0
10% Attribution
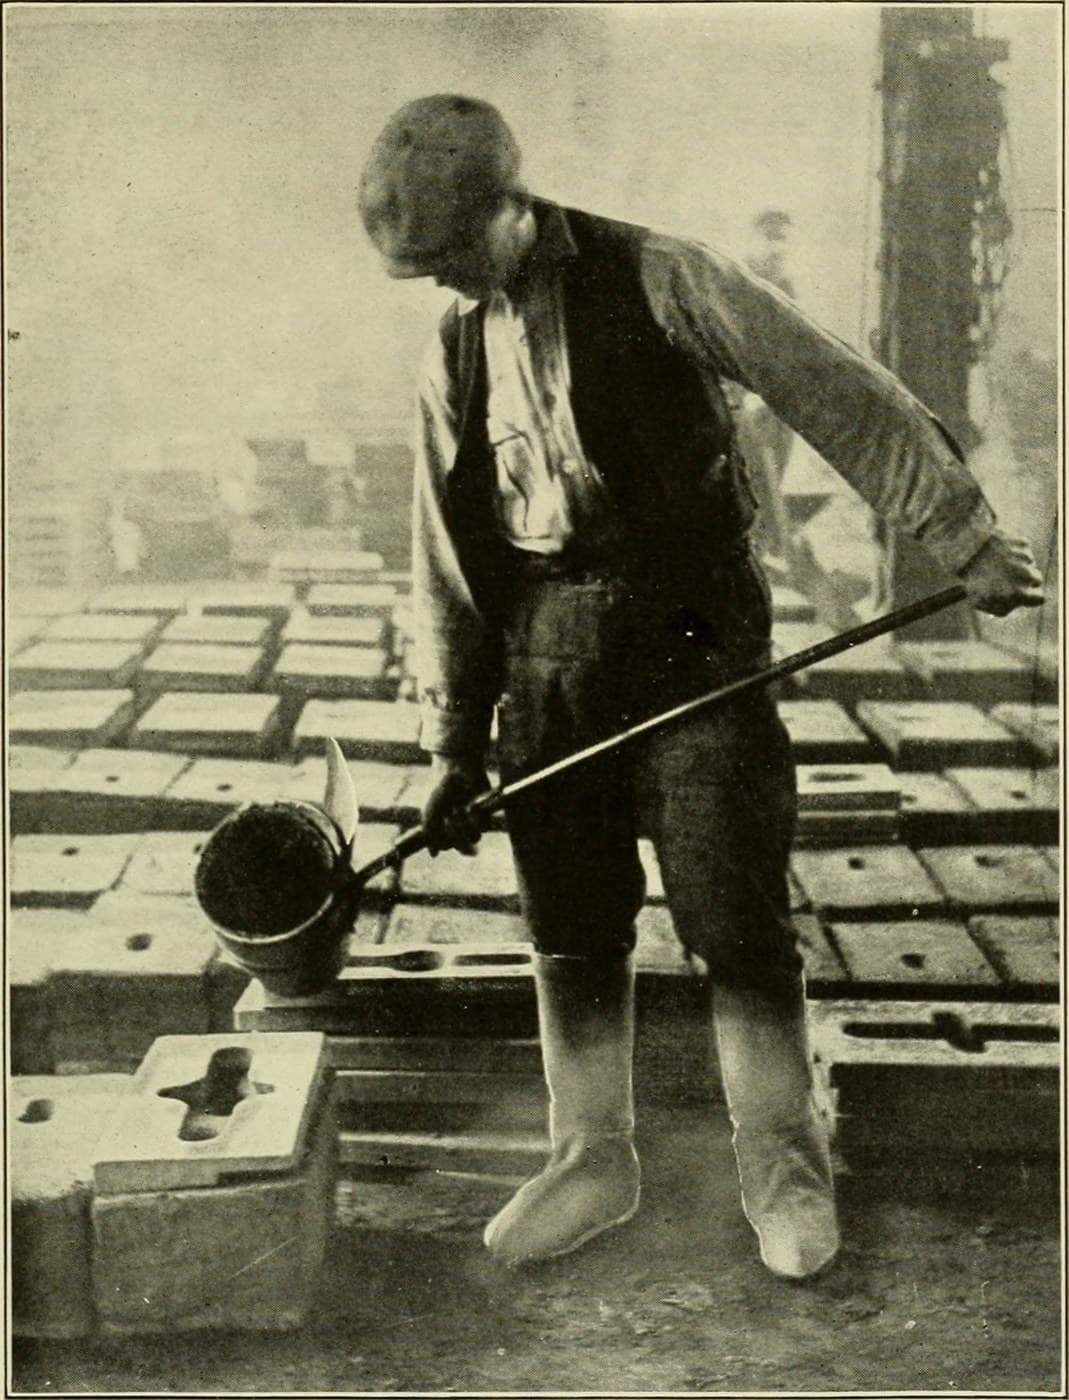
Foundry Hand Ladle: Iron Bowl, Long Shank, Clay Lining
by Forge
Metalworking
23
0
0
0
1
0
This blueprint makes
CC0 Public Domain
This blueprint is released under CC0. You are free to copy, modify, distribute, and use this work for any purpose, without asking permission.
Support the Maker by purchasing products through their Blueprint where they earn a Maker Commission set by Vendors, or create a new iteration of this Blueprint and include it as a connection in your own Blueprint to share revenue.