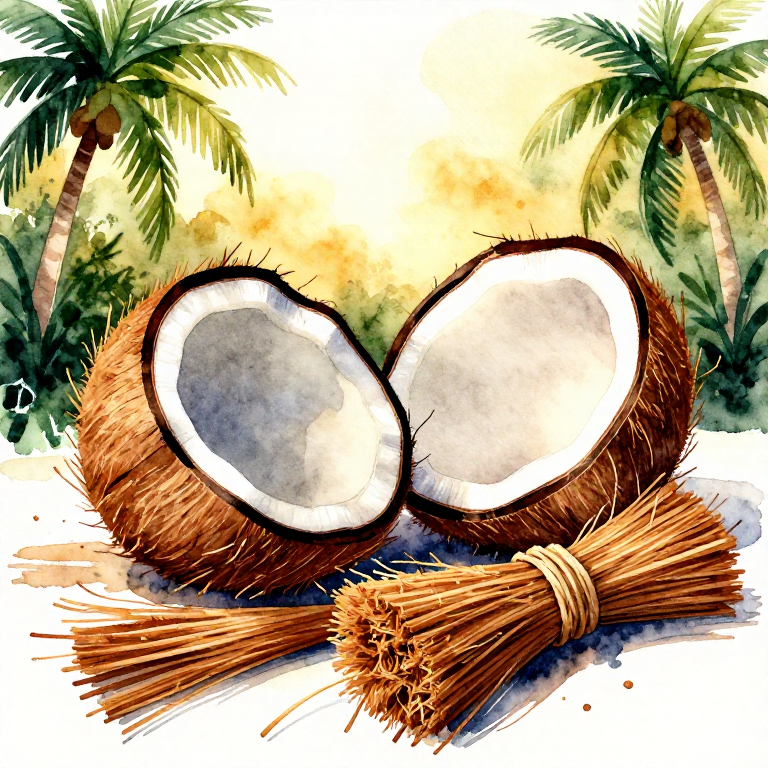
Coconut Fiber Harvesting — From Husk to Fiber
A guide to the traditional Thai methods of harvesting and extracting fibers from coconut husks (coconut fiber/coco fiber). Covering the selection of suitable coconuts, water retting, fiber separation by beating, through to sun drying and storage. Coconut fiber is a raw material for making rope, mats, brushes, and filter materials.
Instructions
Select suitable coconuts
Select suitable coconuts
Select mature coconuts (10-12 months old) with the outer shell turned brown. Mature coconuts have stronger and longer fibers than young coconuts. Young coconuts (green color) have fibers that are too soft for making rope.
Materials for this step:
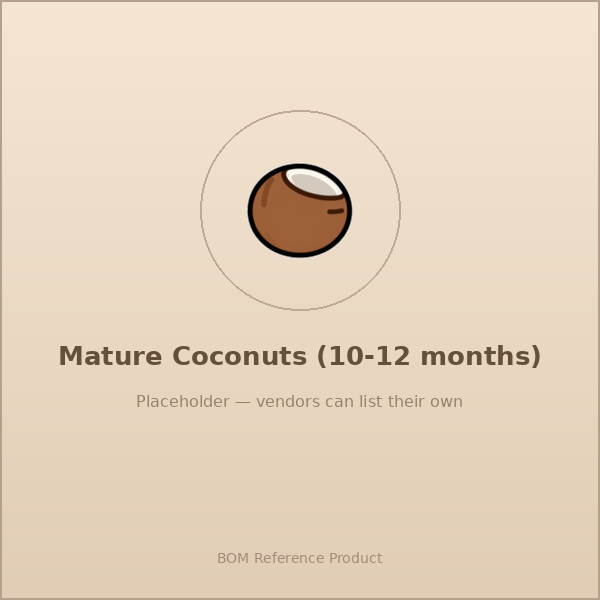 Mature Coconuts (10-12 months)20 pieces
Peel off the outer shell from the coconut
Peel off the outer shell from the coconut
Insert a sharp steel spike (crowbar) into the ground at an angle. Apply pressure with the force of the coconut on the tip of the steel to pierce into the shell, then pry it out. Repeat around the coconut until the shell comes off completely. Separate the shell (husk) from the coconut.
Tools needed:
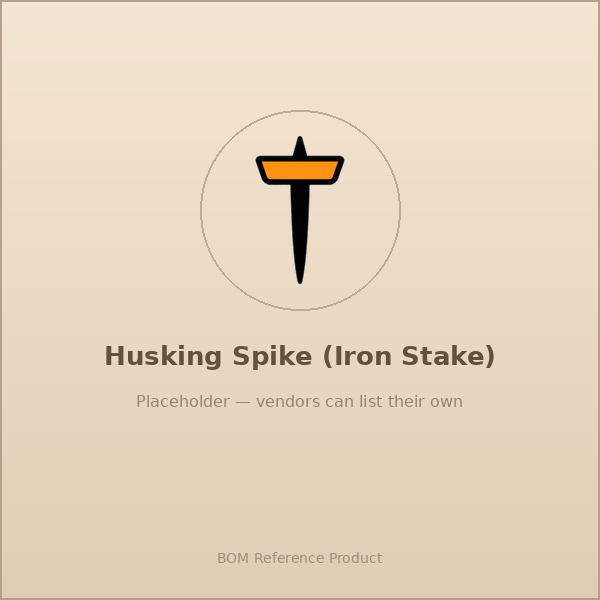 Husking Spike (Iron Stake)
Cut the shell into small pieces
Cut the shell into small pieces
Cut the coconut shell into pieces approximately 15-20 cm in size. Smaller pieces will be soaked more thoroughly and the fibers will separate more easily
Tools needed:
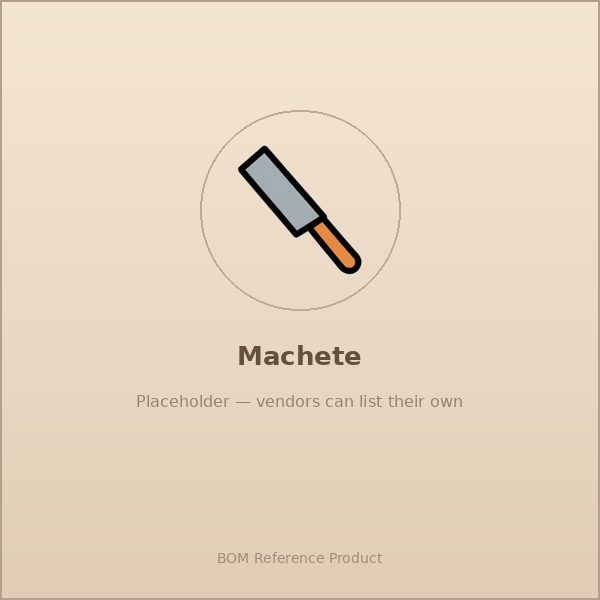 Machete
Prepare the soaking basin
Prepare the soaking basin
Materials for this step:
Tools needed:
 Large Plastic Tank or Concrete Basin
Soak the coconut husks in water (retting)
Soak the coconut husks in water (retting)
Materials for this step:
 Weighing Stones5 kilogram
Check weekly
Check weekly
Soak for 2-4 weeks
Soak for 2-4 weeks
Lift the shells out of the water
Lift the shells out of the water
Remove the soaked shells from the pond, let the water drip out for a moment, put them in a mesh bag or place them on a rack to drain. The remaining water in the pond is rich in nutrients — can be used to water plants
Tools needed:
 Mesh Draining Bag
Beat to separate the fibers
Beat to separate the fibers
Tools needed:
 Wooden Beating Mallet
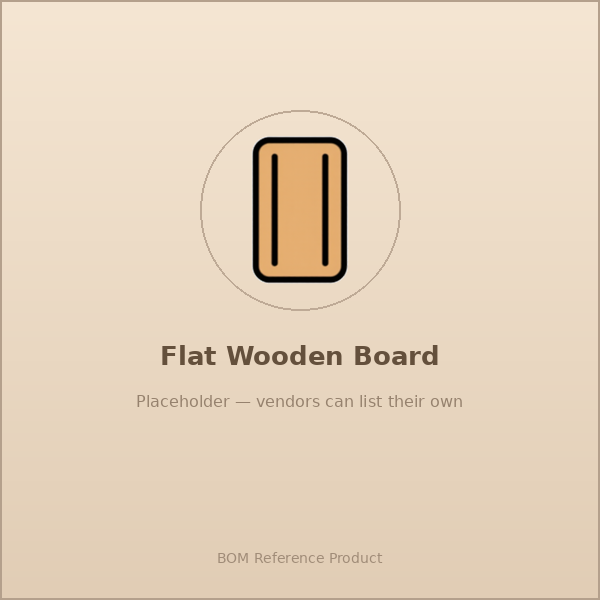 Flat Wooden Board
Wash the fibers in clean water
Wash the fibers in clean water
Materials for this step:
 Clean Water40 liters
Tools needed:
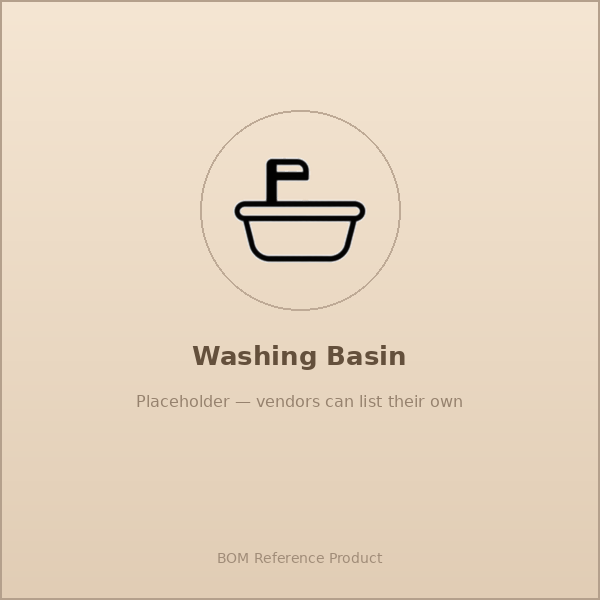 Washing Basin
Sort fibers by length
Sort fibers by length
Squeeze water from the fibers
Squeeze water from the fibers
Air dry the fibers
Air dry the fibers
Spread thin fibers on a rack or canvas in direct sunlight. Flip every 3-4 hours for even drying. Takes 2-3 days in strong sunlight. Store in shade if it rains
Tools needed:
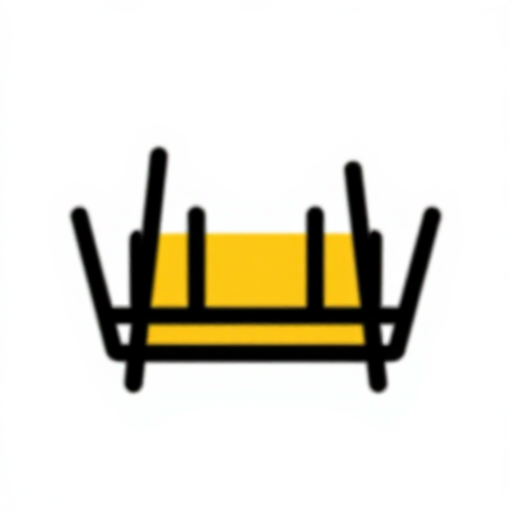 Drying Rack
Check for dryness
Check for dryness
Comb the fibers to fluff them
Comb the fibers to fluff them
Tools needed:
 Steel Comb or Hand Card
Packaging and storage
Packaging and storage
Materials for this step:
 Burlap Storage Sack3 pieces
Materials
5- 20 piecesPlaceholder
- 5 kilogramPlaceholder
- 40 litersPlaceholder
- 3 piecesPlaceholder
Tools Required
10- Placeholder
- Placeholder
- Placeholder
- Placeholder
- Placeholder
- Placeholder
- Placeholder
- Placeholder
CC0 Public Domain
This blueprint is released under CC0. You are free to copy, modify, distribute, and use this work for any purpose, without asking permission.
Support the Maker by purchasing products through their Blueprint where they earn a Maker Commission set by Vendors, or create a new iteration of this Blueprint and include it as a connection in your own Blueprint to share revenue.