ART
BEAUTY & WELLNESS
CRAFT
CULTURE & HISTORY
ENTERTAINMENT
ENVIRONMENT
FOOD & DRINKS
GREEN FUTURE
REVERSE ENGINEERING
SCIENCES
SPORTS
TECHNOLOGY
WEARABLES

English
Natural Rubber Tapping — From Rubber Tree to Smoked Rubber Sheets
Complete guide to tapping latex from Hevea brasiliensis rubber trees, coagulation, and production of smoked rubber sheets. Malaysia was once the world's largest rubber producer — in the 1920s, Malaya produced over 50% of the world's rubber supply.
Intermediate
3-4 jam setiap hari
Instructions
1
1
Get to Know the Rubber Tree (Hevea brasiliensis)
Get to Know the Rubber Tree (Hevea brasiliensis)
The rubber tree (Hevea brasiliensis) originates from the Amazon Basin, Brazil. It was brought to Southeast Asia in 1876 by Sir Henry Wickham via Kew Gardens, London. The rubber tree can reach a height of 25-30 meters, with trifoliate leaves, and grey-brown bark. Trees begin producing sufficient latex for tapping at 5-7 years of age, when the trunk circumference reaches 45 cm at a height of 150 cm from the ground. A single tree can produce latex for 25-30 years.
2
2
Prepare the Tapping Equipment
Prepare the Tapping Equipment
Basic equipment for rubber tapping: (1) Tapping knife (a specially curved knife with a sharp tip) — the two main types are the pull knife for downward tapping and the push knife for upward tapping, (2) Latex cups (collection cups, usually made of ceramic, plastic, or coconut shell), (3) Latex scraping spoon for collecting coagulated latex from cups, (4) Bucket for collecting latex from all cups. Ensure all equipment is clean — contamination causes premature latex coagulation (pre-coagulation).
Tools needed:
 Tapping Knife
 Latex Collection Cups
 Latex Scraping Spoon
 Collection Bucket
3
3
Mark the Tapping Panel on the Tree Trunk
Mark the Tapping Panel on the Tree Trunk
The tapping panel is the section of bark that will be tapped. Mark the panel starting at a height of 150 cm from the ground. Draw a guideline using string and chalk at a 30-degree angle from horizontal (slanting from upper left to lower right for right-handed tappers). This 30-degree angle is important because the latex vessels (laticifer vessels) in the rubber bark run at approximately 3-7 degrees from vertical — a 30-degree cut severs the optimum number of latex vessels. The tapping cut length is usually half the trunk circumference (S/2 system).
Materials for this step:
 Marking Chalk1 piece
 String for Guideline2 meters
Tools needed:
 Measuring Tape
4
4
Attach the Collection Cup and Drainage Spout
Attach the Collection Cup and Drainage Spout
Attach the latex cup to the tree below the lower end of the tapping cut line. Use a binding wire or cup hanger embedded into the tree bark. Place the drainage spout — a piece of zinc or plastic nailed to the bark at the very bottom of the tapping cut — so that latex flows into the cup without dripping onto the ground. The cup must be clean and dry.
Materials for this step:
Latex Collection Cups1 piece per tree Tapping Spout1 piece per tree
 Cup Hanger Wire1 piece per tree
Tools needed:
 Small Hammer
5
5
Tap Early in the Morning
Tap Early in the Morning
Tapping is done early in the morning (5:00-7:00 AM) because the turgor pressure in the latex vessels is highest at this time — latex yield can be 20-30% higher compared to tapping at midday. Hold the tapping knife with the dominant hand. Place the blade at the upper end of the tapping cut line. Pull the knife downward following the 30-degree guideline with moderate and even pressure. The depth of the cut must be precise — cut through the outer bark down to the latex cambium, but DO NOT cut into the wood. The typical depth is 1.0-1.5 mm before the wood. A cut that is too deep damages the cambium and kills the tree.
Tools needed:
Tapping Knife Head Lamp (for pre-dawn tapping)
6
6
Allow the Latex to Flow
Allow the Latex to Flow
After tapping, milky white latex begins to drip from the cut and flows down through the drainage spout into the cup. A single tree typically yields 30-80 ml of latex per tapping, depending on the clone, age, and weather conditions. Latex flow continues for 2-4 hours before the wound coagulates naturally (natural coagulation by proteins in the latex). In rainy weather, do not tap — rainwater dilutes the latex and causes low quality.
7
7
Collect Latex from the Cups
Collect Latex from the Cups
3-4 hours after tapping, collect the latex from all cups into a large bucket. Pour the liquid latex first, then scrape the semi-coagulated latex (cup lump) from the cups with a latex spoon. Fresh liquid latex contains approximately 30-35% dry rubber content (DRC). Strain the latex through a 40-60 mesh strainer to remove bark debris and impurities.
Tools needed:
Collection BucketLatex Scraping Spoon Mesh Strainer (40-60 mesh)
8
8
Add Formic Acid for Coagulation
Add Formic Acid for Coagulation
To make rubber sheets, the latex needs to be coagulated. Pour the latex into flat coagulation trays (aluminum trays or wooden molds). Dilute formic acid (HCOOH) to a 1-2% concentration — mix 15-20 ml of concentrated formic acid (85%) in 1 liter of water for every 1 liter of latex. Stir gently and evenly, then leave for 2-4 hours. The latex will coagulate into a springy white jelly. WARNING: Concentrated formic acid can cause chemical burns on the skin — wear rubber gloves and safety goggles when handling it.
Materials for this step:
 Formic Acid (85% concentration)20 milliliter per liter of latex
Clean Water (for dilution)1 liter
Tools needed:
 Coagulation Tray
 Rubber Gloves
 Safety Goggles
 Measuring Cylinder
9
9
Roll the Coagulum into Sheets
Roll the Coagulum into Sheets
Remove the springy coagulum (coagulated latex) from the tray. Pass it through a hand mangle/roller several times, starting with a roller gap of 3-4 mm and gradually reducing to 1-2 mm. This squeezes out the water (serum) trapped within the coagulum and forms even rubber sheets 2-3 mm thick. Rinse the sheets with clean water after each pass to remove acidic serum. If no mangle is available, press the coagulum with a flat board or wooden mallet on a hard surface.
Materials for this step:
Clean Water (for rinsing)10 liters
Tools needed:
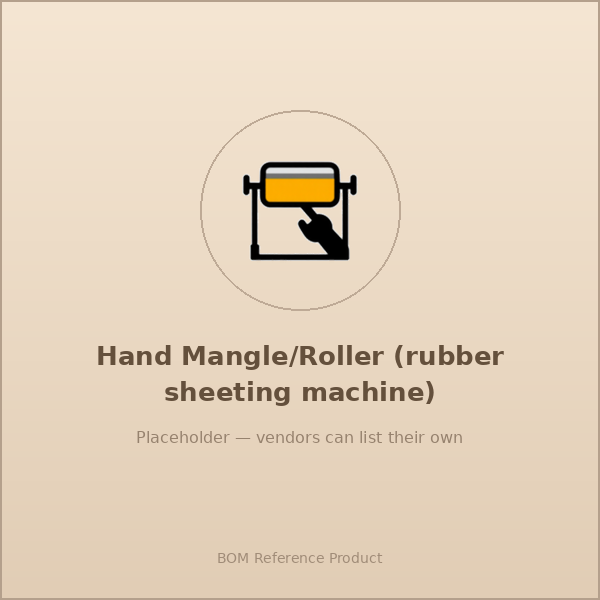 Hand Mangle/Roller (rubber sheeting machine)
10
10
Soak the Sheets in Water
Soak the Sheets in Water
Soak the rolled rubber sheets in clean water for 2-4 hours to remove residual formic acid and water-soluble proteins. This prevents decomposition and foul odors in the final product. Change the water once after 2 hours. Properly cleaned sheets should not smell sour.
Materials for this step:
Clean Water (for soaking)20 liters
Tools needed:
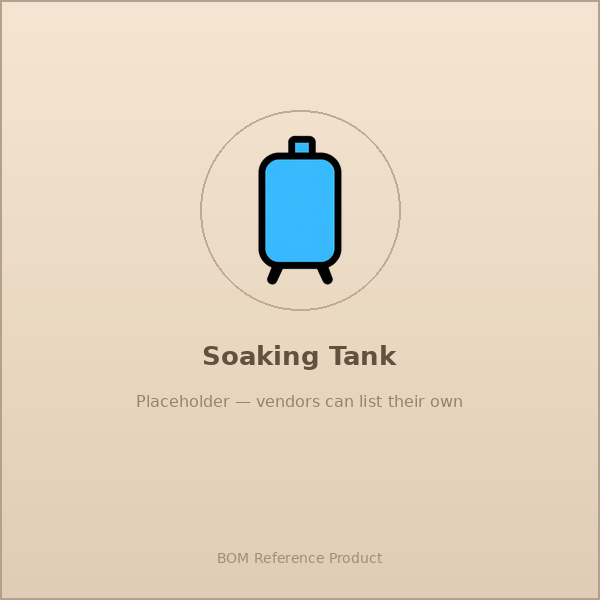 Soaking Tank
11
11
Hang the Sheets to Drip-Dry
Hang the Sheets to Drip-Dry
Hang the rubber sheets on wooden bars or wire in a shaded, well-ventilated area for 1-2 days. DO NOT dry under direct sunlight because UV radiation causes oxidation and yellowing discoloration that lowers the rubber grade. The sheets need to be air-dried until the surface is no longer wet but still slightly moist before the smoking process.
Tools needed:
 Wooden Drying Rack
12
12
Smoke the Sheets in a Smokehouse
Smoke the Sheets in a Smokehouse
Hang the rubber sheets inside a smokehouse on wooden bars. Light a fire using dry rubber wood, coconut shells, or hardwood at the base of the smokehouse. The temperature inside the smokehouse must be maintained at 50-60 degrees Celsius for 4-7 days. The smoke contains creosote and phenols that act as natural preservatives — they prevent fungal and bacterial growth on the rubber. The rubber sheets change color from white to golden yellow (best grade, RSS Grade 1) or light brown (RSS Grade 3-4).
Materials for this step:
 Firewood30 kilogram
Tools needed:
Smokehouse (rumah asap)
 Thermometer
13
13
Inspect the Quality of Smoked Rubber Sheets
Inspect the Quality of Smoked Rubber Sheets
Quality smoked rubber sheets (Ribbed Smoked Sheet, RSS) are assessed based on: (1) Color — transparent golden yellow (RSS 1) to dark brown (RSS 5), (2) Clarity — hold the sheet up to the light; high-grade sheets are nearly transparent with no bubbles or foreign matter, (3) Smell — pleasant wood smoke odor, not rotten or sour, (4) Elasticity — sheets must be springy, not brittle or sticky. Grading follows the Green Book (International Standards of Quality and Packing for Natural Rubber Grades).
14
14
Pack and Store the Rubber Sheets
Pack and Store the Rubber Sheets
Fold the smoked rubber sheets and stack them into bales weighing 33.3 kg or 111.1 kg according to international trade standards. Wrap with low-grade rubber sheets as an outer covering to protect from dust and light. Store in a cool (below 35 degrees Celsius), dry, and dark place. Natural rubber degrades when exposed to sunlight, heat, and ozone. Properly stored smoked rubber sheets maintain their quality for several months before being used in tire, glove, or other rubber product manufacturing plants.
Tools needed:
 Weighing Scale
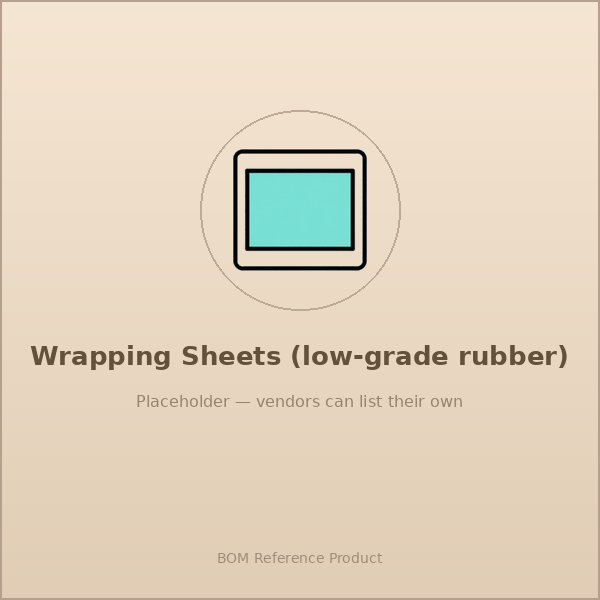 Wrapping Sheets (low-grade rubber)
15
15
Maintain the Tree for Subsequent Tapping
Maintain the Tree for Subsequent Tapping
After tapping, the tree needs 2-3 days to restore latex pressure. The standard tapping system is every 2 days (d/2) or every 3 days (d/3) — tapping every day exhausts the tree and reduces long-term yield. Each tapping, a new cut is made 1.5-2 mm below the previous cut, gradually consuming the bark downward. One tapping panel lasts 5-7 years before it is used up — then switch to the opposite panel on the trunk. Apply latex stimulant (Ethrel/ethephon 2.5%) on mature panels to increase yield by 30-50%.
Materials for this step:
 Ethephon Latex Stimulant (2.5%)50 milliliter
Tools needed:
 Stimulant Applicator Brush
Materials
11- 1 piecePlaceholder
- 2 metersPlaceholder
- 1 piece per treePlaceholder
- 1 piece per treePlaceholder
- 1 piece per treePlaceholder
- 20 milliliter per liter of latexPlaceholder
- 50 milliliterPlaceholder
Tools Required
20- Placeholder
- Placeholder
- Placeholder
- Placeholder
- Placeholder
- Placeholder
- Placeholder
- Placeholder
- Placeholder
- Placeholder
- Placeholder
- Placeholder
- Placeholder
- Placeholder
- Placeholder
- Placeholder
- Placeholder
- Placeholder
CC0 Public Domain
This blueprint is released under CC0. You are free to copy, modify, distribute, and use this work for any purpose, without asking permission.
Support the Maker by purchasing products through their Blueprint where they earn a Maker Commission set by Vendors, or create a new iteration of this Blueprint and include it as a connection in your own Blueprint to share revenue.