Collaboration
ART
BEAUTY & WELLNESS
CRAFT
CULTURE & HISTORY
ENTERTAINMENT
ENVIRONMENT
FOOD & DRINKS
REVERSE ENGINEERING
SCIENCES
SPORTS
TECHNOLOGY
WEARABLES
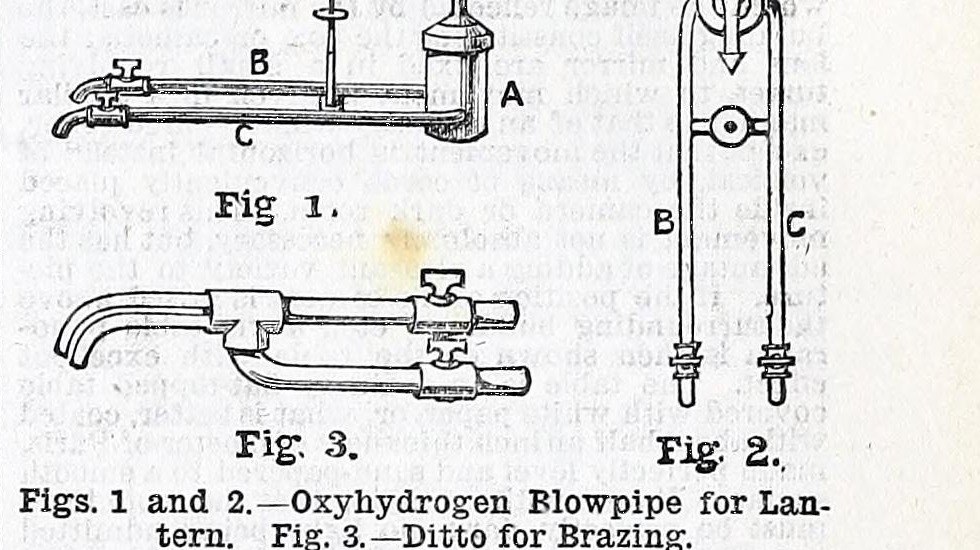


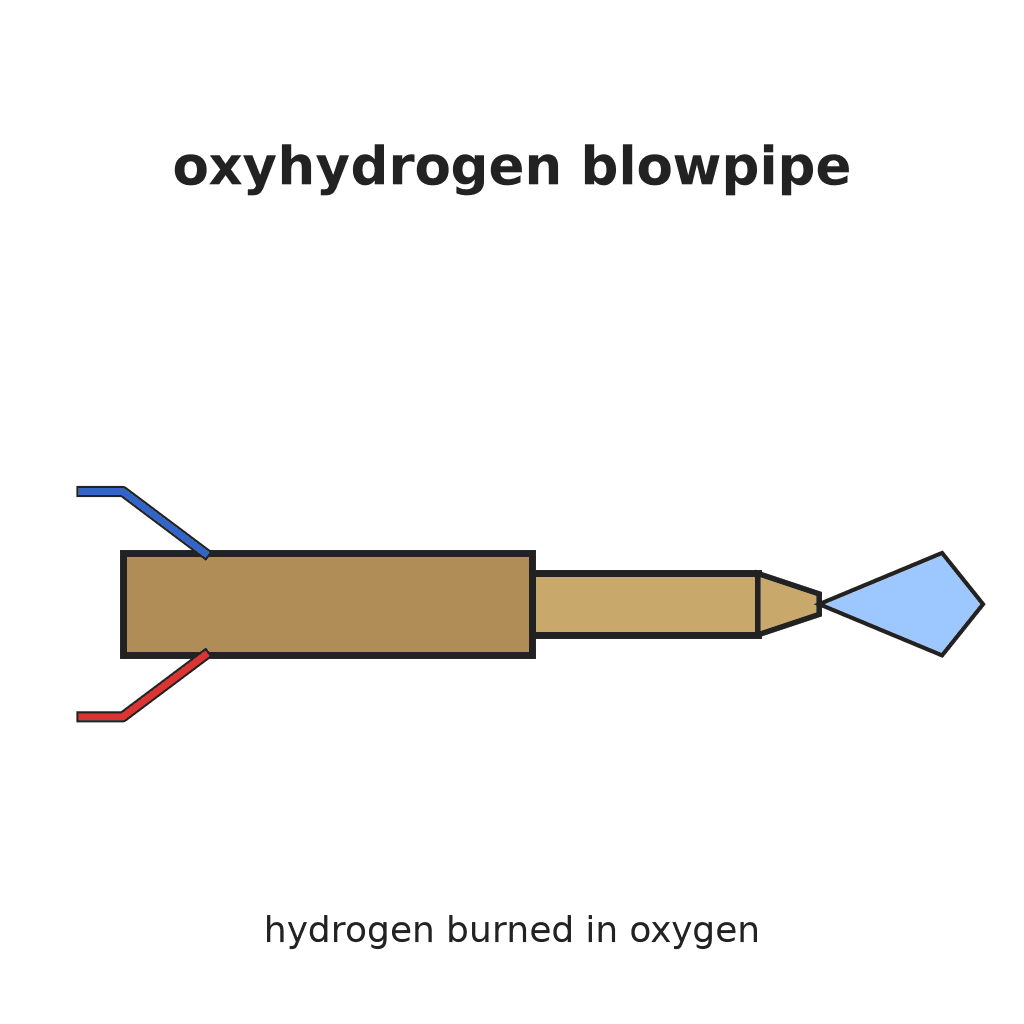
Oxyhydrogen Blowpipe: Brass Tube-in-Tube, the Gases Meeting at the Nozzle (Work, 1892)
A blowpipe that burns hydrogen in a jet of oxygen for a very hot brazing and melting flame. H. B. Stocks (Work, 1892) builds it like his cheap gas blowpipe: a fine brass tube for the oxygen, centred inside an outer brass tube (no more than 1/4 in. bore) that carries the hydrogen, joined by a three-way tube.
The two gases must not mix until they reach the nozzle; each comes from its own reservoir through its own tap.
Source: H. B. Stocks, "How to Prepare Cheap Blowpipes", Work, 2 July 1892, p. 250, with his reply "Oxyhydrogen Blowpipe", Work, 3 December 1892, p. 605 (Fig. 3).
Intermediate
Unknown
Instructions
1
1
Read Stocks
Read Stocks
"The oxyhydrogen blowpipe for brazing ... is practically the same as the blowpipe shown at p. 250 ..., but the brass pipe should not be more than 1/4 in. internal diameter; the inner tube for oxygen about 1/12 in. internal diameter, and should reach to the mouth of the outer tube. It can then be filed down, if required."
2
2
Cut the tubes
Cut the tubes
Cut the brass tubes: the outer (hydrogen) tube, not more than 1/4 in. bore, threaded at one end; a curved side tube for the hydrogen supply, threaded at one end; a short straight tube for the oxygen supply, threaded at one end; and the inner oxygen tube, about 1/12 in. bore. For his gas blowpipe Stocks used 4 in., 5 1/2 in. (curved), 3 1/2 in. and 5 1/2 in.; the lengths for the brazing pipe are not given and he says the sizes may be changed. How the tube is curved is not given.
Materials for this step:
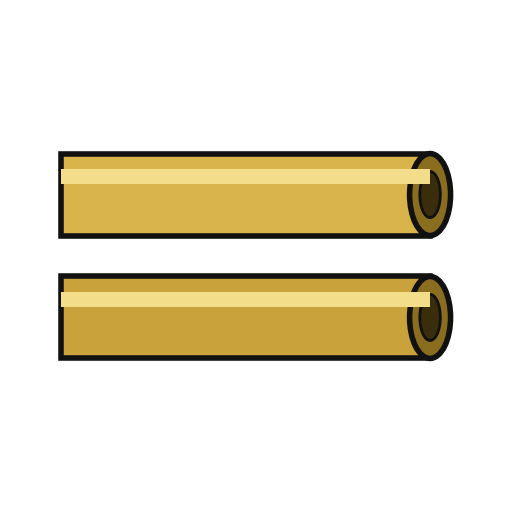 Brass Tube4 pieces
Tools needed:
 Hacksaw
 Tap and Die Set
 Unknown Forming Method
 Unknown Dimensions
3
3
Centre the oxygen tube
Centre the oxygen tube
Cut a small strip of thin sheet brass (Stocks: full 3/4 in. by 1/2 in.), turn it into a ring and solder it on one end of the inner tube. File the ring down until it pushes into the threaded end of the short oxygen tube, and solder it inside.
Materials for this step:
 Brass Sheet1 small strip
 Tin-Lead Solder1 piece
Tools needed:
 Tin Snips
 Files (Hand File)
 Soldering Iron
 Flux
4
4
Assemble
Assemble
Screw the oxygen tube into one end of the three-way tube, screw the outer tube on the other end and see that the inner tube is exactly in its centre. Screw the curved hydrogen tube into the side branch. Fit a tap on each supply (Fig. 3; type not given).
Materials for this step:
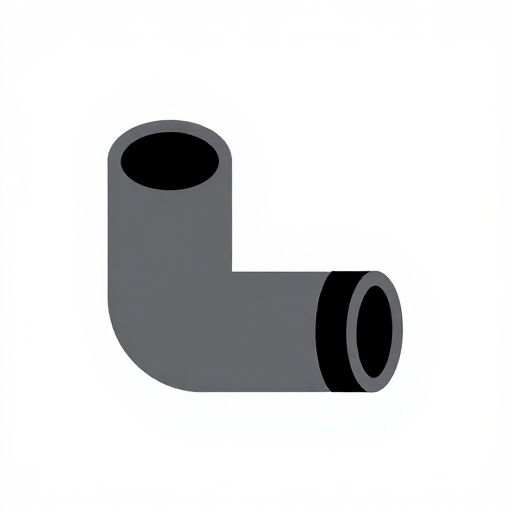 Threaded Pipe Fitting1 three-way tube
 Unknown Valve2 one per gas
5
5
Set the nozzle
Set the nozzle
The inner oxygen tube should reach to the mouth of the outer tube. Light it with hydrogen in the outer tube and oxygen in the inner, each from its own reservoir; if the flame shows a white patch, the inner tube is off centre or too long: file it down a little until correct. Never let the gases mix before the nozzle.
Tools needed:
Files (Hand File) Hydrogen
 Oxygen
Materials
5- 4 piecesPlaceholder
- 1 small stripPlaceholder
- 1 piecePlaceholder
- 1 three-way tubePlaceholder
- 2 one per gasPlaceholder
Tools Required
10- Placeholder
- Placeholder
- Placeholder
- Placeholder
- Placeholder
- Placeholder
- Soldering Iron3% commissionMagento Legacy StoreLOCALPlaceholder
- Placeholder
- Placeholder
- Placeholder
This blueprint makes
CC0 Public Domain
This blueprint is released under CC0. You are free to copy, modify, distribute, and use this work for any purpose, without asking permission.
Support the Maker by purchasing products through their Blueprint where they earn a Maker Commission set by Vendors, or create a new iteration of this Blueprint and include it as a connection in your own Blueprint to share revenue.