ART
BEAUTY & WELLNESS
CRAFT
CULTURE & HISTORY
ENTERTAINMENT
ENVIRONMENT
FOOD & DRINKS
GREEN FUTURE
REVERSE ENGINEERING
SCIENCES
SPORTS
TECHNOLOGY
WEARABLES
English
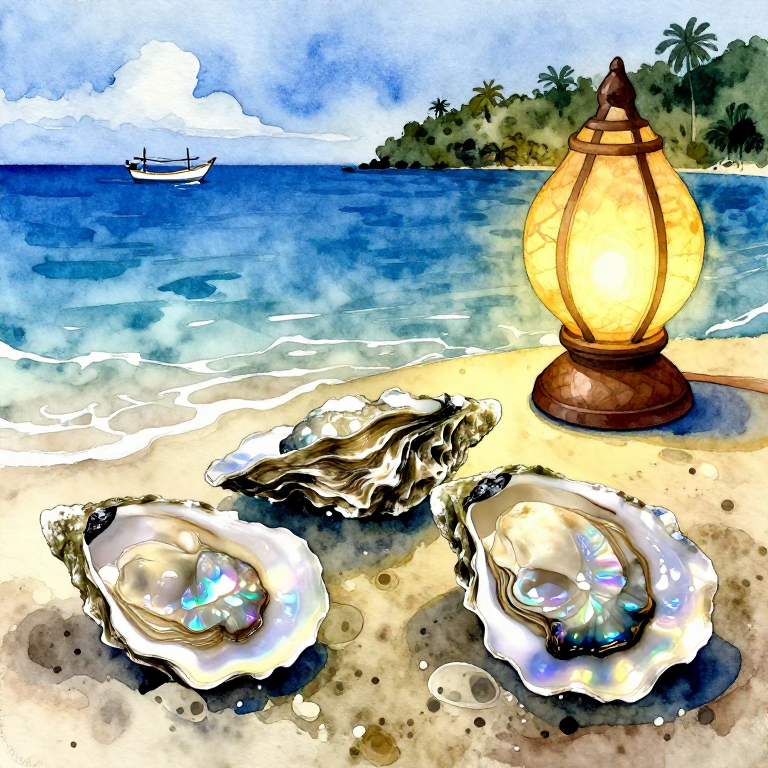
Harvesting Capiz Shell — From Sea to Ornament
Guide to harvesting windowpane oyster (Placuna placenta) shells in the province of Capiz, Philippines. These translucent shells have been used for lampshades, windows, and ornaments for hundreds of years. Collected in shallow seawater (1-3 meters deep) at low tide.
Intermediate
3-5 days (harvesting + processing)
Instructions
1
1
Identifying the Right Harvesting Location
Identifying the Right Harvesting Location
Identify locations with natural populations of the windowpane oyster (Placuna placenta), called "kapis" in the Philippines. These shells grow on sandy or muddy sea floors in shallow waters — typically 1-3 meters deep at low tide. In the province of Capiz, especially in Roxas City and the municipalities of Ivisan, Sapian, and Pontevedra, the best harvesting grounds are in estuaries and shallow coastlines with soft substrate. Look for signs: old shells scattered along the shore, clear water with a sand-mud floor, and calm water flow. Ensure you have the proper permit from the Bureau of Fisheries and Aquatic Resources (BFAR) before harvesting — capiz harvesting is regulated to sustain the population.
Tools needed:
 Field Notebook
2
2
Preparing the Harvesting Equipment
Preparing the Harvesting Equipment
Prepare all equipment before going out to sea. The primary method of collecting capiz is wading in shallow water during low tide and digging in the sand by hand or with a simple rake. For deeper areas (2-3 meters), a snorkel and diving mask are needed. Prepare bamboo or plastic baskets for collection. Capiz harvesters typically walk barefoot on the sea floor and feel for the shells underfoot — the thin edge of the shell can be felt in the soft sand. Prepare protective clothing to shield the skin from the sun — harvesters spend many hours in the water.
Materials for this step:
 Woven Bamboo Collection Basket3 pieces
 Nylon Net Bag5 pieces
Tools needed:
 Diving Mask with Snorkel
 Bamboo Hand Rake
 Rash Guard (UV Protection)
3
3
Collecting Shells in Shallow Water
Collecting Shells in Shallow Water
Enter the water during low tide — this is the best time because the water is shallower and shells are easier to see and feel. Walk slowly on the sandy floor, using the soles of your feet to feel for the thin round shells buried 2-5 cm below the sand. When you feel the hard, flat shape of a capiz, bend down and pick it up by hand. Each shell is typically 8-15 cm in diameter, nearly round, and extremely thin (1-2 mm). Be careful when handling — the edges can be sharp. Place collected shells in a basket hung from the waist. An experienced harvester can collect 100-200 pieces in a working day (4-6 hours in the water).
Tools needed:
Diving Mask with SnorkelWork Gloves (Rubber)
 Waist-mounted Collection Basket
4
4
Preliminary Cleaning on the Shore
Preliminary Cleaning on the Shore
Bring the collected shells to shore and wash them with seawater to remove sand, mud, and small organisms attached to the surface. Soak the shells in a large basin of clean seawater for 1-2 hours — this allows live organisms to come out from between the shells. Discard damaged shells — those with cracks, breaks, or excessive thinness cannot be used. Sort the shells by size: large (over 12 cm), medium (8-12 cm), and small (less than 8 cm). Large shells have the highest market value.
Materials for this step:
Seawater for Soaking50 liters
Tools needed:
 Large Plastic Basin
 Stiff Bristle Brush
5
5
Separating the Two Shell Halves
Separating the Two Shell Halves
Each capiz shell consists of two valves (shell halves) joined at a hinge. To separate them, insert the thin blade of a knife at the edge of the shell near the hinge and gently twist to open it. Alternatively, the shells can be left in the sun for several hours — the heat dries the hinge ligament, making opening easier. Separate each half carefully to avoid breaking the thin shell. Each half is one usable piece of capiz. The soft tissue (meat) inside is removed — it is traditionally used as food or garden fertilizer.
Tools needed:
 Thin-blade Oyster Knife
Work Gloves (Rubber)
6
6
Removing Organic Matter and the Periostracum
Removing Organic Matter and the Periostracum
The raw capiz shell has a thin organic layer (periostracum) on the outside and remaining flesh on the inside that must be removed to reveal the translucent quality of the shell. Soak the separated shell halves in a solution of water and salt (1 kilogram of salt per 10 liters of water) for 24-48 hours. The salt helps loosen the organic matter. After soaking, scrub each shell with a soft brush to remove the remaining periostracum. Do not use acidic chemicals — capiz shell is calcium carbonate (aragonite) that dissolves in acid. Rinse with clean fresh water afterward.
Materials for this step:
 Coarse Sea Salt5 kg
Fresh Water for Rinsing50 liters
Tools needed:
Large Plastic Basin Soft Nylon Brush
7
7
Flattening the Shells
Flattening the Shells
Raw capiz shells have a slight curve. For use as windows, lampshades, and decorations, they need to be flattened. First soak the clean shells in hot water (not boiling — approximately 60-70 degrees Celsius) for 5-10 minutes to slightly soften the shell. While still soft, place each shell between two flat wooden boards and put even weight on top. Let them dry for 24-48 hours while pressed. The result is a flat, translucent piece of capiz ready for further processing. Be careful with the weight — too much pressure will crack the thin shell.
Materials for this step:
Hot Water (60-70°C)20 liters
Tools needed:
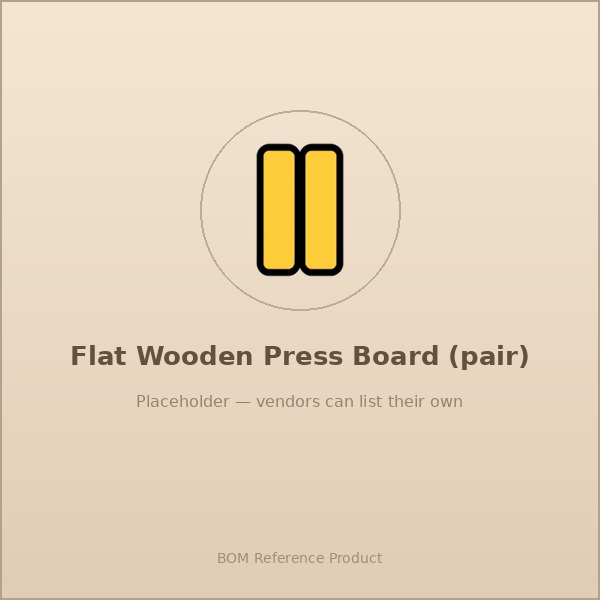 Flat Wooden Press Board (pair)
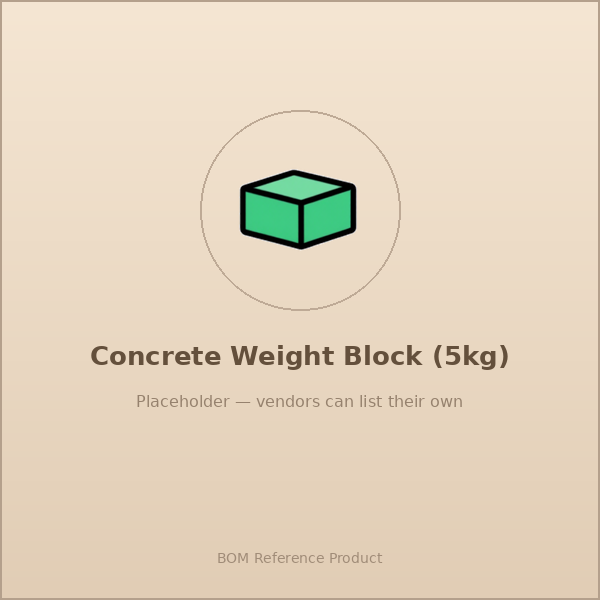 Concrete Weight Block (5kg)
 Large Stainless Steel Pot
8
8
Drying and Bleaching
Drying and Bleaching
After flattening, spread the shells on a bamboo drying rack under the sun. Sunlight has a natural bleaching effect on capiz — UV rays whiten the shell and increase translucency. Lay the shells in a single layer without overlapping. Turn them every few hours so both sides are equally exposed to the sun. Dry for 2-3 days in good weather. The finished capiz should be nearly transparent when held up to the light — similar to frosted glass. The color will become creamy white to light gold. Bring the shells in when it rains and store in a dry place.
Tools needed:
 Bamboo Drying Rack
9
9
Sorting by Size and Quality
Sorting by Size and Quality
Sort the dried, flattened capiz shells by size and quality. Measure the diameter of each piece with a ruler. Categories: Extra Large (over 15 cm) — most expensive, used for lampshades and large windows; Large (12-15 cm) — for chandeliers and decorations; Medium (8-12 cm) — for wind chimes and small ornaments; Small (less than 8 cm) — for mosaic work and crafts. Also check translucency: hold each shell up to the light — the most valuable are nearly transparent with no dark spots, cracks, or discoloration. Set aside defective ones — they can still be used in mosaic work where they are cut and combined with other materials.
Tools needed:
 Ruler (30cm)
 Sorting Table
10
10
Cutting and Shaping for Specific Uses
Cutting and Shaping for Specific Uses
For specific products, cut the capiz shell into the required shape using heavy-duty metal shears or a sharp knife. Capiz is thin enough to cut with shears when slightly damp. Mark the shape first with a pencil on the shell surface before cutting. For circular lampshade panels, use a template. For square or rectangular windows, cut straight lines using a ruler as a guide. The edges of cut capiz can be sharp — smooth them with fine sandpaper (grit 220-320). Do not use an electric saw — the vibration will shatter the thin shell. All cutting is done by hand.
Materials for this step:
 Cardboard Template Sheets5 pieces
 Sandpaper Sheet (Grit 220)10 pieces
Tools needed:
 Heavy-duty Metal Shears
 Metal Ruler (30cm)
 Pencil
11
11
Curing and Final Treatment
Curing and Final Treatment
Curing is the final step before storage. Soak the finished capiz shells in clean fresh water with a small amount of baking soda (1 tablespoon per 5 liters of water) for 2-3 hours. This removes residual salt and neutralizes any remaining organic acids. Rinse with clean water and air-dry again for 24 hours in the shade — direct sun is no longer needed at this stage. Once dry, the shells can optionally be coated with a thin layer of mineral oil using a soft cloth to enhance lustre and translucency. This is optional — shells without oil have a more natural matte finish that some craftsmen prefer.
Materials for this step:
 Baking Soda200 gram
Fresh Water for Curing30 liters
 Food-grade Mineral Oil100 ml
Tools needed:
Large Plastic Basin Soft Cotton Cloth
12
12
Packing and Stacking for Sale
Packing and Stacking for Sale
Pack the finished capiz shells carefully to prevent breakage during transport. Place a thin layer of paper or cloth between each shell to avoid scratching or sticking. Stack shells of similar size in bundles of 50-100 pieces, wrapped in soft paper and tied with string. Place in boxes with extra padding on the sides. Store in a dry place with good ventilation — capiz shells can become brittle when overly dry or develop odors when stored in humid conditions. The proper storage temperature is 20-30 degrees Celsius with humidity below 60%. Properly stored capiz shells last for many years without quality degradation.
Materials for this step:
 Acid-free Tissue Paper100 sheets
 Corrugated Cardboard Box10 pieces
 Cotton Twine20 meters
Tools needed:
 Packing Table
Materials
14- 3 piecesPlaceholder
- 5 piecesPlaceholder
- 5 kgPlaceholder
- 5 piecesPlaceholder
- 10 piecesPlaceholder
- 200 gramPlaceholder
- 100 mlPlaceholder
- 100 sheetsPlaceholder
- 10 piecesPlaceholder
- 20 metersPlaceholder
Tools Required
21- Placeholder
- Placeholder
- Placeholder
- Placeholder
- Placeholder
- Placeholder
- Placeholder
- Placeholder
- Placeholder
- Placeholder
- Placeholder
- Placeholder
- Placeholder
- Placeholder
- Placeholder
- Placeholder
- Placeholder
- Placeholder
- Placeholder
- Placeholder
CC0 Public Domain
This blueprint is released under CC0. You are free to copy, modify, distribute, and use this work for any purpose, without asking permission.
Support the Maker by purchasing products through their Blueprint where they earn a Maker Commission set by Vendors, or create a new iteration of this Blueprint and include it as a connection in your own Blueprint to share revenue.