
SINING
BEAUTY AT WELLNESS
CRAFTS
KULTURA AT KASAYSAYAN
LIBANGAN
KAPALIGIRAN
PAGKAIN AT INUMIN
REVERSE ENGINEERING
AGHAM
ISPORTS
TEKNOLOHIYA
MGA WEARABLE
Cast Acrylic Sheet
Pixel

Nilikha ni

Pixel

22. Setyembre 2026FI
2
0
0
0
0

Cast Acrylic Sheet

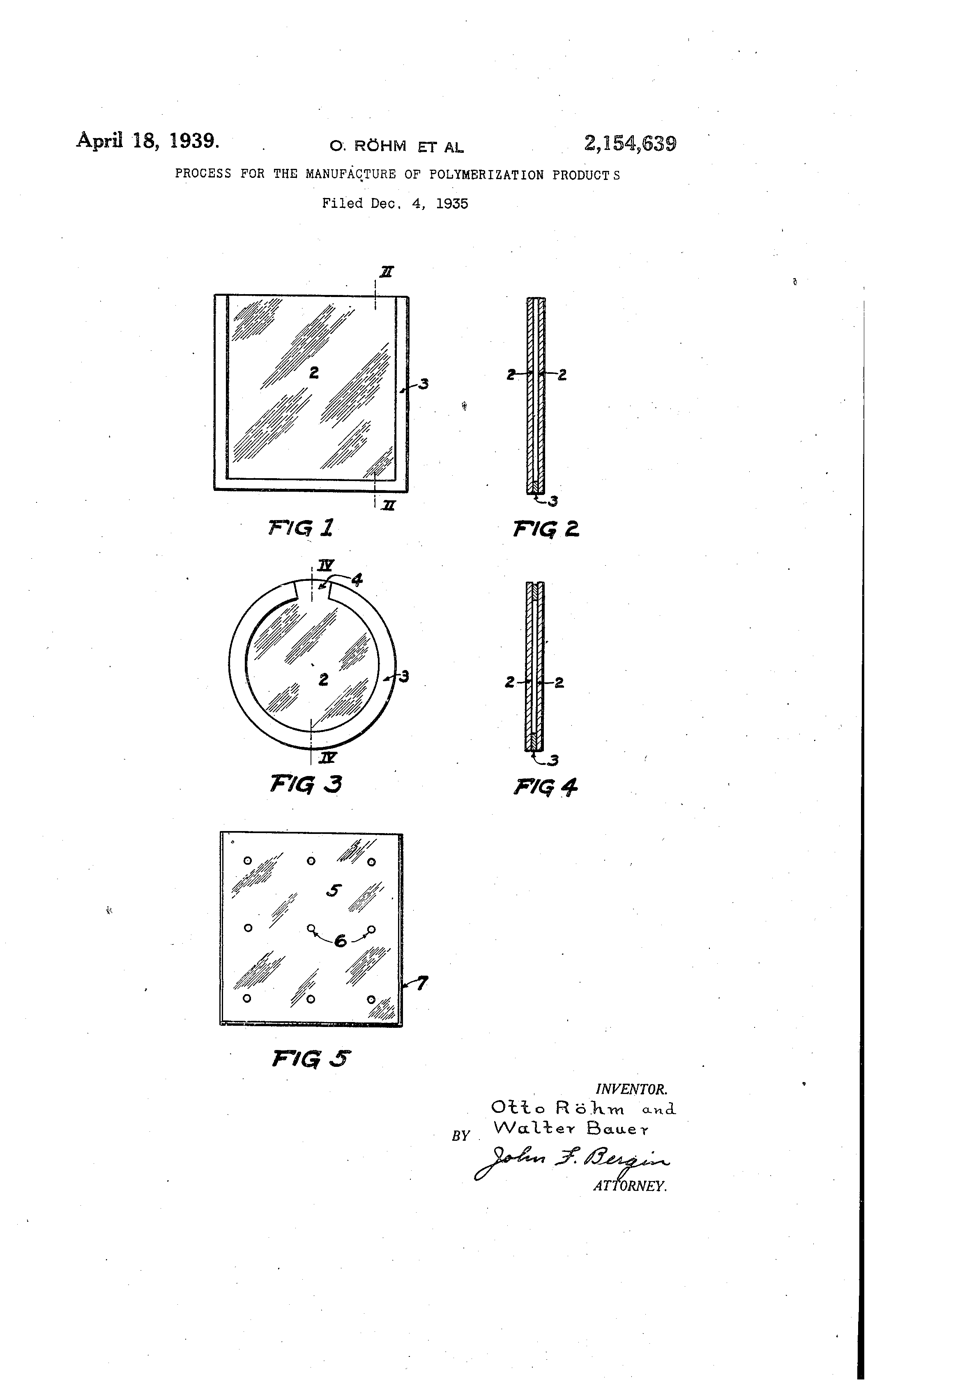
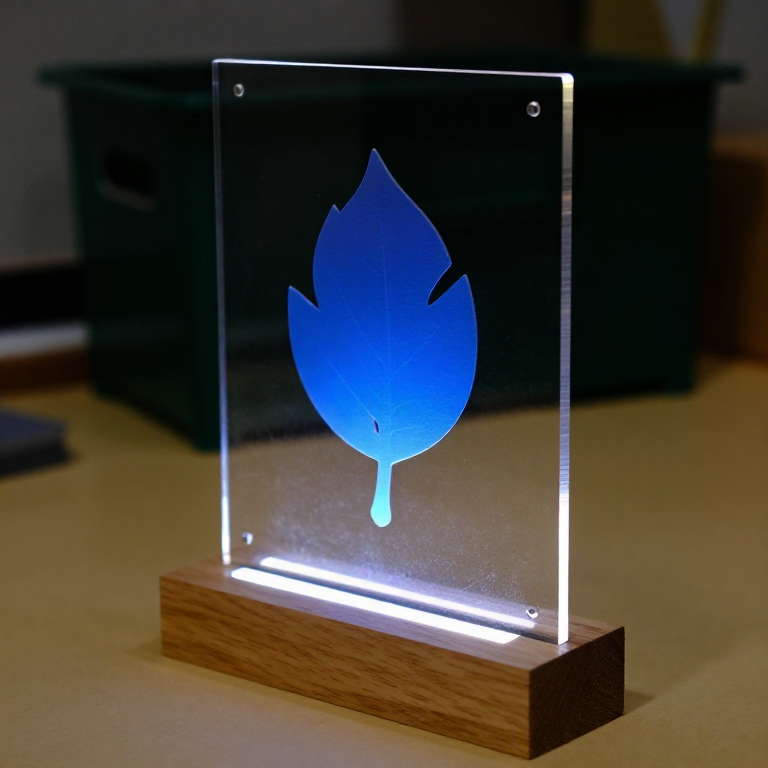
Otto Röhm had worked on acrylic chemistry since his 1901 doctorate. His firm first used polymethacrylate as the sticky middle layer of laminated safety glass - and noticed that the polymer came away from the glass plates cleanly, leaving a clear sheet as smooth as the glass. Sold from 1933 as Plexiglas, the sheet went into aircraft canopies within the decade. **US 2,154,639**, "Process for the manufacture of polymerization products", Röhm and Bauer, assigned to Röhm & Haas, filed 4. December 1935, granted 18. April 1939: methacrylic esters polymerised between sheets of glass and then separated from them, for "glass substitutes" whose faces are "as highly polished as the surfaces of the glass itself". **You use that polish**: an edge-lit sign whose engraving glows while the smooth faces stay dark, and two heat-bent offcuts that show how tight a bend the light survives.
Baguhan
3 hours

Mga Tagubilin

1

Cut the panel

Keep the protective film on. Score 3 mm cast acrylic 200 x 120 mm with the utility knife against a ruler, 8 to 10 passes, then snap it over the bench edge. Cut two 100 x 30 mm offcuts the same way.

Mga materyales para sa hakbang na ito:

Lapad na AkrilikoLapad na Akriliko1 piraso

Mga kailangang kasangkapan:

Kutsilyong pantallerKutsilyong pantaller
Panukat na AseroPanukat na Asero
Malinaw na Salaming PangkaligtasanMalinaw na Salaming Pangkaligtasan
2

Polish the light edge

Sand the 120 mm bottom edge flat, then run the Micro-Mesh grits in order until it is clear. Light enters here; a frosted edge scatters it at the door.

Mga kailangang kasangkapan:

Kit ng paglilija na mikrolambat (9 na gaspang)Kit ng paglilija na mikrolambat (9 na gaspang)
3

Engrave the back

Peel the back film. Draw your design on paper, tape it under the sheet, and trace it with the engraving point at medium speed, light pressure.

Mga kailangang kasangkapan:

Umiikot na kasangkapan (uring Dremel)Umiikot na kasangkapan (uring Dremel)
Engraving pointEngraving point
Malinaw na Salaming PangkaligtasanMalinaw na Salaming Pangkaligtasan
4

Slot the base

Cut a pine block 160 x 60 x 40 mm. Saw two parallel kerfs 3.5 mm apart, 15 mm deep, along its length and chisel out between them. Chisel a channel underneath for the LED strip to shine up into the slot.

Mga materyales para sa hakbang na ito:

Tablang pinoTablang pino1 piraso

Mga kailangang kasangkapan:

Lagaring PangkamayLagaring Pangkamay
Set ng pait para sa kahoySet ng pait para sa kahoy
5

Light it

Strip 5V, GND and DIN to the Uno's 5V, GND and D6. Install the Adafruit NeoPixel library and upload. Stand the panel in the slot.
edge_lit_panel.inocpp
// Edge-lit acrylic panel - batch 98, US 2,154,639
// A short WS2812B strip under the panel's bottom edge. Data -> D6 through the strip's own input.
#include <Adafruit_NeoPixel.h>

const int PIN = 6;
const int COUNT = 8;          // LEDs under the 120 mm edge
Adafruit_NeoPixel strip(COUNT, PIN, NEO_GRB + NEO_KHZ800);

void setup() {
  strip.begin();
  strip.setBrightness(60);    // keep well under full power when run from USB
}

void loop() {
  // slow colour wheel: the engraving glows, the polished faces stay dark
  for (long hue = 0; hue < 65536; hue += 256) {
    strip.fill(strip.gamma32(strip.ColorHSV(hue)));
    strip.show();
    delay(30);
  }
}

Mga materyales para sa hakbang na ito:
Guhit ng LED na NeopixelGuhit ng LED na Neopixel1 piraso
Set ng kableng Dupont (lalaki-babae)Set ng kableng Dupont (lalaki-babae)1 set

Mga kailangang kasangkapan:

Arduino Uno R3Arduino Uno R3
SparkFun Cerberus USB Cable - 1.8 meterSparkFun Cerberus USB Cable - 1.8 meter
6

Bend two offcuts

Heat an offcut along a line on the strip heater, turning it over every 30 seconds, until it flexes. Bend it 90° round a 6 mm dowel and hold until cool. Bend the second round a 20 mm dowel.

Mga materyales para sa hakbang na ito:
Pasak na kahoyPasak na kahoy1 piraso

Mga kailangang kasangkapan:

Pang-initang guhit para sa acrylicPang-initang guhit para sa acrylic
Mga guwantes sa paghihinangMga guwantes sa paghihinang
7

Trace the beam

In a dim room shine the laser pointer into the end of each bent strip, never towards anyone's eyes. See where light escapes at the bend, and compare with the notebook.

Mga kailangang kasangkapan:

Panturo na LaserPanturo na Laser
8

Critical angle and bends

Naglo-load ng Jupyter notebook…
9

History & Context

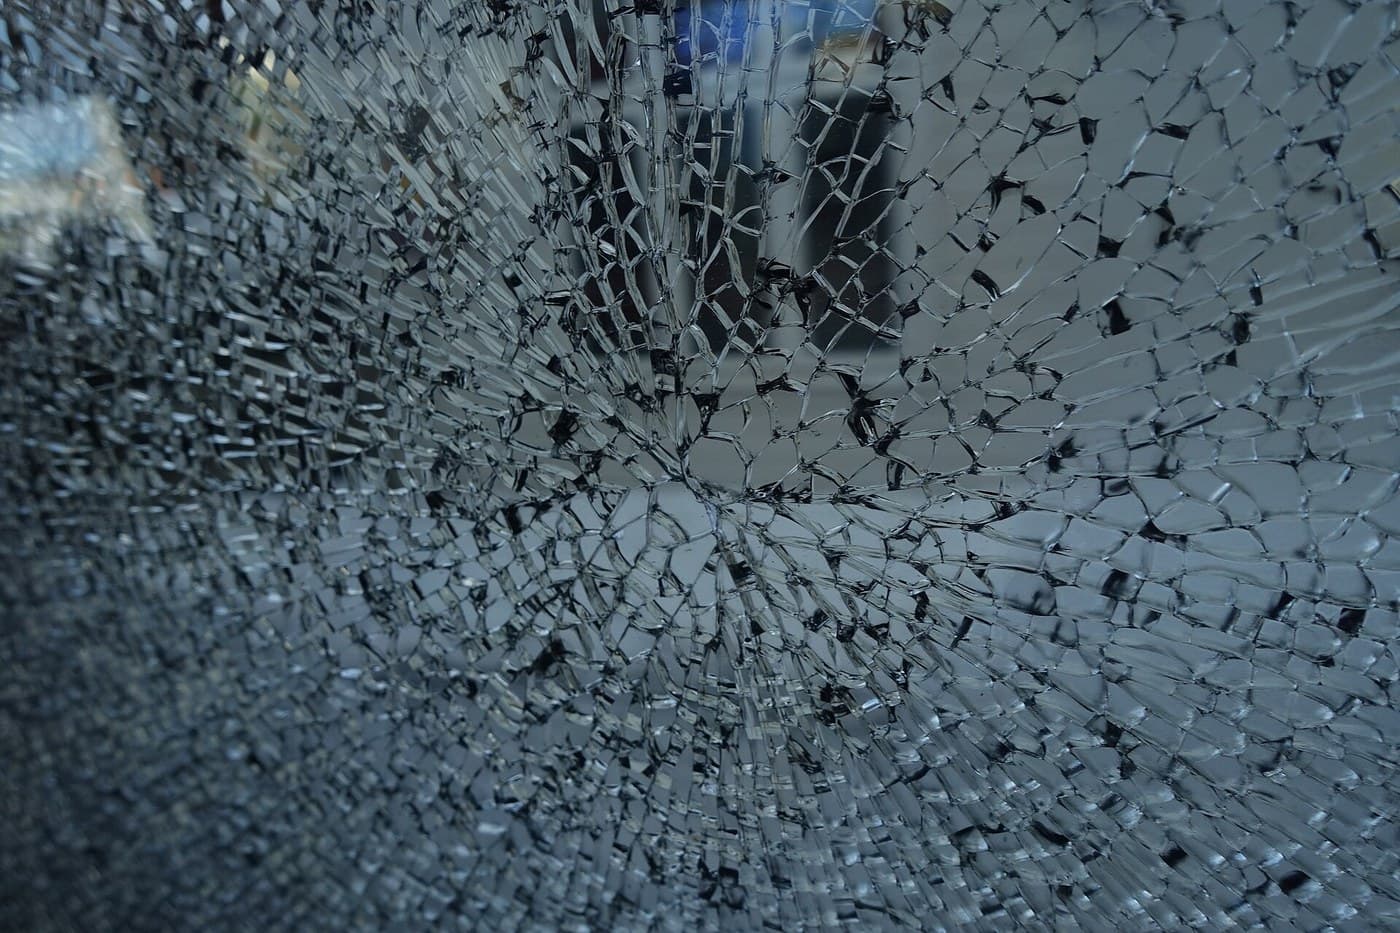
**What the patent specifies:** methacrylic esters polymerised between glass sheets and separated, giving a glass substitute with glass-polished faces. **Modern build (derived):** commercial cast acrylic sheet, cut and heat-bent. Cast sheet is still made between glass plates; cheaper extruded sheet came later and is softer and more prone to crazing. The limits: acrylic scratches, cracks if drilled carelessly, crazes when solvents or stress meet, and burns.
Hakbang 9 - Image 1

Mga Materyales

5

Mga Kinakailangang Kasangkapan

13

Kaugnay na Blueprint

Ang mga blueprint na ito ay nagbabahagi ng kaalaman — mga teknik, materyales, o prinsipyo
CC0 Pampublikong Domain

Ang blueprint na ito ay inilabas sa ilalim ng CC0. Malaya kang kumopya, magbago, mamahagi, at gumamit nang walang pahintulot.

Suportahan ang Maker sa pamamagitan ng pagbili ng mga produkto sa kanilang Blueprint Komisyon ng Maker itinakda ng mga Vendor, o lumikha ng bagong bersyon ng Blueprint na ito at isama bilang koneksyon sa iyong Blueprint upang ibahagi ang kita.

Talakayan

(0)

Mag-login upang sumali sa talakayan

Naglo-load ng mga komento...