Pakikipagtulungan
SINING
BEAUTY AT WELLNESS
CRAFTS
KULTURA AT KASAYSAYAN
LIBANGAN
KAPALIGIRAN
PAGKAIN AT INUMIN
REVERSE ENGINEERING
AGHAM
ISPORTS
TEKNOLOHIYA
MGA WEARABLE
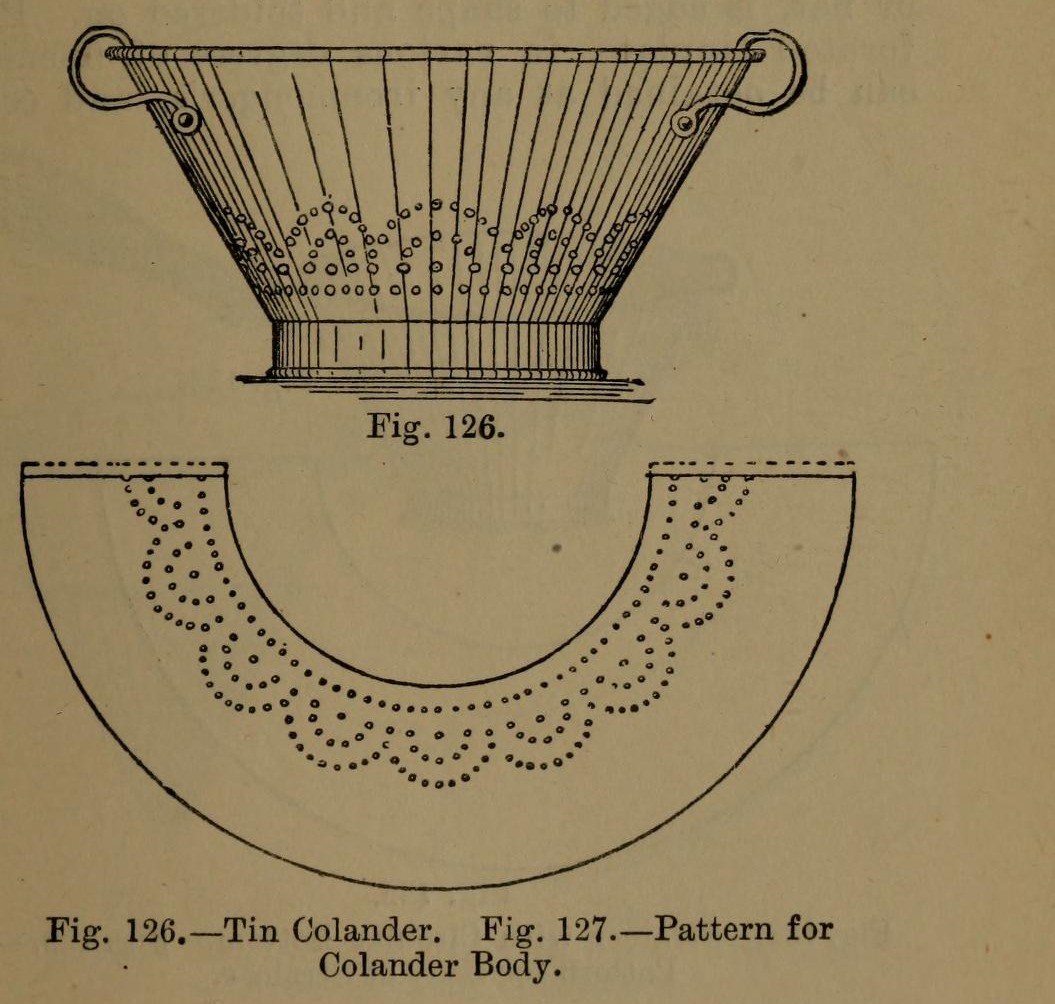


Colander: a Tinplate Colander with Perforated Body and Bottom (Hasluck, 1907)
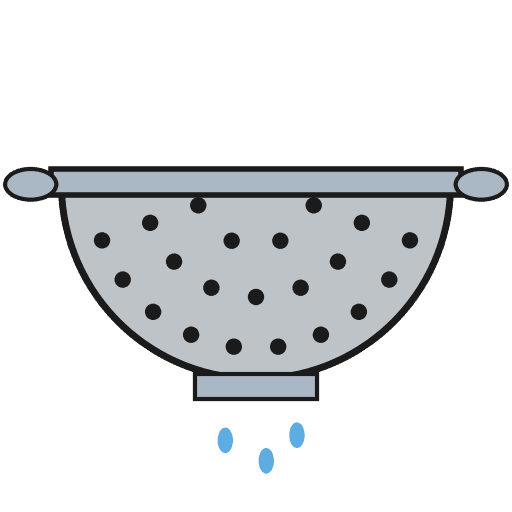
A tinsmith's colander for straining: a tapered tinplate body and a hollowed bottom, both punched full of holes, standing on a wired hoop, with two bow handles.
The body pattern is a ring segment: outer radius = top diameter, inner radius = bottom diameter, which gives sides at 60 degrees.
Source: Paul N. Hasluck, Tinplate Work (1907), pp. 50-51. Unknown: sizes, solder. Picture: Figs. 126-127 of the book.
Katamtaman
Unknown
Mga Tagubilin
1
1
Set out the body pattern
Set out the body pattern
Choose the top and bottom diameters. On tinplate, strike an arc with radius equal to the top diameter and, from the same centre, one equal to the bottom diameter (Fig. 127); the sides then slope at 60 degrees. Mark the rows of holes, add edges for a grooved seam and the wire, and cut it out.
Mga materyales para sa hakbang na ito:
 Plantsa ng lata1 body
Mga kailangang kasangkapan:
 Kompas na dalawang tulis
 Panggurlis
 Gunting na pangyero
2
2
Break, punch and planish the body
Break, punch and planish the body
'Break' the pattern through the rollers, turning it the opposite way each pass, so it won't crease when bent. Punch the holes on a hardwood block, then flatten and planish the burrs.
Mga kailangang kasangkapan:
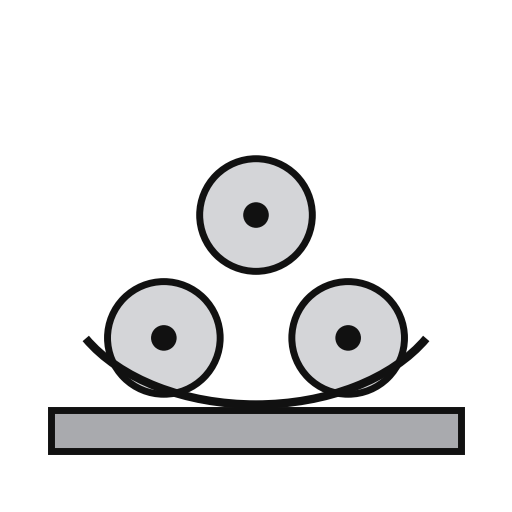 Pambaluktot ng plantsa
 Pambutas ng metal na plantsa
 Tipak ng Matigas na Kahoy
 Martilyong pampakinis
3
3
Seam and wire the body
Seam and wire the body
Set off the edges for a grooved seam, bend the body to shape and seam it. Solder the seam inside. Set off an edge on the wide end and wire it with No. 10 B.W.G. wire. If you like, raise a swage about 1 1/2 in below the wired edge: it stiffens the colander and looks better.
Mga materyales para sa hakbang na ito:
 Alambreng bakal1 No. 10 B.W.G.
 Panghinang na lata-tingga1 seam
Mga kailangang kasangkapan:
 Kahoy na Pamukpok
 Tulos
 De-kuryenteng Kautin
 Flux
4
4
Make and fit the bottom
Make and fit the bottom
Cut out the bottom, hollow it and edge it to fit the small end. Inside, mark circles from 1 in across at the centre, each 1 in wider than the last, out to the edge. Punch holes at short intervals round them and flatten the burrs on an upturned hollowing hammer. Solder the bottom on.
Mga materyales para sa hakbang na ito:
Plantsa ng lata1 bottomPanghinang na lata-tingga1 bottomMga kailangang kasangkapan:
Kompas na dalawang tulisGunting na pangyeroPambutas ng metal na plantsaMartilyong pampakinisDe-kuryenteng KautinFlux5
5
Add the hoop and handles
Add the hoop and handles
Cut a strip 1 1/2 in wide, as long as the circumference of the bottom. Wire it with No. 10 B.W.G., round it, seam it and solder it on as the foot. Rivet a pair of bow handles opposite each other at the top.
Mga materyales para sa hakbang na ito:
Plantsa ng lata1 hoopAlambreng bakal1 hoopPanghinang na lata-tingga1 hoop Puluhan2 bow handles
 Remaste na bakal1 number not given
Mga kailangang kasangkapan:
Gunting na pangyeroDe-kuryenteng KautinFlux Martilyong pang-remaches
6
6
Clean and scald
Clean and scald
Clean with turpentine and whiting, then polish with dry whiting. Before first use, steep it a short time in boiling water, as for any metal article for the kitchen.
Mga kailangang kasangkapan:
 Terpentina
 Calcium carbonate (puting tisa)
 Tubig
Mga Materyales
5- 1 hoopPlaceholder
- 1 hoopPlaceholder
- Placeholder
- 2 bow handlesPlaceholder
- 1 number not givenPlaceholder
Mga Kinakailangang Kasangkapan
15- Placeholder
- Placeholder
- Placeholder
- Placeholder
- Placeholder
- Placeholder
- Placeholder
- Placeholder
- Placeholder
- Placeholder
- Placeholder
- Placeholder
- Placeholder
- Placeholder
- Placeholder
Mga Materyales ng Nakakonektang Blueprint


Ang blueprint na ito ay gumagawa ng
CC0 Pampublikong Domain
Ang blueprint na ito ay inilabas sa ilalim ng CC0. Malaya kang kumopya, magbago, mamahagi, at gumamit nang walang pahintulot.
Suportahan ang Maker sa pamamagitan ng pagbili ng mga produkto sa kanilang Blueprint Komisyon ng Maker itinakda ng mga Vendor, o lumikha ng bagong bersyon ng Blueprint na ito at isama bilang koneksyon sa iyong Blueprint upang ibahagi ang kita.