SINING
BEAUTY AT WELLNESS
CRAFTS
KULTURA AT KASAYSAYAN
LIBANGAN
KAPALIGIRAN
PAGKAIN AT INUMIN
REVERSE ENGINEERING
AGHAM
ISPORTS
TEKNOLOHIYA
MGA WEARABLE
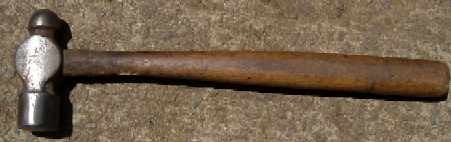


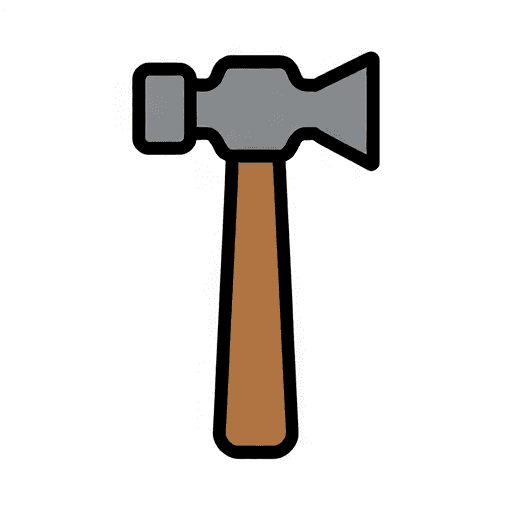
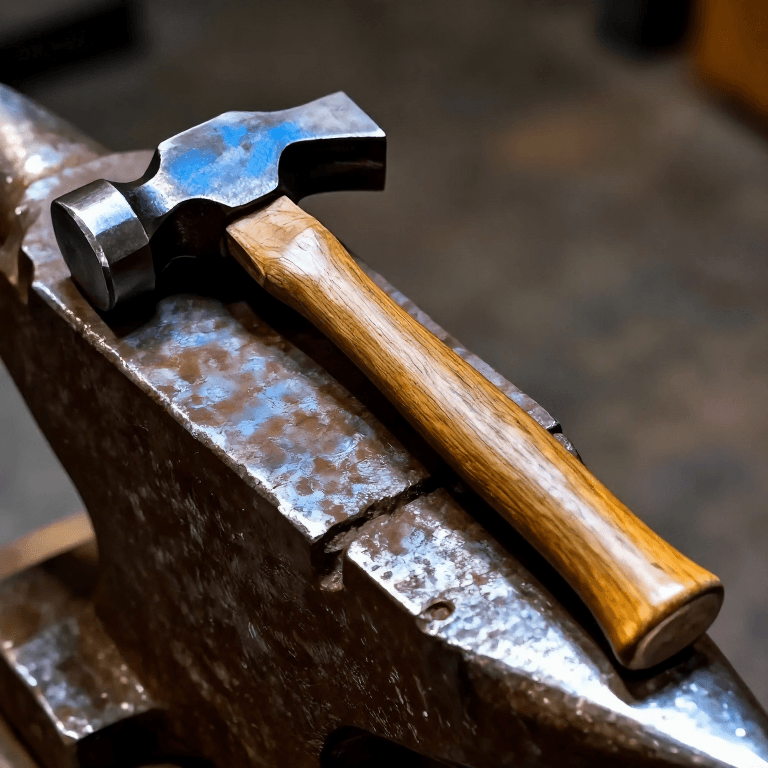
Forged Ball-Peen Hammer
A 2-pound ball-peen hammer forged from 1½-inch square tool steel; a 6½-inch bar gives two heads. The eye is punched and drifted, the body fullered and rounded so it tapers both ways from a thick centre, then the face is drawn out and swaged and the ball peen rounded in a bottom swage. Both ends are hardened by dipping them in turn, with water dripping on the face, and tempered from the heat held around the eye: dark brown for the face, brown or purple for the peen. The eye cools last, which keeps it tough.
Abantado
4–6 hours
Mga Tagubilin
1
1
Mark and flatten
Mark and flatten
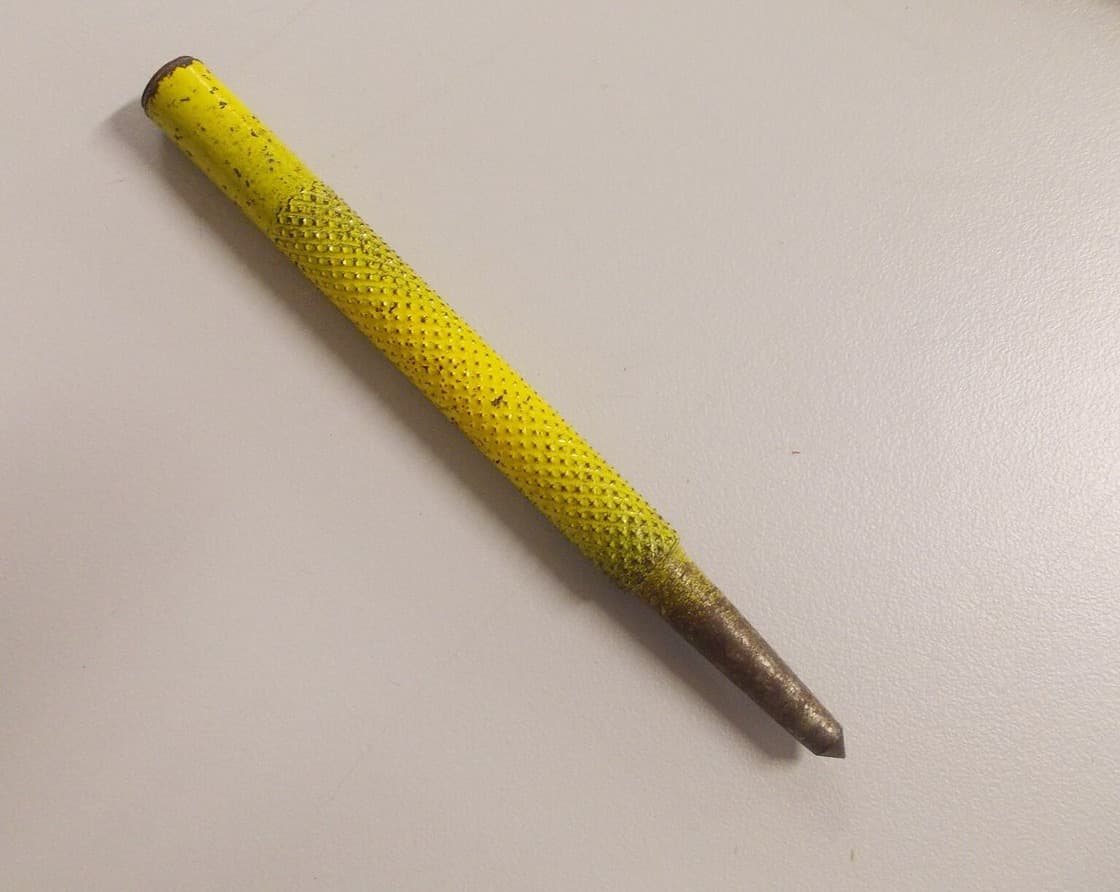
Mark the bar with a chisel and centre punch. Flatten the end before punching, or the hole grows too large.
Mga materyales para sa hakbang na ito:
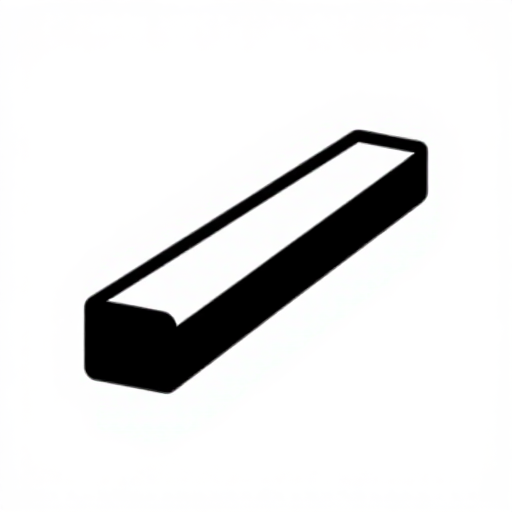 Parisukat na barang tool steel1 piraso
Mga kailangang kasangkapan:
 Pantudlok sa Gitna
 Mainit na pait
 Pandayan ng panday
 Palihan
 Mabigat na maso
 Sipit ng panday
2
2
Punch and drift the eye
Punch and drift the eye
Punch the eye at the centre-punch mark, drive in a drift and hammer the bulged sides straight.
Mga kailangang kasangkapan:
 Mainit na pambutas
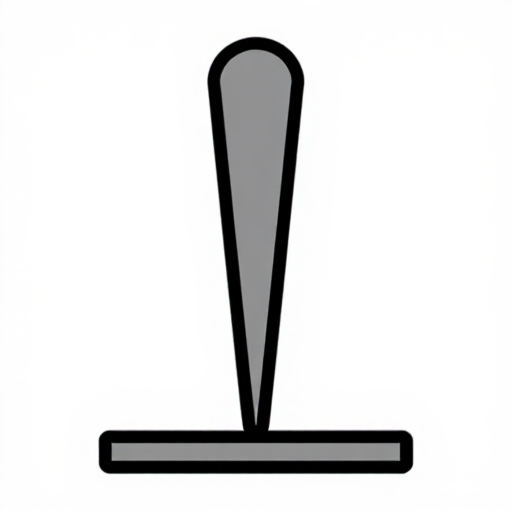 Pampalaki ng butas
 Martilyong Pampanday
3
3
Shape the body
Shape the body
Rough out the shape with top and bottom fullers, then round the body at the anvil's rounded edge with a top fuller and set hammer, thicker at the centre than at the ends.
Mga kailangang kasangkapan:
 Fuller (bakal na panguka)
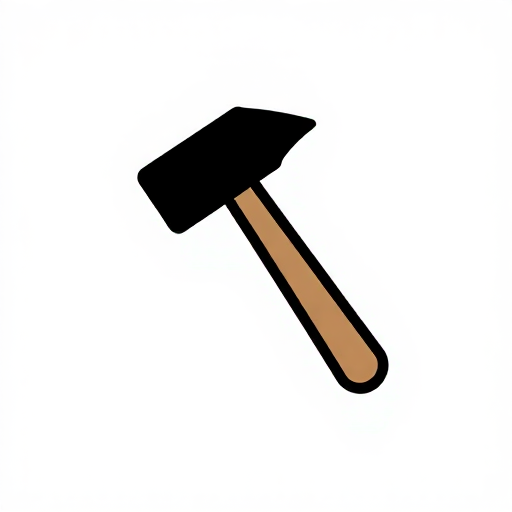 Set hammer ng panday
4
4
Face and peen
Face and peen
Cut the head from the bar from four sides for a square end. Draw out the face, swage it and trim it with a hot chisel; then cut the peen to length, cut off its corners and round it in a bottom swage. Drive the drift through from both sides to taper the eye.
Mga kailangang kasangkapan:
Mainit na pait Pang-ilalim na swagePampalaki ng butas
5
5
Grind
Grind
Grind both ends, rounding the edges of the face slightly so it does not mark hot work.
Mga kailangang kasangkapan:
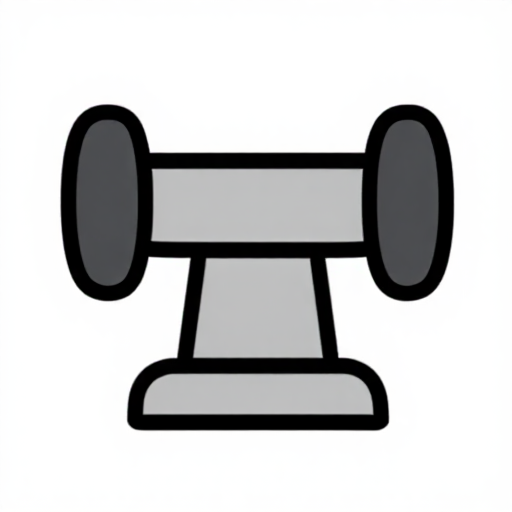 Gilingang pang-mesa
6
6
Harden and temper
Harden and temper
Heat the whole head slowly to the hardening heat and hold it by a tong jaw in the eye. Lower about 1½ inches of the face into water, then harden the peen the same way while water drips on the face, keeping the eye hot. Polish the ends; take the face to dark brown and the peen to brown or purple, then dip the ends alternately so the eye cools slowly.
Mga kailangang kasangkapan:
Pandayan ng panday Timbang pampatigasSipit ng panday
 Telang emeri
7
7
Handle
Handle
Shave the handle stock to fit the eye tightly, drive the head on, saw a kerf in the handle's top and drive a glued hardwood wedge into it. Trim flush and oil the handle.
Mga materyales para sa hakbang na ito:
 Kahoy na Matigas Pang-hawakan1 piraso
 Kalso ng matigas na kahoy1 piraso
 Langis ng Linsid10 ml
Mga kailangang kasangkapan:
 Katam na dalawa ang hawakan
 Lagaring pantabas
 Bais sa Mesang Panggawa
Mga Materyales
4- 1 pirasoPlaceholder
- 1 pirasoPlaceholder
- 1 pirasoPlaceholder
- 10 mlPlaceholder
Mga Kinakailangang Kasangkapan
18- Placeholder
- Placeholder
- Placeholder
- Placeholder
- Placeholder
- Placeholder
- Placeholder
- Placeholder
- Placeholder
- Placeholder
- Placeholder
- Placeholder
- Placeholder
- Placeholder
- Placeholder
- Placeholder
- Placeholder
- Placeholder
Ang blueprint na ito ay gumagawa ng
Kaugnay na Blueprint
Ang mga blueprint na ito ay nagbabahagi ng kaalaman — mga teknik, materyales, o prinsipyo
CC0 Pampublikong Domain
Ang blueprint na ito ay inilabas sa ilalim ng CC0. Malaya kang kumopya, magbago, mamahagi, at gumamit nang walang pahintulot.
Suportahan ang Maker sa pamamagitan ng pagbili ng mga produkto sa kanilang Blueprint Komisyon ng Maker itinakda ng mga Vendor, o lumikha ng bagong bersyon ng Blueprint na ito at isama bilang koneksyon sa iyong Blueprint upang ibahagi ang kita.