Pakikipagtulungan
SINING
BEAUTY AT WELLNESS
CRAFTS
KULTURA AT KASAYSAYAN
LIBANGAN
KAPALIGIRAN
PAGKAIN AT INUMIN
REVERSE ENGINEERING
AGHAM
ISPORTS
TEKNOLOHIYA
MGA WEARABLE
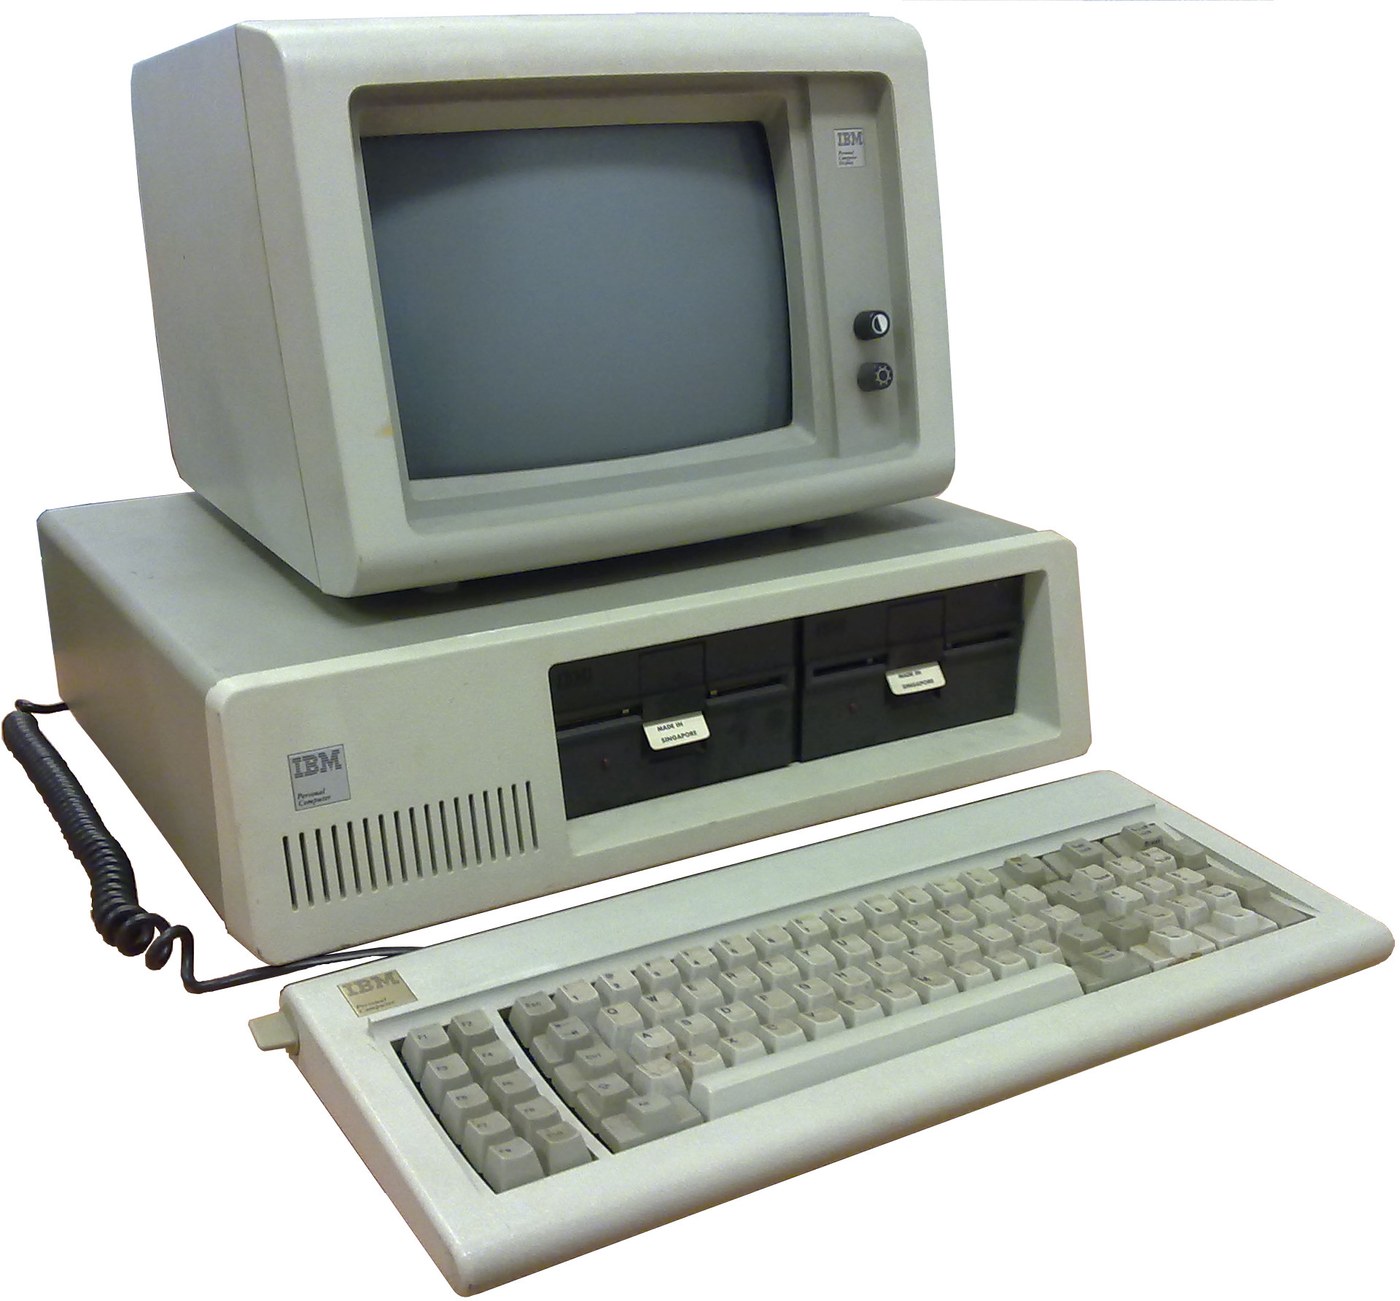


IBM Personal Computer (5150): System Unit, Keyboard and Display (IBM Technical Reference, 1981)
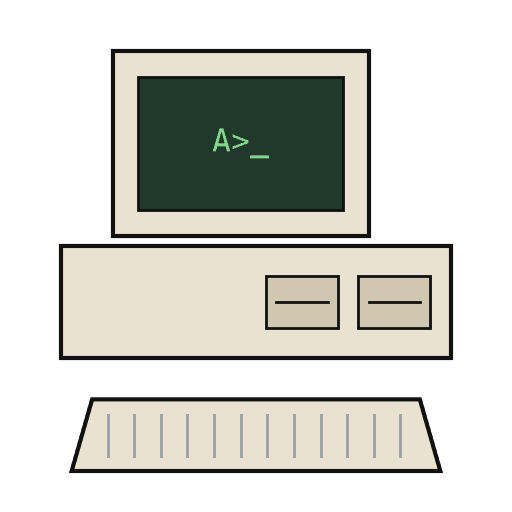
IBM's first personal computer, the machine today's desktop PCs descend from. One system unit holds an Intel 8088 system board, a power supply and five expansion slots. A keyboard, a display and 5-1/4 inch diskette drives complete it. IBM published its whole design, down to the BIOS program, in the Technical Reference.
Result: an IBM PC that tests itself at power-on and starts an operating system from diskette.
Source: IBM Personal Computer Technical Reference (1981; edition of April 1984). Unknown: the chassis and its sizes, the display and diskette adapter cards (described in IBM's separate Options and Adapters volumes), and how each part is made. Ours: the assembly order. Picture: Wikimedia Commons.
Abantado
1 week
Mga Tagubilin
1
1
Populate the system board
Populate the system board
On the system board, fit the Intel 8088 processor. It runs at 4.77 MHz, taken from a 14.31818 MHz crystal divided by 3; divided by 4, the same crystal gives the 3.58 MHz colour-burst signal for colour TVs. Fit its support chips: the 8237A-5 DMA controller, 8259A interrupt controller, 8253-5 timer and 8255A-5 peripheral interface. Add the ROM holding the BIOS, the read/write memory, the speaker circuit, five expansion slots, and 5-pin DIN sockets for the keyboard and a cassette recorder. The 8088 runs in maximum mode, so a coprocessor can be added later. Set switch SW1 to tell the machine what it has: whether to start from a 5-1/4 inch diskette drive, how much read/write memory is on the board, which display adapter is fitted, and how many diskette drives there are. Not given here: the board layout.
Mga materyales para sa hakbang na ito:
 Printed circuit board (PCB)1 system board
 Integrated circuit (IC)1 8088, 8237A-5, 8259A, 8253-5, 8255A-5, ROM, RAM
 Quartz crystal1 14.31818 MHz
 BIOS ng IBM PC1 in ROM
 DIP na switch1 SW1
 Kawad na Panghinang1 as needed
Mga kailangang kasangkapan:
 Panghinang
2
2
Fit the board and power supply in the chassis
Fit the board and power supply in the chassis
Screw the system board into the system-unit chassis. Fit the power supply at the right rear; its housing supports the rear panel and its fan cools the whole machine. It is rated for 63.5 W continuous, from a fused 120 V or 220/240 V input. Its four protected outputs are +5 V at 7 A, +12 V at 2 A, -5 V at 0.3 A and -12 V at 0.25 A, bussed to all five slots. It also has a power-good signal, a switched mains socket for the monochrome display and two drive power plugs. Not given: the chassis metal and sizes.
Mga materyales para sa hakbang na ito:
 Hindi alam na metal1 chassis
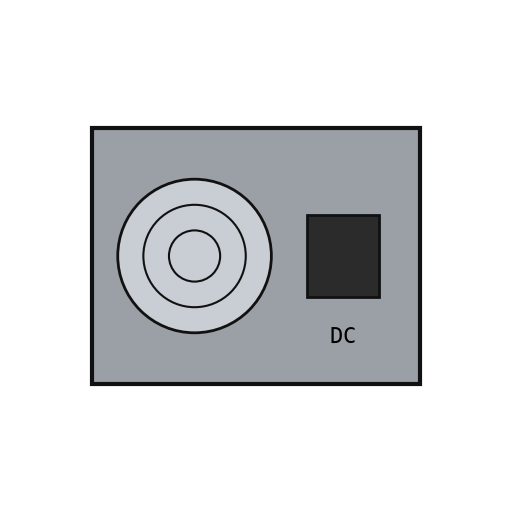 Power supply ng computer1 63.5 W
 Mga turnilyo ng makina1 set
Mga kailangang kasangkapan:
 Set ng mga distornilyador
 Hindi alam na sukat
 Multimetro
3
3
Add the drives and adapter cards
Add the drives and adapter cards
Fit up to two 5-1/4 inch diskette drives, each powered from its own plug on the supply. Only one drive runs at a time. Plug a diskette drive adapter and a display adapter (monochrome or colour/graphics) into expansion slots, and cable the drives to their adapter. Not given here: the adapter cards and cables, which IBM describes in its separate Options and Adapters volumes.
Mga materyales para sa hakbang na ito:
 5¼ inch na diskette drive2 up to two
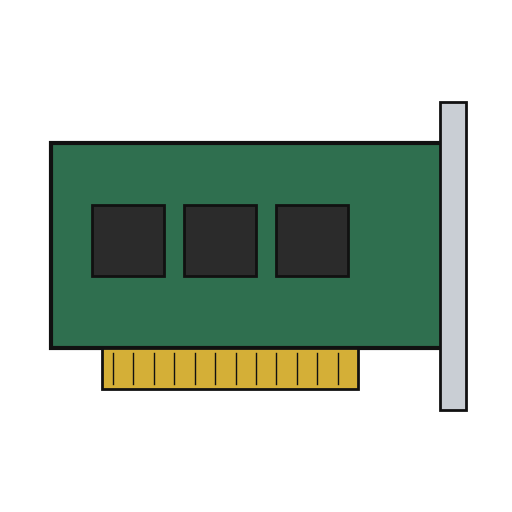 Expansion card2 diskette adapter, display adapter
 Ribbon na kable1 drive cable
Mga kailangang kasangkapan:
Set ng mga distornilyador4
4
Connect keyboard and display, and power on
Connect keyboard and display, and power on
Plug in the keyboard: 83 keys, with the typewriter keys in the middle, 10 function keys on the left and a 15-key pad on the right. It sends scan codes, not letters, so the software decides what each key does. Connect the display to its adapter and to the switched socket. Switch on: the power-on self-test in the BIOS checks the machine, sets up its interrupt vectors, and looks for extra ROM on the adapter cards. The bootstrap loader then starts the operating system from a diskette.
Mga materyales para sa hakbang na ito:
 Keyboard ng computer1 83 keys
 Monitor ng computer1 piraso
Mga kailangang kasangkapan:
 Disketa
Mga Materyales
14- 1 system boardPlaceholder
- 1 8088, 8237A-5, 8259A, 8253-5, 8255A-5, ROM, RAMPlaceholder
- 1 14.31818 MHzPlaceholder
- 1 in ROMPlaceholder
- Placeholder
- 1 as neededPlaceholder
- 1 chassisPlaceholder
- 1 63.5 WPlaceholder
- Placeholder
- 2 up to twoPlaceholder
- 2 diskette adapter, display adapterPlaceholder
- Placeholder
- 1 83 keysPlaceholder
- 1 pirasoPlaceholder
Mga Kinakailangang Kasangkapan
5- 2 vendors sell this, none ship to you yetPlaceholder
- Placeholder
- Placeholder
- Placeholder
- Placeholder
Mga Materyales ng Nakakonektang Blueprint
Ang blueprint na ito ay gumagawa ng
CC0 Pampublikong Domain
Ang blueprint na ito ay inilabas sa ilalim ng CC0. Malaya kang kumopya, magbago, mamahagi, at gumamit nang walang pahintulot.
Suportahan ang Maker sa pamamagitan ng pagbili ng mga produkto sa kanilang Blueprint Komisyon ng Maker itinakda ng mga Vendor, o lumikha ng bagong bersyon ng Blueprint na ito at isama bilang koneksyon sa iyong Blueprint upang ibahagi ang kita.