Pakikipagtulungan
SINING
BEAUTY AT WELLNESS
CRAFTS
KULTURA AT KASAYSAYAN
LIBANGAN
KAPALIGIRAN
PAGKAIN AT INUMIN
REVERSE ENGINEERING
AGHAM
ISPORTS
TEKNOLOHIYA
MGA WEARABLE
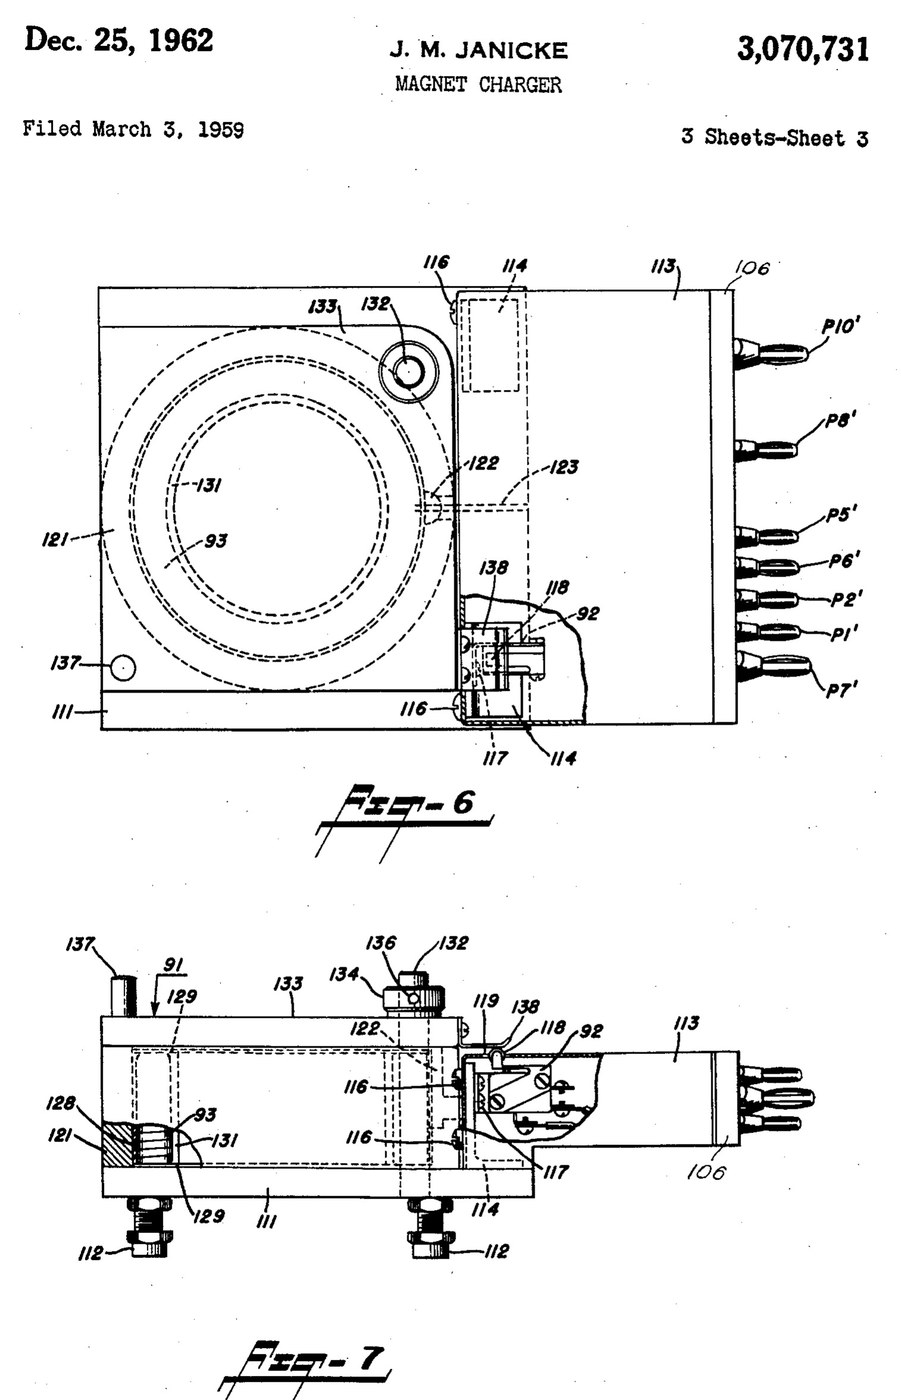


Magnetiser: Capacitor-Discharge Magnet Charger with a Wire-Wound Fixture (Janicke, US 3,070,731, 1962)
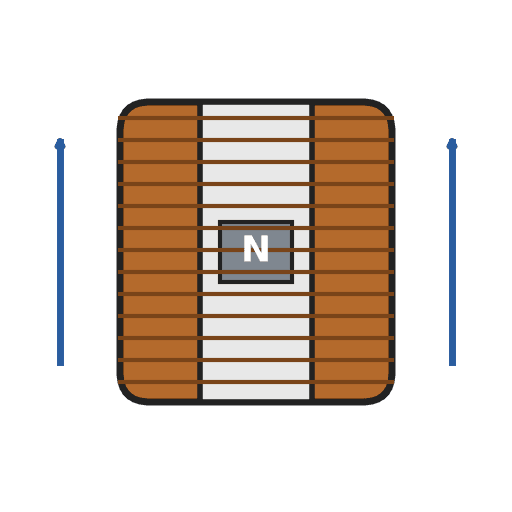
An impulse magnetiser. A capacitor is charged to a high voltage, then an ignitron dumps it all at once through a coil. The magnet sits inside the coil in a closed steel pot, so almost all of the flux goes through it.
Result: a magnet charger that magnetises rods, bars and blocks in one pulse, with an interlocked lid.
Source: J. M. Janicke, US 3,070,731 (1962). Unknown: voltages, capacitance, coil windings, field strength and sizes. Picture: the patent drawing.
Dalubhasa
Unknown
Mga Tagubilin
1
1
Build the charging supply
Build the charging supply
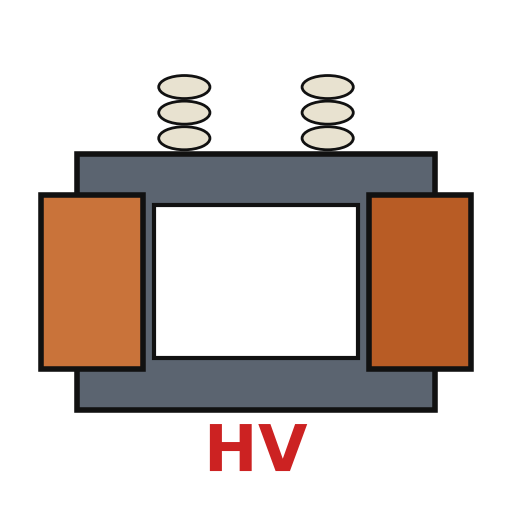
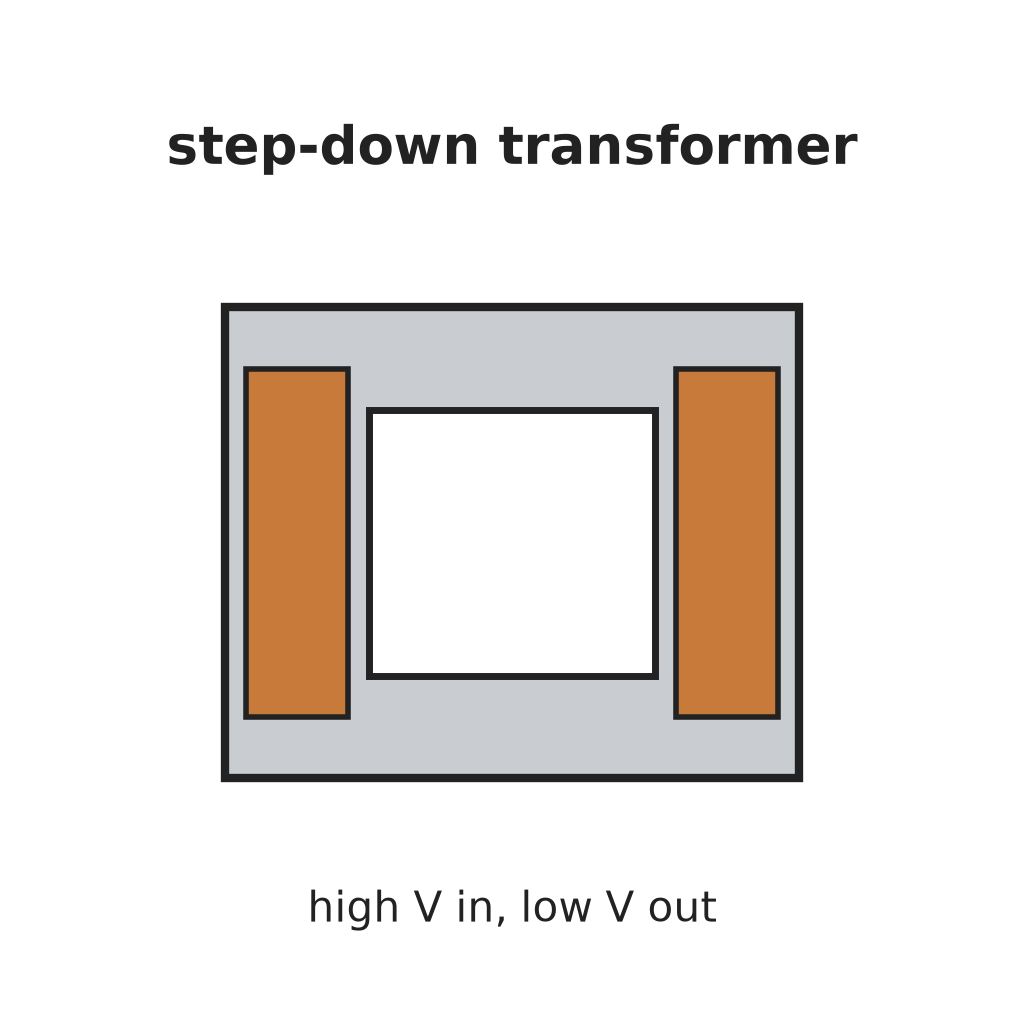
Feed a line switch from the mains through two fuses, with a pilot lamp. Wire a high-voltage transformer with two primaries, which a high-low switch puts in series or in parallel. Run its centre-tapped secondary to two mercury-vapour rectifier tubes, "or the like", with their own filament transformer, so they charge the energy-storage capacitor. A charging on-off switch with a red lamp switches the high-voltage side. A meter with multiplier resistors across the capacitor shows its voltage. Ours: toggle switches, neon lamps, a moving-coil meter. Not given: any voltage or value.
Mga materyales para sa hakbang na ito:
 Transformer na mataas ang boltahe1 high-voltage transformer
 Tubong rectifier na may singaw ng asoge2 rectifier tubes
 Step-Down Transformer1 filament transformer
 Capacitor na nag-iimbak ng enerhiya1 storage capacitor
 Panukat sa panel na may gumagalaw na likaw1 voltage meter
 Di-kilalang resistor2 meter multipliers
 Toggle na switch3 line, charging and high-low switches
 Piyus2 fuses
 Ilaw na pahiwatig na neon2 pilot and red lamps
Mga kailangang kasangkapan:
 Panghinang
 Pambalat ng kawad
2
2
Add the delay and the bleeder
Add the delay and the bleeder
Put a thermal time-delay relay before the charging switch: about thirty seconds after switch-on it energises a control relay, which feeds the charging switch and holds itself on. A third contact of the control relay lifts a bleeder resistor off the capacitor while the charger runs. When the charger is shut down the relay drops out and the bleeder drains the dangerous high-voltage charge from the capacitor.
Mga materyales para sa hakbang na ito:
 Time delay relay1 thermal delay relay
 Rele1 control relay, three contact setsDi-kilalang resistor1 bleeder resistor
Mga kailangang kasangkapan:
PanghinangPambalat ng kawad3
3
Fit the ignitron firing circuit
Fit the ignitron firing circuit
Put an ignitron in the discharge path of the storage capacitor, as its switch. The meter's multiplier resistors also form a divider that charges a small firing capacitor. Pressing the push button discharges the firing capacitor through a small limiting resistor into the ignitron's igniter, and the ignitron conducts. Not given: the firing capacitor's type and value.
Mga materyales para sa hakbang na ito:
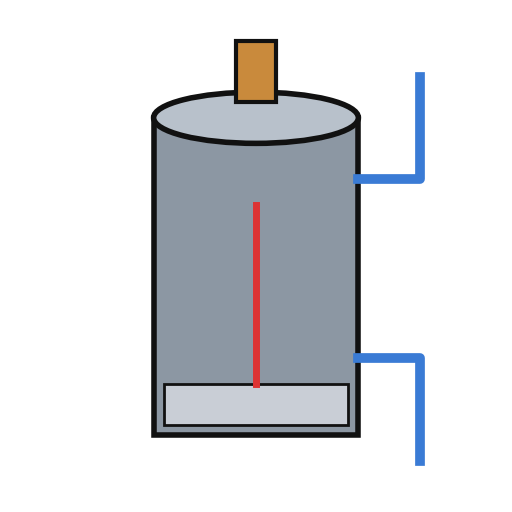 Ignitron1 discharge switch
 Hindi kilalang materyal1 firing capacitorDi-kilalang resistor1 limiting resistor
 Pindutan1 charge button
Mga kailangang kasangkapan:
PanghinangPambalat ng kawad4
4
Build the wire-wound fixture
Build the wire-wound fixture
Weld a hollow cylindrical shell onto a base plate on levelling legs, both of magnetic material, to make a pot. Cut slots through the shell and the base plate so they cannot act as a shorted single-turn winding. Set the coil inside the shell in potting compound, with ring-shaped end pieces and a hollow cylindrical core in it. Hinge a square magnetic cover on a post beside the shell, held by a collar and set screw, with a handle. An L-shaped plate on the cover closes a switch in the igniter circuit only when the cover is shut. Wire the coil between the storage capacitor and the ignitron anode. Ours: mild steel, enamelled copper wire, casting epoxy. Not given: sizes, turns.
Mga materyales para sa hakbang na ito:
 Plantsang asero na malambot1 base plate and cover
 Tubong bilog na asero na malambot1 shell
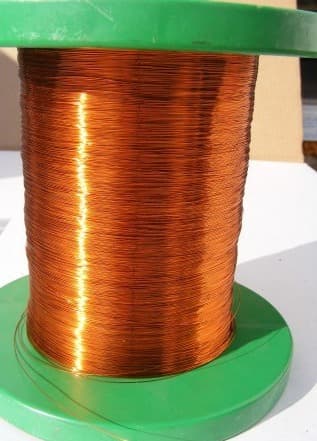
 Kawad na Tanso na May Enamel1 coil
 Itim na epoxy na panghulma1 potting compound
 Hindi alam na metal1 end pieces, core, post, legs
 Mikroswitch (ginagalaw ng pihitan)1 lid interlock switch
Mga kailangang kasangkapan:
 Makinang panghinang na arko
 Baradong Nakatayo
 Set ng mga distornilyador
 Hindi alam na sukat
5
5
Charge a magnet
Charge a magnet
Put the magnet inside the core. Fill most of the air gap between it and the base plate and cover with soft iron, but leave a small gap near the cover, or the cover will be hard to swing open afterwards. Lay insulating material about 1/16 inch thick on top of the magnet. Close the cover, which arms the igniter switch, charge the capacitor, and press the button: one pulse magnetises it. Ours: wrought iron for the soft iron.
Mga kailangang kasangkapan:
 Baras na pandayang bakal
 Hindi alam na materyal na insulator
Mga Materyales
20- 1 high-voltage transformerPlaceholder
- 2 rectifier tubesPlaceholder
- 1 filament transformerPlaceholder
- 1 storage capacitorPlaceholder
- 1 voltage meterPlaceholder
- 1 limiting resistorPlaceholder
- Placeholder
- 2 fusesPlaceholder
- 2 pilot and red lampsPlaceholder
- 1 thermal delay relayPlaceholder
- 1 control relay, three contact setsPlaceholder
- 1 discharge switchPlaceholder
- 1 firing capacitorPlaceholder
- Placeholder
- 1 base plate and coverPlaceholder
- Placeholder
- Placeholder
- 1 potting compoundPlaceholder
- 1 end pieces, core, post, legsPlaceholder
- 1 lid interlock switchPlaceholder
Mga Kinakailangang Kasangkapan
8- 2 vendors sell this, none ship to you yetPlaceholder
- Placeholder
- Placeholder
- Placeholder
- Placeholder
- Placeholder
- Placeholder
- Placeholder
Mga Materyales ng Nakakonektang Blueprint


Ang blueprint na ito ay gumagawa ng
CC0 Pampublikong Domain
Ang blueprint na ito ay inilabas sa ilalim ng CC0. Malaya kang kumopya, magbago, mamahagi, at gumamit nang walang pahintulot.
Suportahan ang Maker sa pamamagitan ng pagbili ng mga produkto sa kanilang Blueprint Komisyon ng Maker itinakda ng mga Vendor, o lumikha ng bagong bersyon ng Blueprint na ito at isama bilang koneksyon sa iyong Blueprint upang ibahagi ang kita.