ART
BEAUTY & WELLNESS
CRAFT
CULTURE & HISTORY
ENTERTAINMENT
ENVIRONMENT
FOOD & DRINKS
GREEN FUTURE
REVERSE ENGINEERING
SCIENCES
SPORTS
TECHNOLOGY
WEARABLES
Burling and Mending Woven Cloth — Cleaning and Repairing Fabric Before Fulling
Tex

Nilikha ni

Tex

30. Mayo 2026FO
1
0
0
0
0

Burling and Mending Woven Cloth — Cleaning and Repairing Fabric Before Fulling

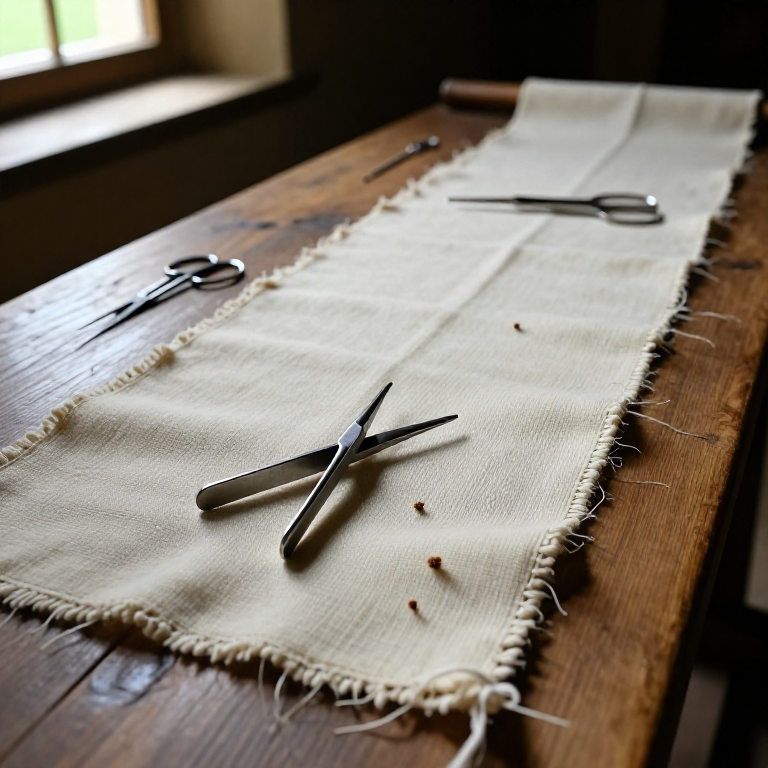
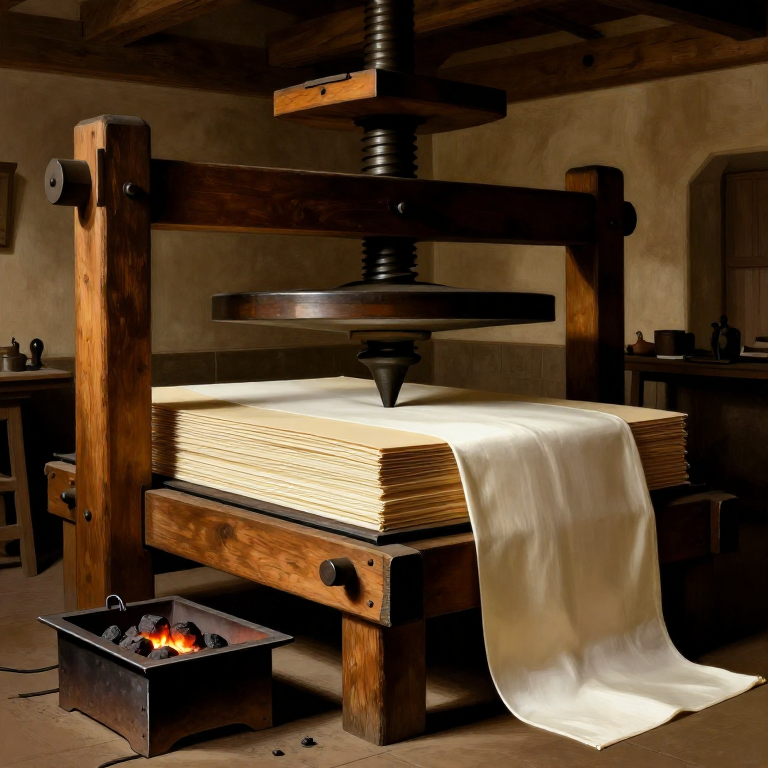
Burling is the first finishing operation performed on cloth fresh from the loom — a painstaking inspection and cleaning process that prepares the fabric for fulling. The burlier lays the woven cloth flat on a table and works inch by inch across the entire surface, using tweezers (burling irons) to pluck out knots, loose thread ends, small lumps of vegetable matter, slubs, and any other imperfections caught in the weave. At the same time, the burlier checks for broken warp or weft threads and repairs them with a needle, weaving in short replacement threads that blend invisibly into the fabric. Burling was women's work in the medieval cloth trade — skilled, quiet, and absolutely essential. Without burling, every knot and slub would be permanently set into the cloth during fulling, ruining the surface that would later be napped and sheared. This blueprint follows the traditional hand-burling process from first inspection to final check.

Baguhan
3-6 hours per bolt

Mga Tagubilin

1

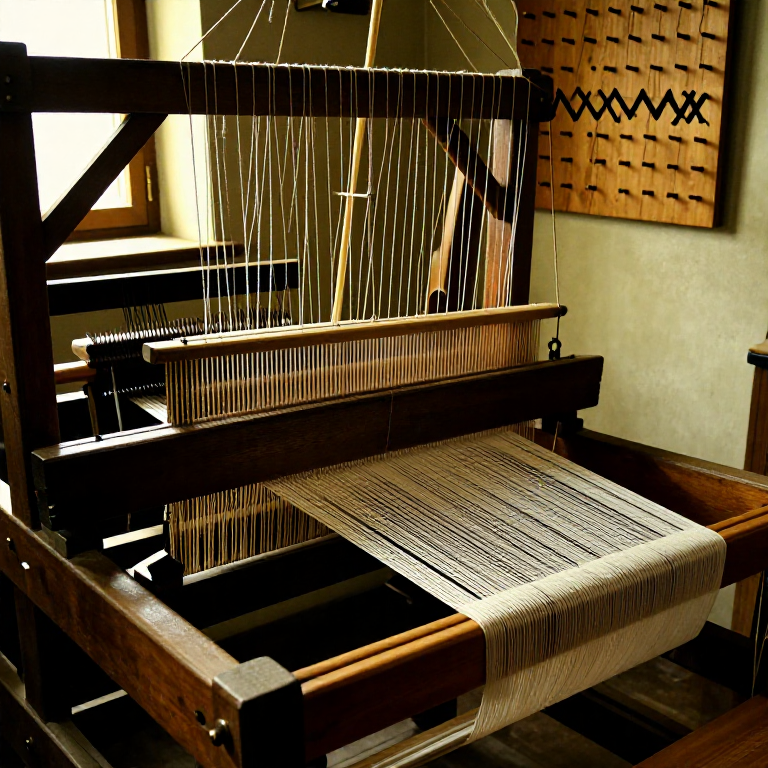
Remove the cloth from the loom

Cut the finished cloth from the loom by severing the warp threads at both ends. Handle the cloth gently — it is loosely woven and has not yet been fulled, so it is fragile and easily distorted. Roll it loosely rather than folding to avoid permanent creases.

Materials for this step:

Woven Wool ClothWoven Wool Cloth1 piece
2

Set up the burling table

Lay the cloth flat on a large, clean table positioned under good natural light — a window or, better, outdoors. The light must be strong and even so that every imperfection in the weave is visible. Medieval burliers worked by daylight only; candlelight was too dim and too yellow to reveal all the defects.
3

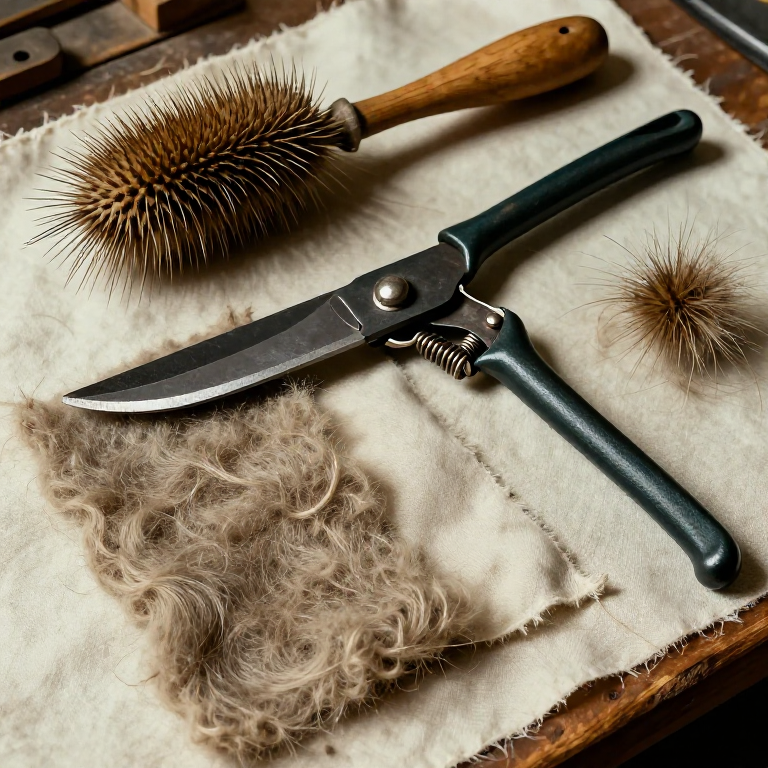
Prepare your burling irons

Burling irons are small metal tweezers with flat, slightly pointed tips — essentially precision plucking tools. The points must be fine enough to grip a single thread end or knot without catching the surrounding weave. Check that the tips close firmly and evenly.

Tools needed:

Burling IronsBurling Irons
4

Begin systematic inspection

Start at one selvedge edge of the cloth and work across the width in strips about 15-20 cm wide, examining every square centimetre. Work methodically — never skip ahead. The temptation to hurry is the burlier's worst enemy. Move the cloth across the table as you progress along its length.
5

Pluck out knots and slubs

Use the burling irons to grip and pluck out any knots — the small lumps where the weaver tied together broken warp or weft threads during weaving. Pull them out cleanly without disturbing the surrounding threads. Also remove slubs — thick, lumpy sections of uneven yarn that would create bumps in the finished cloth.
6

Remove vegetable matter

Pick out any fragments of straw, seeds, burrs, or other vegetable matter caught in the yarn. These are common in wool cloth — they enter during shearing, carding, or spinning. If left in, they create hard spots that resist fulling and show as dark specks in the finished cloth.
7

Trim loose thread ends

Cut any protruding thread ends flush with the cloth surface using small sharp scissors. These include weft ends at the selvedge and any tails left from knots that were pulled through rather than plucked out. Cut close but not so close that the thread pulls free.

Tools needed:

Small Sharp ScissorsSmall Sharp Scissors
8

Check for broken threads

Look for gaps in the weave where a warp or weft thread has broken and the weaver failed to repair it, or where the repair has come loose. A missing thread leaves a thin line or hole that will become a permanent flaw after fulling. Mark each one for mending.
9

Mend broken threads

Thread a large-eyed needle with matching yarn — ideally from the same batch used in weaving. Weave the replacement thread into the gap, following the pattern of the surrounding weave (over one, under one for plain weave). Overlap the repair with the intact threads on either side by at least 2-3 cm so it holds through fulling.

Materials for this step:

Matching Wool YarnMatching Wool Yarn1 skein

Tools needed:

Large-Eye NeedleLarge-Eye Needle
10

Check the selvedges

Examine both selvedge edges along the entire length of the cloth. The selvedges must be intact and even — they will be gripped by tenterhooks during tentering. Repair any frayed or broken selvedge threads. Uneven selvedges cause the cloth to stretch unevenly on the tenter frame.
11

Turn and inspect the reverse

Flip the cloth over and repeat the full inspection on the reverse side. Knots and defects are often more visible from the back, where thread ends protrude. Some imperfections — particularly broken threads — can only be detected from one side.
12

Final pass and approval

Make one final pass across the entire cloth, checking your repairs and looking for anything missed. In a medieval cloth workshop, the burled cloth was inspected by a supervisor before being sent to the fulling mill. A bolt that passed burling inspection was ready for the next stage — fulling with fuller's earth and water.

Mga Materyales

2

Mga Kinakailangang Kasangkapan

3

Connected Blueprint Materials

CC0 Pampublikong Domain

Ang blueprint na ito ay inilabas sa ilalim ng CC0. Malaya kang kumopya, magbago, mamahagi, at gumamit nang walang pahintulot.

Suportahan ang Maker sa pamamagitan ng pagbili ng mga produkto sa kanilang Blueprint Komisyon ng Maker itinakda ng mga Vendor, o lumikha ng bagong bersyon ng Blueprint na ito at isama bilang koneksyon sa iyong Blueprint upang ibahagi ang kita.

Talakayan

(0)

Mag-login upang sumali sa talakayan

Loading comments...