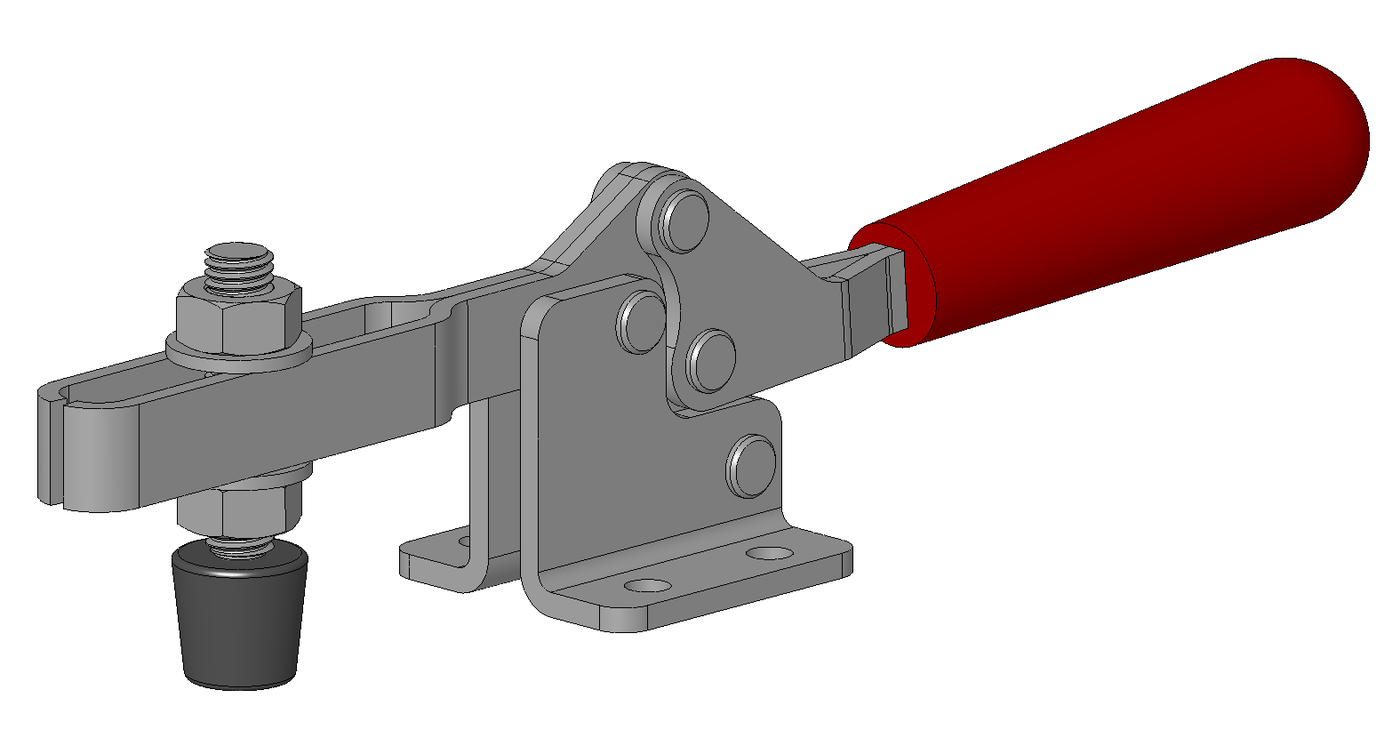


Toggle Clamp
Mga Tagubilin
Cut the three links
Cut the three links
A handle, a hold-down arm and a short connecting link. The link's length sets the geometry.
- From 6 mm aluminium flat bar, cut a handle 140 mm, a hold-down arm 110 mm and a connecting link 45 mm, all between hole centres.
- Cut a base bracket 90 × 40 mm from the same stock.
- Drill every pivot hole 5.1 mm.
- Round all the bar ends so nothing fouls through the full swing.
Modern build spec (derived). The 45 mm link with these arm lengths gives a comfortable handle throw and an obvious over-centre snap. Commercial clamps use pressed steel arms and riveted pivots; bar and screws let you change one link and see what happens, which a riveted clamp cannot.
Cut the connecting link last and make a spare 2 mm longer. You will want to compare them in step 4, and it is the one dimension worth experimenting with.Mga materyales para sa hakbang na ito:
 Patag na Bara ng Aluminyo1 piraso
Mga kailangang kasangkapan:
 Balangkas ng Lagaring Pang-metal na May Talim
 Bais sa Mesang Panggawa
 Walang-Kableng Barena
 Hanay ng Talim ng Barena
 Hanay ng Kikil
 Pantudlok sa Gitna
 Digital na Kalibrador 6 Pulgada
Mount the base and assemble the linkage
Mount the base and assemble the linkage
Order matters — the inner pivots become unreachable once the handle is on.
- Fix the base bracket to an 18 mm ply baseplate with M5 × 30 socket head cap screws × 2, M5 flat washers × 4 and M5 hex nuts × 2.
- Pivot the hold-down arm to the bracket first.
- Pivot the connecting link to the hold-down arm second.
- Pivot the handle to both the bracket and the link last.
- Use M5 × 20 socket head cap screws × 4 as pivots, each with M5 flat washers × 2 and an M5 nylon insert lock nut.
Lock nuts on every pivot. A toggle clamp is operated hundreds of times and each cycle works the pivots back and forth under load. Plain nuts loosen, and a loose pivot changes the geometry — which means the clamp stops locking, quietly, at some point you will not notice until the work moves.
Set each pivot to swing freely with no side rock before moving to the next. A tight pivot deep in the linkage cannot be reached later without dismantling everything above it.Mga materyales para sa hakbang na ito:
 Playwud na Baltic Birch1 pilyego
 Patag na Sinturon12 piraso
 Tuerkang Heksagonal2 piraso
 Tuwerkang Panghigpit na May Nylon4 piraso
Mga kailangang kasangkapan:
Walang-Kableng BarenaHanay ng Talim ng Barena Hanay ng Susing Heks
 Panuka na Pinagsama
Add the adjustable pressure spindle
Add the adjustable pressure spindle
The linkage sets the FORCE; this screw sets the HEIGHT it acts at.
- Drill and tap the hold-down arm's free end M6, or fix an M6 hex nut to it as the thread.
- Fit an M6 × 50 hex bolt through it as the pressure spindle, with a lock nut above to hold the setting.
- Fit a rubber or nylon pad on the spindle end.
- Set the spindle so the linkage goes over-centre with the work in place.
Mga materyales para sa hakbang na ito:
Tuwerkang Panghigpit na May Nylon1 piraso Hanay ng Spring na Panipi1 set
Mga kailangang kasangkapan:
Walang-Kableng BarenaHanay ng Talim ng BarenaHanay ng Susing HeksHanay ng KikilFind the over-centre distance
Find the over-centre distance
The whole behaviour lives in a couple of millimetres. Measure them.
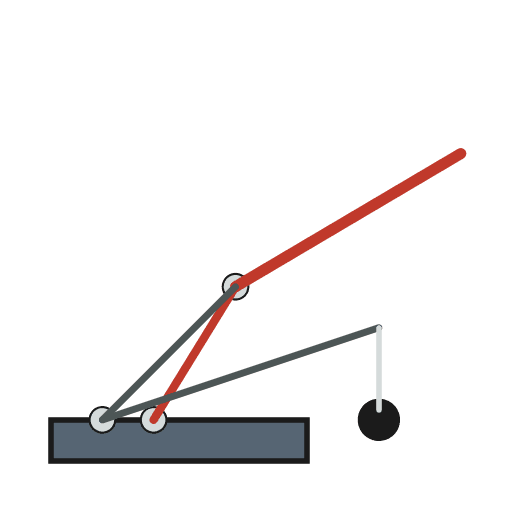
- Close the clamp slowly and watch the two pivots of the connecting link relative to the line between the outer pivots.
- Mark the handle position where the three pivots are exactly in line — this is dead centre, maximum force, zero lock.
- Continue closing to the stop and measure how far past that line the middle pivot has travelled.
- Now try to open the clamp by pulling on the hold-down arm alone.
Mga kailangang kasangkapan:
Digital na Kalibrador 6 PulgadaPanuka na PinagsamaWhere else it hides, and history
Where else it hides, and history
Once you can recognise an over-centre linkage you find it everywhere: the latch on a Kilner jar, the lever on a bicycle quick-release hub, the buckle on a ski boot, the catch on a flight case, the clamp on a machine vice. All the same geometry, all locking for the same reason, all released by the same single movement.
Why the force is repeatable. With a screw clamp the force depends entirely on how hard the operator turns it, so no two setups match. A toggle clamp closes to a mechanical stop, so the deflection — and therefore the force — is the same every cycle. In production work that repeatability matters more than the absolute figure, because it means every part is held identically.
The theoretical infinity, and why it is not real. At exactly dead centre the mechanical advantage is unbounded on paper. In practice the links deflect, the pivots have clearance, and the force is limited by the stiffness of the parts. This is a good example of a mechanism whose idealised mathematics says something that a real build quietly corrects.
Its siblings: the toolmaker's clamp gives parallel jaws and fine control but is slow. A screw jack gives enormous force and holds by friction. A toggle gives instant, repeatable, self-locking action within a fixed opening. Speed, force, precision — the same three-way trade as the rest of this batch, resolved differently.
Mga Materyales
6- 1 pirasoPlaceholder
- 1 pilyegoPlaceholder
- 12 pirasoPlaceholder
- 2 pirasoPlaceholder
- Placeholder
- Placeholder
Mga Kinakailangang Kasangkapan
9- Placeholder
- 1 vendor sell this, none ship to you yetPlaceholder
- Placeholder
- Placeholder
- Placeholder
- Placeholder
- Placeholder
- Placeholder
Ang blueprint na ito ay gumagawa ng
Kaugnay na Blueprint
Ang mga blueprint na ito ay nagbabahagi ng kaalaman — mga teknik, materyales, o prinsipyo
CC0 Pampublikong Domain
Ang blueprint na ito ay inilabas sa ilalim ng CC0. Malaya kang kumopya, magbago, mamahagi, at gumamit nang walang pahintulot.
Suportahan ang Maker sa pamamagitan ng pagbili ng mga produkto sa kanilang Blueprint Komisyon ng Maker itinakda ng mga Vendor, o lumikha ng bagong bersyon ng Blueprint na ito at isama bilang koneksyon sa iyong Blueprint upang ibahagi ang kita.