ART
BEAUTY & WELLNESS
CRAFT
CULTURE & HISTORY
ENTERTAINMENT
ENVIRONMENT
FOOD & DRINKS
GREEN FUTURE
REVERSE ENGINEERING
SCIENCES
SPORTS
TECHNOLOGY
WEARABLES
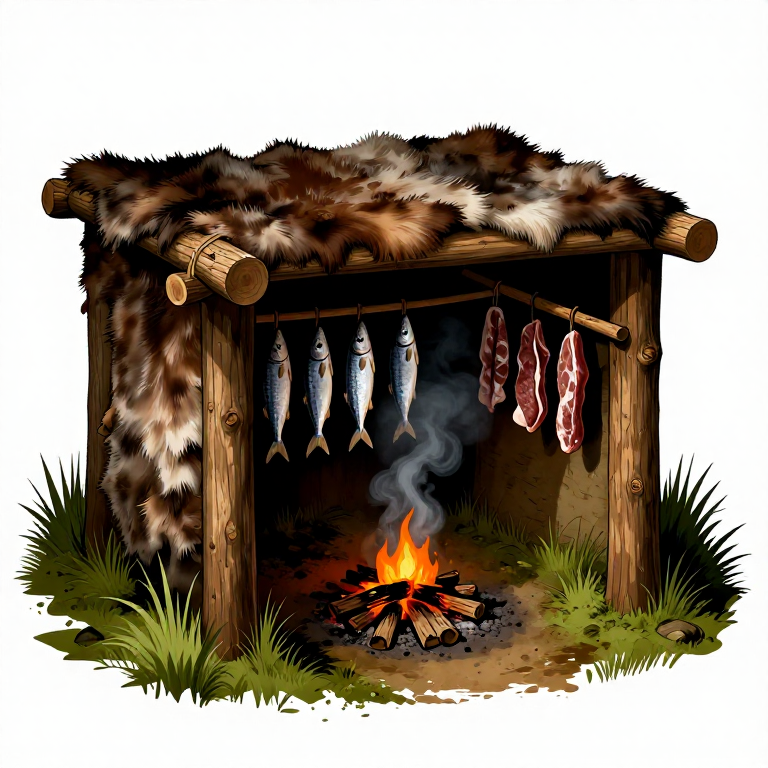
Building a Prehistoric Smokehouse — Semi-Permanent Pole Frame for Meat and Fish Preservation
A smokehouse is a significant step beyond the simple smoking rack: an enclosed structure that traps smoke around meat or fish for hours or days, producing a deeper cure that preserves food for months instead of weeks. Archaeological evidence from northern Europe and North America shows semi-permanent smoking huts dating back at least 8,000 years, built near fishing camps and seasonal hunting grounds. The structure works by concentrating low-temperature smoke (below 85 degrees Celsius) in an enclosed space, allowing the antimicrobial compounds in wood smoke — primarily phenols and formaldehyde — to penetrate deeply into the flesh while simultaneously dehydrating it. This blueprint teaches the construction of a conical or rectangular pole-frame smokehouse using lashed saplings, bark or hide covering, and a raised internal rack system with a controlled fire pit below.
Katamtaman
6-10 hours
Mga Tagubilin
1
1
Select a Sheltered Site with Good Drainage
Select a Sheltered Site with Good Drainage
Choose a flat area on slightly elevated ground, sheltered from prevailing winds. Avoid low spots where rainwater pools. The site should be at least 3 metres from trees or brush to reduce fire risk. Mark out a rectangular footprint approximately 1.5 metres wide by 2 metres long — large enough to hang 10 to 15 kg of meat inside.
2
2
Harvest Structural Saplings
Harvest Structural Saplings
Cut 8 straight hardwood saplings (oak, ash, hazel, or birch) each 2.5 to 3 metres long and 5 to 8 cm in diameter at the base. These form the main frame poles. Cut an additional 12 to 15 thinner saplings (3 to 4 cm diameter, 1.5 to 2 metres long) for cross-braces and rack supports. Strip all side branches flush with a stone scraper.
Materials for this step:
 Hardwood Sapling8 piece
Tools needed:
 Flint Knife
3
3
Set the Corner Posts
Set the Corner Posts
Dig 4 post holes at the corners of the rectangle, each 30 to 40 cm deep. Set the 4 thickest saplings upright in the holes, packing the soil tightly around the base and tamping with a heavy stone. The posts should stand 1.8 to 2 metres above ground. Lean them inward slightly (about 10 degrees) so they converge toward the top — this sheds rain and strengthens the structure against wind.
Materials for this step:
Hardwood Sapling4 pieceTools needed:
 Hammerstone
4
4
Lash the Ridge Pole and Top Frame
Lash the Ridge Pole and Top Frame
Lay a sapling across the top of the 4 corner posts as a ridge pole, running the length of the structure. Lash it to each post with cordage using a square lashing — wrap the cord around both the post and ridge pole in alternating directions for 6 to 8 passes, then cinch tight with 3 frapping turns between the poles. Add a second crossbar at the opposite end to complete the top rectangle.
Materials for this step:
 Cordage1 bundle
5
5
Add Mid-Height Cross-Braces
Add Mid-Height Cross-Braces
Lash horizontal cross-braces around all 4 sides at approximately 1 metre above ground level. These braces stiffen the frame and serve as the primary support for the internal smoking racks. Use the same square lashing technique at every junction. Test the frame by pushing against it — it should resist lateral force without racking.
Materials for this step:
Cordage1 bundle6
6
Build the Internal Smoking Rack
Build the Internal Smoking Rack
Lay 4 to 5 thin, straight green-wood poles across the mid-height cross-braces, spaced 15 to 20 cm apart. These form the grate on which meat or fish is placed, or from which it hangs. Use only green (freshly cut) wood — dry wood may catch fire from the heat and smoke below. Lash each rack pole to the cross-braces to prevent shifting. A second rack can be added 30 cm above the first for additional capacity.
Materials for this step:
Hardwood Sapling5 piece7
7
Cover the Frame with Bark Sheets
Cover the Frame with Bark Sheets
Peel large sheets of bark (birch, elm, or poplar work best) from recently fallen or living trees during spring when the sap is flowing. Each sheet should be at least 40 by 60 cm. Lay the bark sheets over the frame from bottom to top like shingles, overlapping each row by 10 cm so rain runs off. Secure each sheet by pressing it against the frame poles and tying through with short lengths of cordage.
Materials for this step:
 Birch Bark Sheets10 pieceCordage1 bundle
8
8
Leave a Smoke Vent at the Top
Leave a Smoke Vent at the Top
Do not fully seal the peak of the structure. Leave a gap of 15 to 20 cm at the ridge line to allow smoke to escape slowly. This vent creates a natural draft: cool air enters at the base, passes through the fire, rises through the meat, and exits at the top. Without this vent, smoke stagnates and the fire smothers from lack of oxygen. The vent can be partially covered with a loose bark flap to control airflow.
9
9
Create the Fire Pit
Create the Fire Pit
Dig a shallow pit (20 cm deep, 40 cm in diameter) in the centre of the smokehouse floor, directly below the smoking rack. Line the pit edges with flat stones to contain the coals and reflect heat upward. The pit must be small — the goal is smouldering coals producing maximum smoke, not a roaring fire. A large fire generates too much heat and cooks the meat instead of curing it.
10
10
Prepare the Smoking Fuel
Prepare the Smoking Fuel
Gather hardwood chips and chunks — oak, hickory, apple, alder, or beech produce the best smoking flavour and antimicrobial compounds. Avoid resinous softwoods (pine, spruce, cedar) which deposit bitter creosote on the meat. Break or chop the wood into pieces roughly 3 to 5 cm across. Soak half the wood in water for 30 minutes — wet wood smoulders slowly and produces dense smoke rather than flame.
Materials for this step:
 Charcoal2 kg
11
11
Start the Smouldering Fire
Start the Smouldering Fire
Start a small fire in the pit using dry tinder and a few pieces of charcoal. Once the coals are glowing steadily, pile the damp hardwood chips on top. The coals should ignite the chips slowly, producing thick white or blue-grey smoke. If flames appear, sprinkle more damp chips on top to smother them. The temperature at rack height should stay between 25 and 40 degrees Celsius for cold smoking, or 50 to 85 degrees Celsius for hot smoking.
12
12
Maintain the Smoke for 12 to 48 Hours
Maintain the Smoke for 12 to 48 Hours
Cold-smoking fish or thin-cut meat requires 12 to 24 hours of continuous smoke. Thicker cuts or whole joints need 24 to 48 hours. Check the fire every 2 to 3 hours and add more damp wood chips as needed. The smoke should be constant but not billowing — a thin, steady stream exiting the top vent indicates correct airflow. Rotate the meat on the racks every 6 to 8 hours so all surfaces receive equal smoke exposure. The finished product should be dry to the touch, dark amber in colour, and firm when pressed.
Mga Materyales
4- 17 piecePlaceholder
- 10 piecePlaceholder
Mga Kinakailangang Kasangkapan
2- Placeholder
- Placeholder
Connected Blueprint Materials
Kaugnay na Blueprint
Ang mga blueprint na ito ay nagbabahagi ng kaalaman — mga teknik, materyales, o prinsipyo
Related blueprints
Other builds that share materials, tools, or techniques with this one.
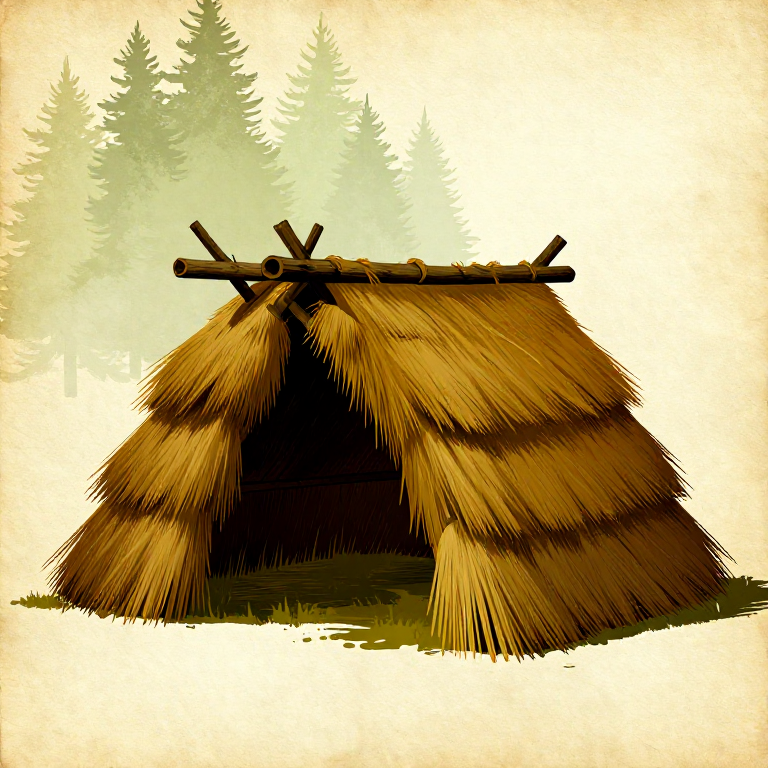
Building a Thatched Lean-To Shelter — Basic Wind and Rain Protectionsurvival

Making a Prehistoric Throwing Stick — The Simplest Hunting Weaponsurvival

Making a Leather Sling — The Shepherd's Projectile Weaponsurvival
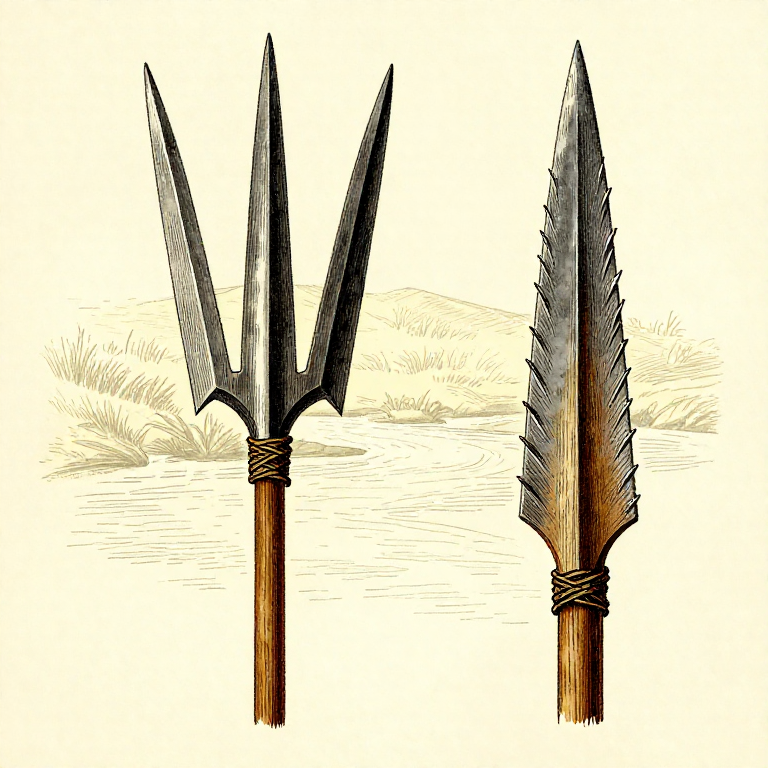
Making a Fishing Spear (Leister) — Multi-Pronged Fish Gigsurvival
Building a Figure-4 Deadfall Trap — Stone Weight Trigger Mechanismsurvival

Digging a Pitfall Trap for Large Game — Concealed Pit Huntingsurvival
CC0 Pampublikong Domain
Ang blueprint na ito ay inilabas sa ilalim ng CC0. Malaya kang kumopya, magbago, mamahagi, at gumamit nang walang pahintulot.
Suportahan ang Maker sa pamamagitan ng pagbili ng mga produkto sa kanilang Blueprint Komisyon ng Maker itinakda ng mga Vendor, o lumikha ng bagong bersyon ng Blueprint na ito at isama bilang koneksyon sa iyong Blueprint upang ibahagi ang kita.