ART
BEAUTY & WELLNESS
CRAFT
CULTURE & HISTORY
ENTERTAINMENT
ENVIRONMENT
FOOD & DRINKS
REVERSE ENGINEERING
SCIENCES
SPORTS
TECHNOLOGY
WEARABLES
Making a Stone Spindle Whorl — The Flywheel That Made Thread Possible
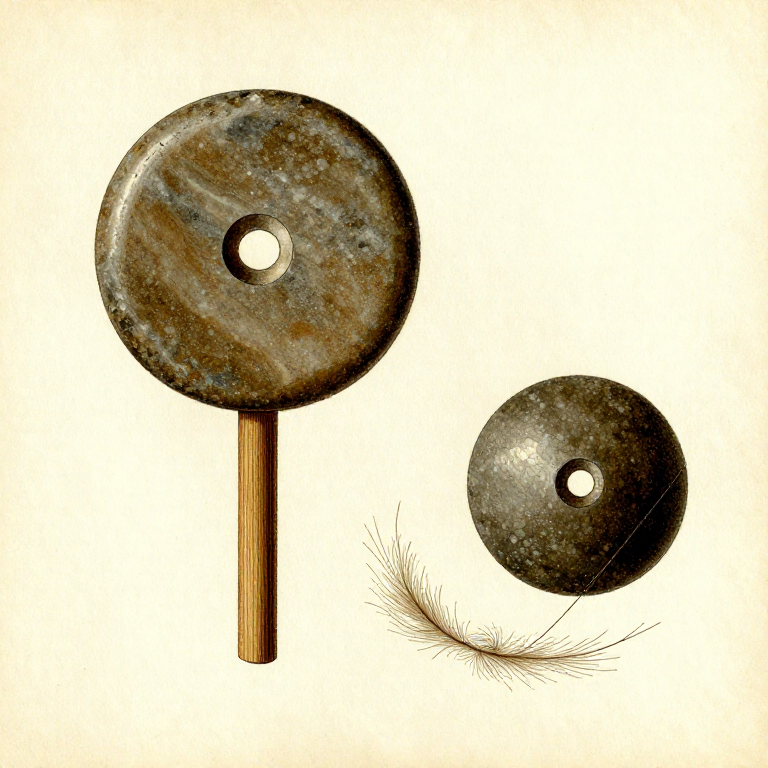
A spindle whorl is a small, heavy disc with a central hole that serves as the flywheel on a drop spindle — the device that twists raw fibre into thread and yarn. Without the whorl's rotational inertia, a spindle would stop spinning after half a turn. With it, the spindle sustains smooth rotation for 15 to 30 seconds per spin, allowing the spinner to draft and twist fibres continuously. The spindle whorl enabled the textile revolution: every piece of spun thread in human history before the spinning wheel (and most after) was made using a whorl-weighted spindle. Archaeological whorls are found by the thousands at Neolithic sites worldwide, made from stone, clay, bone, and wood. This blueprint teaches how to make a stone whorl by pecking, grinding, and drilling — producing the component that transforms raw fibre into usable thread.
Katamtaman
2-3 hours
Mga Tagubilin
1
1
Select a Dense, Fine-Grained Stone
Select a Dense, Fine-Grained Stone
Choose a flat stone piece 5 to 8 cm in diameter and 1 to 2 cm thick. Soapstone (steatite) is ideal — it is soft enough to carve easily but dense enough to provide good flywheel mass. Slate, fine sandstone, and basalt also work. The stone should be as uniform in density as possible — an off-centre weight distribution causes the spindle to wobble.
Materials for this step:
 Soapstone Block (Steatite)1 piece
2
2
Rough-Shape into a Disc
Rough-Shape into a Disc
Peck the stone blank into a rough disc shape using a small hammerstone. Work around the edges, knocking away corners and high spots to approximate a circle. The disc does not need to be perfectly round at this stage — grinding will refine the shape. Aim for approximately 5 to 7 cm diameter with even thickness.
Tools needed:
 Hammerstone
3
3
Grind Both Faces Flat
Grind Both Faces Flat
Wet a flat sandstone slab and grind both faces of the disc until they are uniformly flat and parallel. The two faces must be the same thickness across the entire disc — thicker on one side than the other creates imbalance. Check by holding the disc at eye level and looking for light gaps. Uniform thickness is critical for smooth spinning.
Tools needed:
 Sandstone (Abrasive)
4
4
Grind the Edge into a Smooth Circle
Grind the Edge into a Smooth Circle
Hold the disc on edge against the wet sandstone slab and rotate it while grinding to produce a smooth circular perimeter. Turn the disc frequently and check roundness by eye. A truly circular whorl is important — irregularities in the circumference create vibration during spinning. The edge can be flat, rounded, or slightly bevelled depending on preference.
Tools needed:
Sandstone (Abrasive)5
5
Mark the Centre Point
Mark the Centre Point
Find the centre of the disc by balancing it on a pointed stick or bone awl — the balance point is the true centre of mass. Mark this point with a small scratch or charcoal dot. The drill hole must go through this exact point. A hole even 3 to 4 mm off-centre causes noticeable wobble that makes spinning difficult and produces uneven thread.
6
6
Drill a Starter Hole with a Pointed Stone
Drill a Starter Hole with a Pointed Stone
Press a pointed flint flake into the centre mark and twist it back and forth using finger pressure. For soft stones like soapstone, this creates a visible depression within a few minutes. For harder stones, use a small amount of wet sand as an abrasive between the drill point and the stone. The starter hole guides the larger drill and prevents it from skating off centre.
7
7
Drill the Centre Hole with a Bow Drill
Drill the Centre Hole with a Bow Drill
Set up a bow drill with a hardwood or bone drill bit 5 to 8 mm in diameter (matching the diameter of your spindle shaft). Place the whorl disc on a flat support surface with the starter hole facing up. Apply wet sand to the hole as abrasive and drill from both sides, meeting in the middle. Drilling from both sides produces a cleaner hole and prevents blow-out on the exit side.
8
8
Ream and Smooth the Hole
Ream and Smooth the Hole
Once the drill has broken through from both sides, ream the hole with a round stick wrapped in wet sand to smooth the interior and make it perfectly cylindrical. The hole should be a tight friction fit on your spindle shaft — it should not slide freely or rattle. The spindle shaft holds the whorl in position by friction alone; if too loose, add a drop of pine pitch for a permanent bond.
9
9
Polish the Finished Whorl
Polish the Finished Whorl
Grind the entire surface of the whorl on a fine-grained stone to remove all pecking marks and grinding scratches. A polished surface is not just aesthetic — rough surfaces catch on fibres during spinning, creating tangles and uneven thread. The final whorl should feel smooth to the touch on all surfaces. A thin coat of animal fat enhances the polish.
Tools needed:
 Sharpening Stone
10
10
Mount the Whorl on a Spindle Shaft
Mount the Whorl on a Spindle Shaft
Insert a straight, smooth hardwood shaft (25 to 30 cm long, 5 to 8 mm diameter) through the whorl hole. The whorl can be positioned at the bottom of the shaft (bottom-whorl spindle, the most common prehistoric configuration) or at the top (top-whorl). The shaft should extend 3 to 5 cm below the whorl, with a slightly pointed tip that the spindle rests on when spinning supported.
Materials for this step:
 Hardwood Sapling1 piece
11
11
Test the Balance and Spin
Test the Balance and Spin
Set the assembled spindle on a smooth surface and flick the shaft to spin it. A well-balanced whorl spins smoothly for 15 to 30 seconds without wobbling or walking across the surface. If it wobbles, the hole is off-centre — carefully enlarge the hole slightly in the direction that corrects the imbalance. If it spins briefly and stops quickly, the whorl may be too light for your fibre type — heavier whorls suit thick wool, lighter ones suit fine cotton or flax.
Mga Materyales
2- 1 piecePlaceholder
- 1 piecePlaceholder
Mga Kinakailangang Kasangkapan
3- Placeholder
- Placeholder
- Placeholder
Connected Blueprint Materials
Kaugnay na Blueprint
Ang mga blueprint na ito ay nagbabahagi ng kaalaman — mga teknik, materyales, o prinsipyo
Related blueprints
Other builds that share materials, tools, or techniques with this one.
Crompton's Spinning Mule — The Machine That Made Fine Cotton Possibletextiles
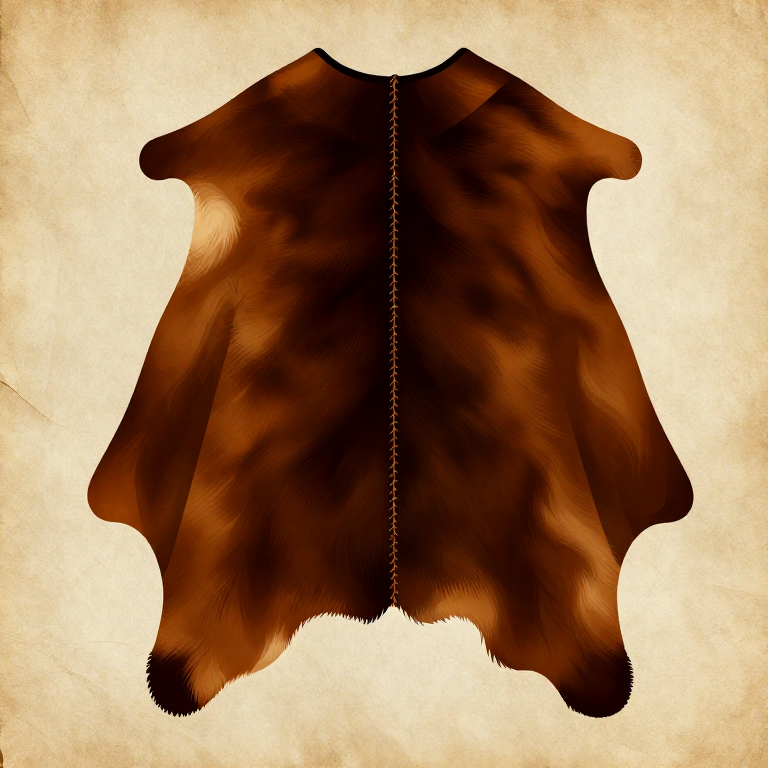
Making a Simple Skin Cloak — Fur and Hide Body Coveringtextiles
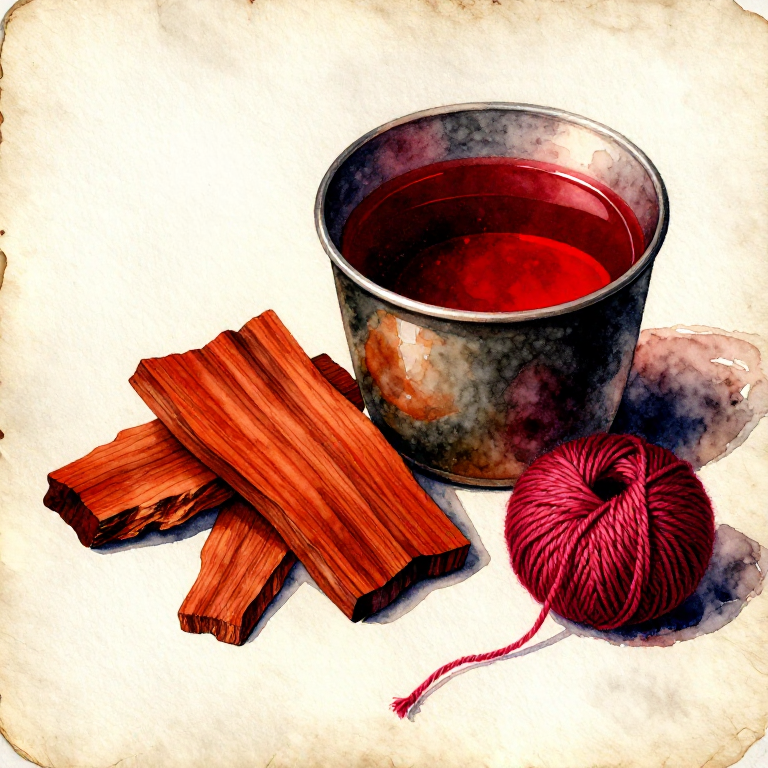
Dyeing Red with Brazilwood — The Dyewood That Named a Nationtextiles
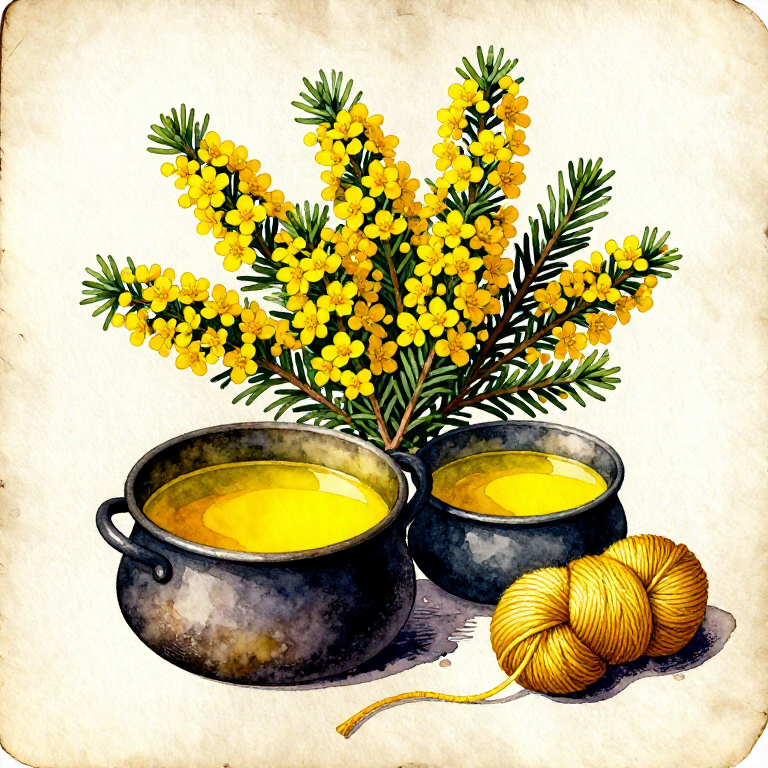
Dyeing Yellow with Dyer's Broom — The Greenweed That Made Lincoln Greentextiles
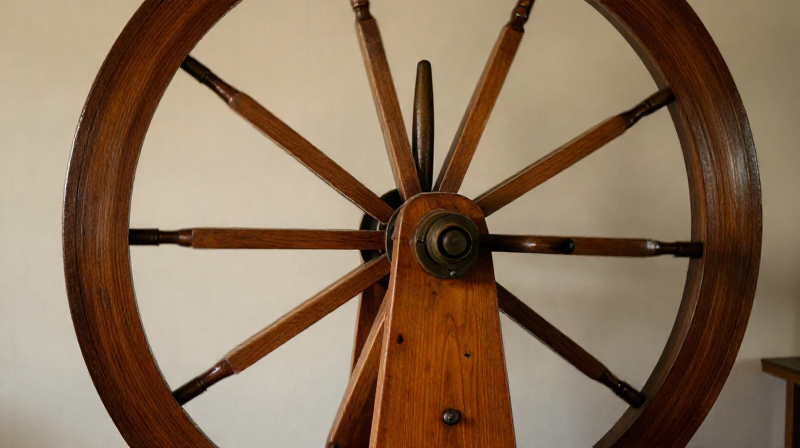
Spinning Yarn on a Great Wheel — The Walking Wheeltextiles
Building a Great Wheel for Spinning — The Machine That Clothed the Medieval Worldtextiles
CC0 Pampublikong Domain
Ang blueprint na ito ay inilabas sa ilalim ng CC0. Malaya kang kumopya, magbago, mamahagi, at gumamit nang walang pahintulot.
Suportahan ang Maker sa pamamagitan ng pagbili ng mga produkto sa kanilang Blueprint Komisyon ng Maker itinakda ng mga Vendor, o lumikha ng bagong bersyon ng Blueprint na ito at isama bilang koneksyon sa iyong Blueprint upang ibahagi ang kita.