SINING
BEAUTY AT WELLNESS
CRAFTS
KULTURA AT KASAYSAYAN
LIBANGAN
KAPALIGIRAN
PAGKAIN AT INUMIN
REVERSE ENGINEERING
AGHAM
ISPORTS
TEKNOLOHIYA
MGA WEARABLE



Preparing the Surface: Every Flaw Gets More Visible, Not Less
A finish magnifies everything underneath it. A scratch you can barely see on bare wood is obvious under three coats of varnish, and glue you missed shows up as a pale patch that cannot be fixed without stripping back.
So the surface has to be right BEFORE any finish goes near it, and the check has to be done under light that reveals rather than flatters.
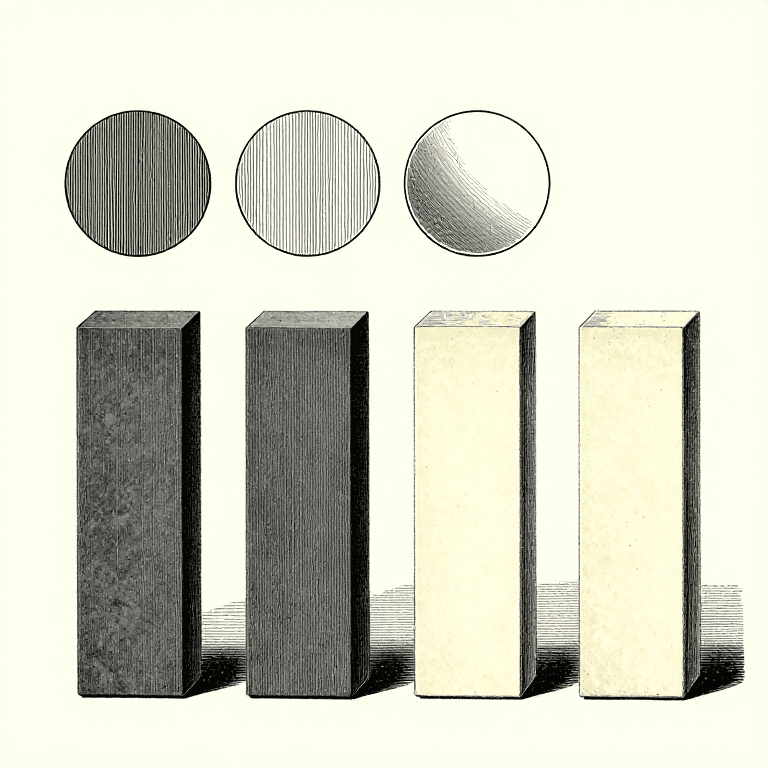
The grit progression published for sharpening applies here almost unchanged — each grade removes the previous one's scratches — with two differences: you stop much sooner than you might think, and you raise the grain deliberately.
Baguhan
3 hours
Mga Tagubilin
1
1
Look at it under raking light
Look at it under raking light
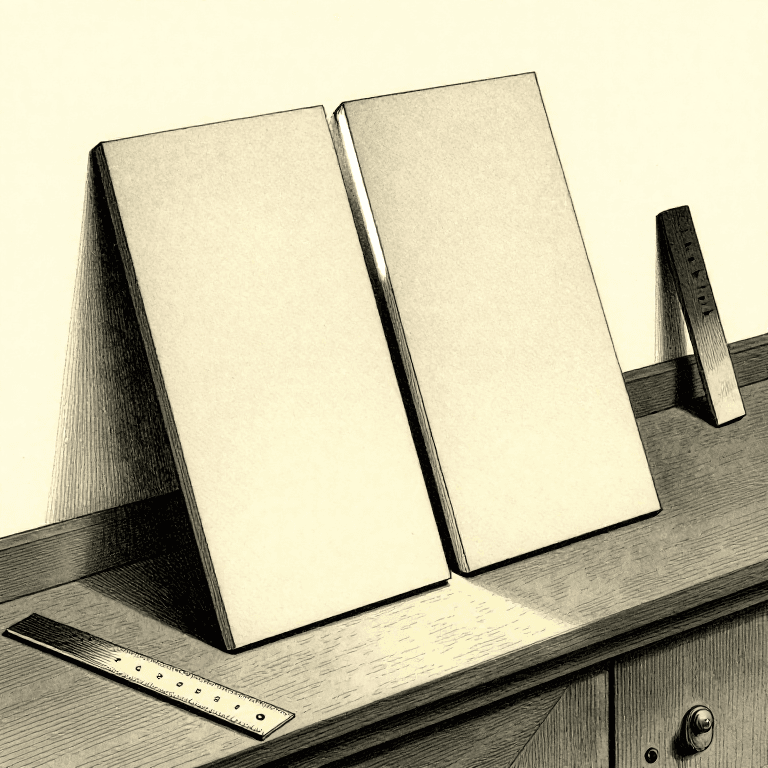
Hold a lamp almost flat to the surface and sight along it. Every scratch, dent, ripple and missed glue spot throws a shadow and becomes obvious.
Overhead light flatters a surface and hides exactly the faults a finish will later reveal. This one change of lighting finds more problems than any amount of careful looking from above, and it costs nothing.
Glue is the one to hunt for specifically. Dried squeeze-out seals the wood so stain and oil cannot penetrate, and the pale patch only appears once the finish is on. Wiping the surface with mineral spirits shows glue residue immediately — the wood darkens and the sealed patches stay light.
Mga materyales para sa hakbang na ito:
 Mineral spirits1 piraso
 Tabla ng Matigas na Kahoy1 piraso
Mga kailangang kasangkapan:
 Lupang Pampalaki
 Telang Bulak
 Assortment ng papel de liha
2
2
Sand through the grits, and stop sooner than you think
Sand through the grits, and stop sooner than you think
Work up through the grades without skipping — 80 if the surface needs it, then 120, 150, 180 — and at each grade remove all of the previous one's scratches before moving on, exactly as the grit progression rung sets out.
Then stop. For most finishes 180 grit is enough and 220 is plenty. Sanding finer burnishes the surface closed, so stain and oil penetrate less and more unevenly — a polished surface takes finish worse, not better.
Sand WITH the grain. Cross-grain scratches are nearly invisible on bare wood and glaringly obvious under a finish, especially under stain, which settles into them and draws them in dark lines.
Mga materyales para sa hakbang na ito:
Assortment ng papel de liha1 pirasoTabla ng Matigas na Kahoy1 pirasoMga kailangang kasangkapan:
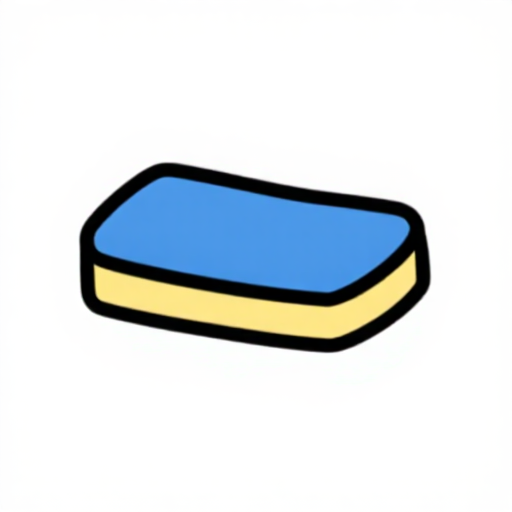 Set ng blokeng panliha (espuma)Lupang Pampalaki
3
3
Raise the grain on purpose, then knock it back
Raise the grain on purpose, then knock it back
Wipe the sanded surface with a damp cloth and let it dry. The fibres that were pressed flat by sanding swell and stand up, and the surface goes rough — this is GRAIN RAISING.
Do it deliberately now, then knock the raised fibres off with a light pass of the final grit. If you skip it, the first coat of a water-based finish or stain does the raising for you, and then the roughness is locked under the finish.
With oil-based finishes it matters less but is still worth doing on anything that will be handled. Two minutes and a damp cloth, and the surface stays smooth through every subsequent coat.
Mga materyales para sa hakbang na ito:
Assortment ng papel de liha1 pirasoTabla ng Matigas na Kahoy1 pirasoMga kailangang kasangkapan:
Telang BulakSet ng blokeng panliha (espuma)4
4
Get the dust off — all of it
Get the dust off — all of it
Brush or vacuum the surface, then go over it with a tack cloth immediately before each coat. Dust trapped in a finish is a permanent bump, and it is the commonest flaw on otherwise good work.
The dust is not only on the work. It is on the bench, on you, and in the air — which is why sanding and finishing should not happen in the same hour in the same room. Vacuum, let the air settle, then finish.
Use the tack cloth lightly, with no pressure. Pressing it down leaves a faint sticky residue that some finishes react to. And do not use one at all under a water-based finish unless it says it is compatible — the residue can cause fisheye.
Mga materyales para sa hakbang na ito:
 Telang pandampot ng alikabok1 piraso
Mga kailangang kasangkapan:
Telang BulakLupang PampalakiMga Materyales
4- 1 pirasoPlaceholder
- 1 pirasoPlaceholder
- 2 pirasoPlaceholder
- 1 pirasoPlaceholder
Kaugnay na Blueprint
Ang mga blueprint na ito ay nagbabahagi ng kaalaman — mga teknik, materyales, o prinsipyo
CC0 Pampublikong Domain
Ang blueprint na ito ay inilabas sa ilalim ng CC0. Malaya kang kumopya, magbago, mamahagi, at gumamit nang walang pahintulot.
Suportahan ang Maker sa pamamagitan ng pagbili ng mga produkto sa kanilang Blueprint Komisyon ng Maker itinakda ng mga Vendor, o lumikha ng bagong bersyon ng Blueprint na ito at isama bilang koneksyon sa iyong Blueprint upang ibahagi ang kita.