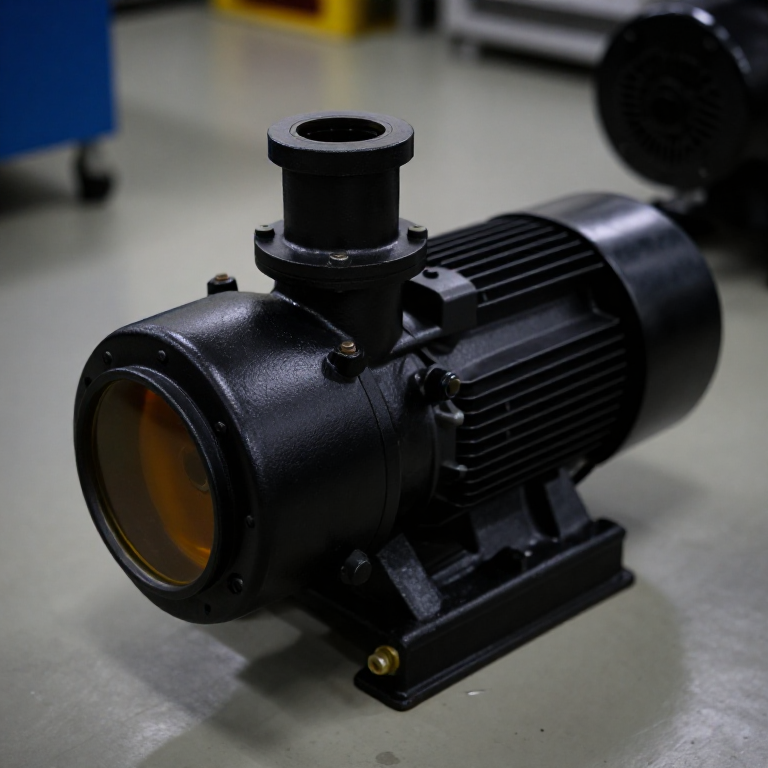


Rotary Vane Vacuum Pump
Mga Tagubilin
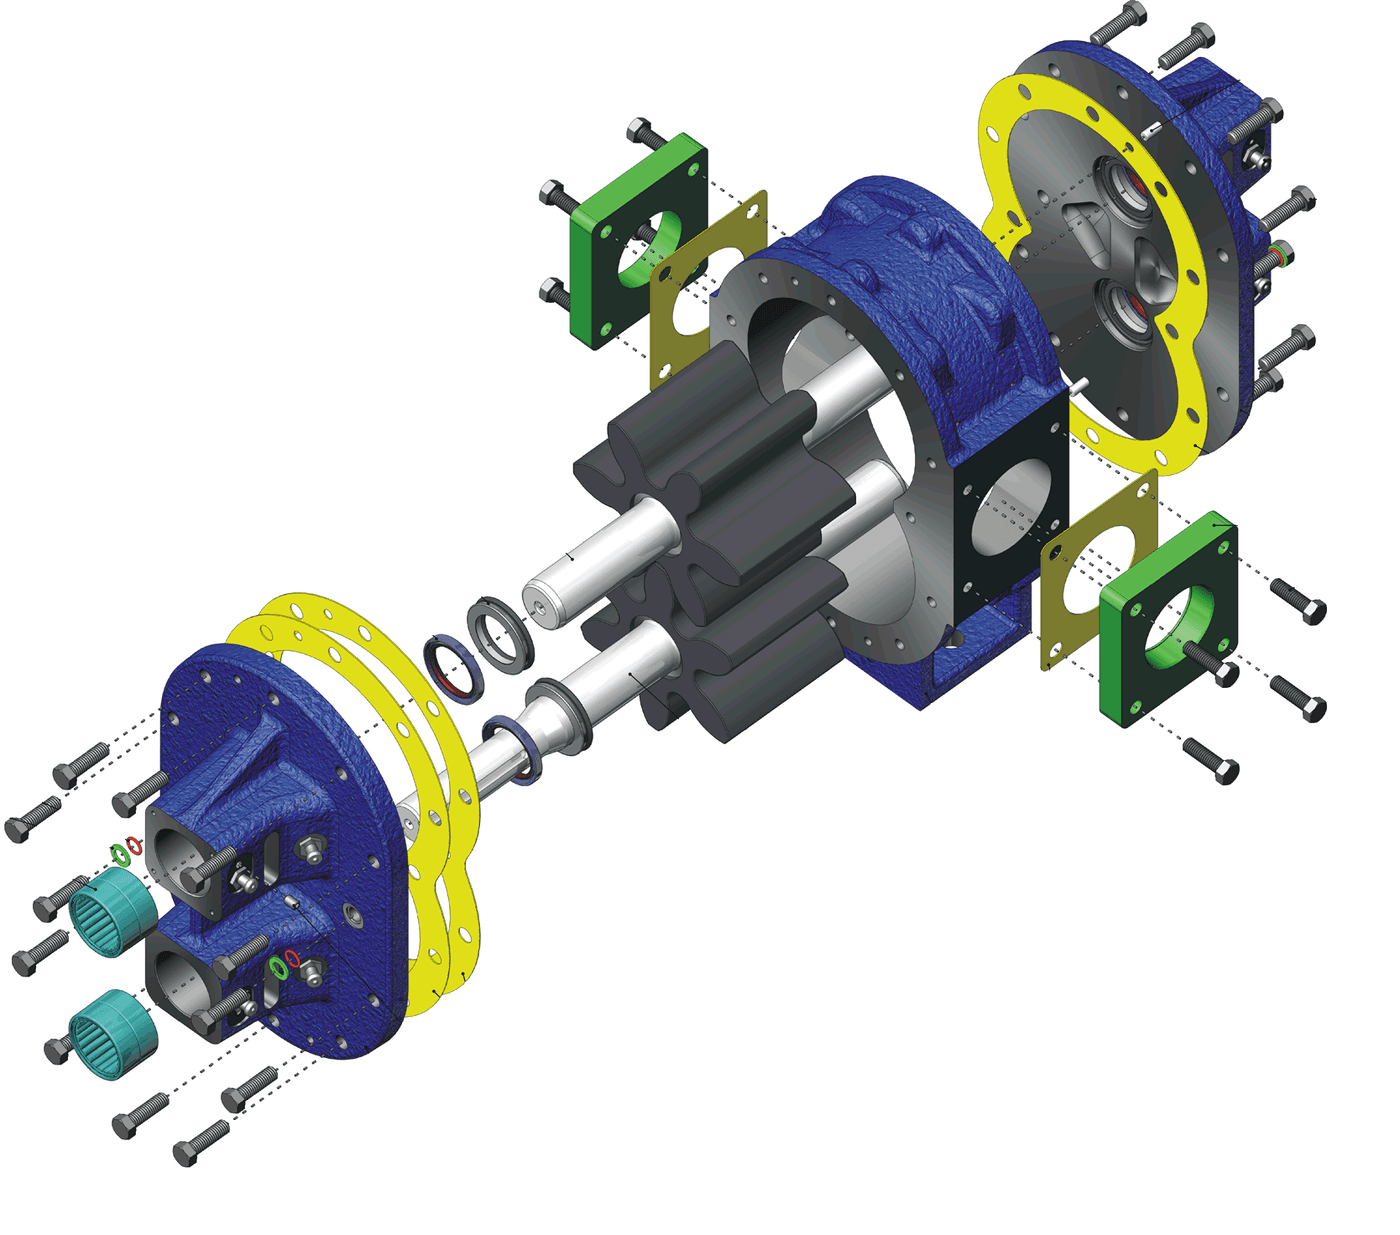
Bore the stator and offset the rotor
Bore the stator and offset the rotor
The eccentricity is the pump. Everything else is containment.
- Bore a stator 60 mm diameter and 40 mm deep in aluminium.
- Turn a rotor 50 mm diameter, so it is 10 mm smaller than the bore.
- Mount the rotor's shaft OFFSET so the rotor almost touches the stator at one point and leaves a 10 mm crescent opposite.
- Set the near-contact clearance to a few hundredths — close, but not touching.
- Position inlet and outlet ports either side of that near-contact point.
The near-contact line is the seal between inlet and outlet. If it is too loose, gas leaks straight from the outlet back to the inlet and the pump achieves nothing; if it touches, it seizes. Oil bridges that gap in service, which is why an oil-sealed pump reaches a far better vacuum than a dry one of identical geometry.
Ports must sit either side of the contact line, not opposite it. Get their positions wrong and the pump moves gas in a circle without ever compressing it.Mga materyales para sa hakbang na ito:
 Bilog na Bara ng Aluminyo2 piraso
 Plato ng Aluminyo1 piraso
 Ball Bearing - Non-Flanged (8mm Bore, 22mm OD)2 piraso
Mga kailangang kasangkapan:
 Walang-Kableng Barena
 Hanay ng Talim ng Barena
 Hanay ng Kikil
 Bais sa Mesang Panggawa
 Digital na Kalibrador 6 Pulgada
 Panuka na Pinagsama
Fit sprung vanes that follow the bore
Fit sprung vanes that follow the bore
The vanes must stay in contact all the way round despite the gap constantly changing.
- Cut two slots across the rotor's diameter, at 90 degrees to each other.
- Make vanes from hard plastic or brass to slide freely in those slots.
- Fit light springs behind each vane so they are pushed outward against the stator.
- Turn the rotor by hand and confirm each vane extends and retracts smoothly through a full revolution.
Springs start the seal; centrifugal force maintains it. At speed the vanes are flung outward hard enough to seal without help, and the springs matter mainly at start-up and low speed. That is why some designs use no springs at all and simply cannot be turned slowly by hand — a detail that surprises people servicing them.
Vanes must slide freely. A vane that sticks in its slot leaves a gap that short-circuits the pump, and the symptom is a pump that runs normally but will not pull down.Mga materyales para sa hakbang na ito:
 Lapad na Akriliko1 pilyego
 Hanay ng Spring na Panipi1 set
 Bilog na Baras ng Bronse1 piraso
Mga kailangang kasangkapan:
 Lagaring PangkurbaHanay ng KikilWalang-Kableng BarenaDigital na Kalibrador 6 PulgadaBais sa Mesang Panggawa
Add oil and measure what it buys
Add oil and measure what it buys
Run it dry first, then wet, and the difference is dramatic.
- Assemble and run the pump DRY against a gauge. Record the ultimate pressure.
- Now introduce a few millilitres of low-vapour-pressure oil at the inlet.
- Run again and record the ultimate pressure.
- Compare, and note the change in sound.
Mga materyales para sa hakbang na ito:
 Pinakuluang Langis ng Linsid1 bote
 Kit ng mga Tubong Salamin1 kit
Mga kailangang kasangkapan:
 Panukat ng OrasDigital na Kalibrador 6 PulgadaWalang-Kableng Barena
Plot the pump-down curve and find the knee
Plot the pump-down curve and find the knee
Every pump has a characteristic curve and a point where it stops improving.
- Connect to a known volume and record pressure every ten seconds from atmosphere.
- Plot pressure on a logarithmic scale against time.
- Note the straight portion, then the knee where it flattens.
- Compare the time taken with the Sprengel pump's from the previous blueprint.
Mga materyales para sa hakbang na ito:
 Papel na Grap1 pad
Mga kailangang kasangkapan:
Panukat ng OrasDigital na Kalibrador 6 PulgadaOil as seal, lubricant and filler, and history
Oil as seal, lubricant and filler, and history
Rotary vane vacuum pumps developed through the early twentieth century as electric motors became common and laboratories wanted vacuum without mercury or hand-cranking. Wolfgang Gaede is central to this period — he produced rotary mercury and then oil-sealed designs, and went on to invent the diffusion pump later in this batch.
The oil is doing three jobs at once and that is the design's elegance. It lubricates the vanes, seals the clearances, and fills the dead volume. Any one of those alone would justify it. Using one substance for three purposes is why the design has barely changed in a century — and it explains the pump's main drawback too, since that same oil can creep back toward the vessel as vapour, contaminating what is being evacuated.
Its place in the chain: Guericke's piston is defeated by seals and dead space; Sprengel's mercury column removes both at the cost of speed and toxicity; the rotary vane pump gets the speed back and removes the mercury by using oil to defeat dead space instead. Each generation keeps the previous one's gains and attacks its specific limit.
Its honest limits: an ultimate pressure set by the oil's own vapour pressure, so it cannot reach high vacuum however long it runs; oil backstreaming into the system; and the need to change oil as it absorbs vapours and contaminants. For pressures below its floor you need a fundamentally different mechanism, which is what the diffusion pump provides.
Mga Materyales
9- 2 pirasoPlaceholder
- 1 pirasoPlaceholder
- Ball Bearing - Non-Flanged (8mm Bore, 22mm OD)10% komisyon2 piraso$1.27
- 1 pilyegoPlaceholder
- Placeholder
- 1 pirasoPlaceholder
- Placeholder
- Placeholder
- 1 padPlaceholder
Mga Kinakailangang Kasangkapan
8- 1 vendor sell this, none ship to you yetPlaceholder
- Placeholder
- Placeholder
- Placeholder
- Placeholder
- Placeholder
- Placeholder
- Placeholder
Ang blueprint na ito ay gumagawa ng
Kaugnay na Blueprint
Ang mga blueprint na ito ay nagbabahagi ng kaalaman — mga teknik, materyales, o prinsipyo

CC0 Pampublikong Domain
Ang blueprint na ito ay inilabas sa ilalim ng CC0. Malaya kang kumopya, magbago, mamahagi, at gumamit nang walang pahintulot.
Suportahan ang Maker sa pamamagitan ng pagbili ng mga produkto sa kanilang Blueprint Komisyon ng Maker itinakda ng mga Vendor, o lumikha ng bagong bersyon ng Blueprint na ito at isama bilang koneksyon sa iyong Blueprint upang ibahagi ang kita.